
Jurassic World Evolution 2 Guide | How to Use the Hatchery
Master Hatchery upgrades, genome progress, and safer incubation choices to grow your park faster.
Game Guide by Jubair Baky on Feb 10, 2026
Everything that is a dinosaur starts out in the hatchery. You can get to new species, make genes better, and grow batches that are actually alive. A few smart upgrades and better egg choices can save money, reduce injuries, and cut down on constant micromanagement.
Start With Hatchery Upgrades
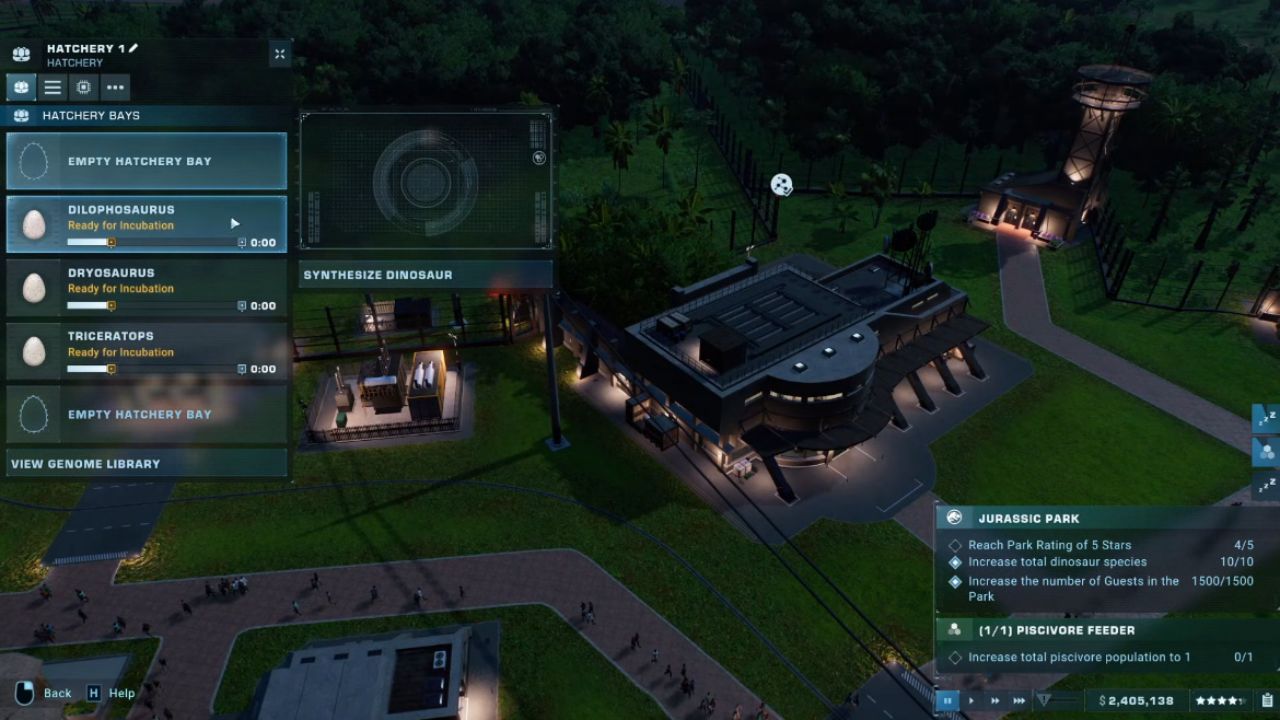
Open the Hatchery and check the upgrade slots right away. Getting the hatchery upgrades early matters because they boost your results every time you work with eggs. Prioritize upgrades that increase hatchery bay capacity and improve egg output, since more active bays and better egg results help you scale faster. When these upgrades are active, you can run more incubation at once and get more value from each batch.
Synthesize Dinosaurs and Read the Genome Percentage
Inside the Hatchery, choose a species and start synthesis. Each dinosaur shows a genome completion percentage. This percentage affects how ready the species is and how many viable eggs you are likely to get when you incubate. Carnivores and herbivores are separated in the selection list, so it is easier to find what you need when building specific enclosures.
If you want better success rates and more reliable batches, you need more progress on the genome. That progress mainly comes from expeditions and fossil work.
Increase Genome Progress With Expeditions and Fossils
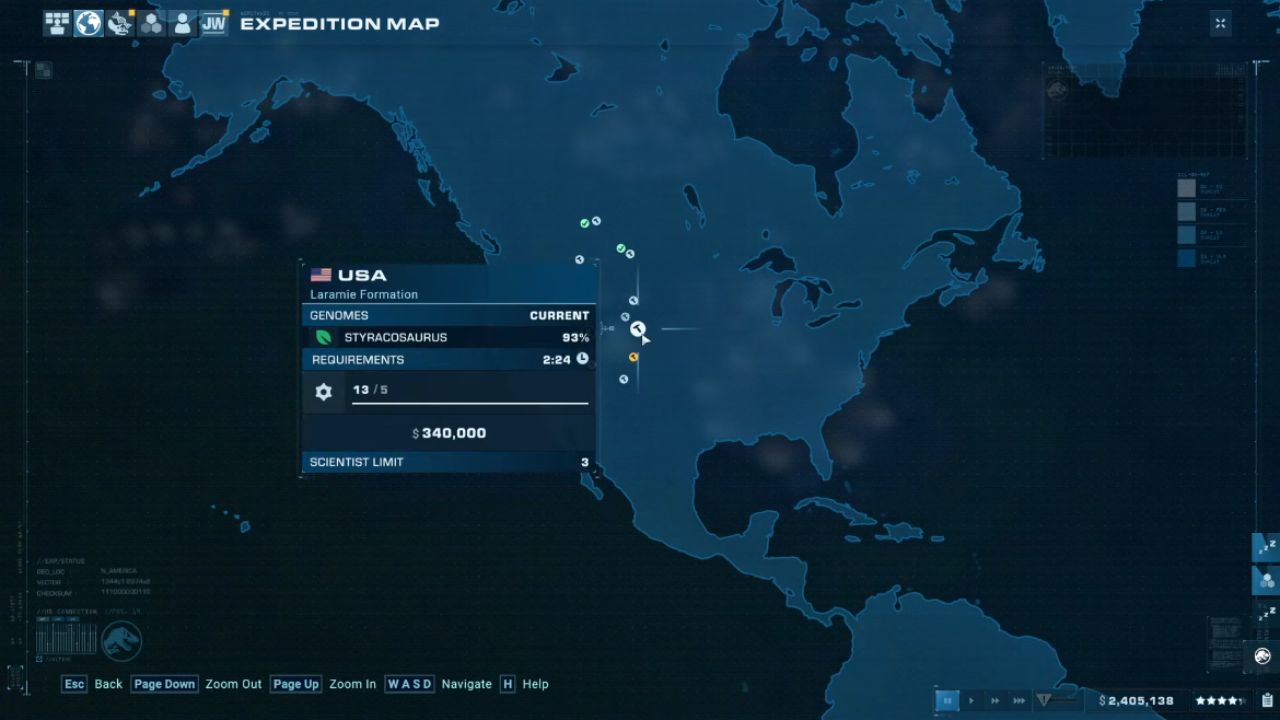
Use the Expedition Center to run expeditions. Open the Expedition Map and pick dig sites tied to the species you want. The expedition UI helps you track progress toward completing a dinosaur’s genome as you run more expeditions for the same species. The genome percentage increases until the species is ready for consistent incubation.
After the expeditions return, go to the Fossil Center. Extract the fossils to gain genome progress. Selling items is useful for cash, but extracting fossils increases the genome percentage and makes incubation more reliable.
Choose Eggs Carefully to Avoid Costly Fights
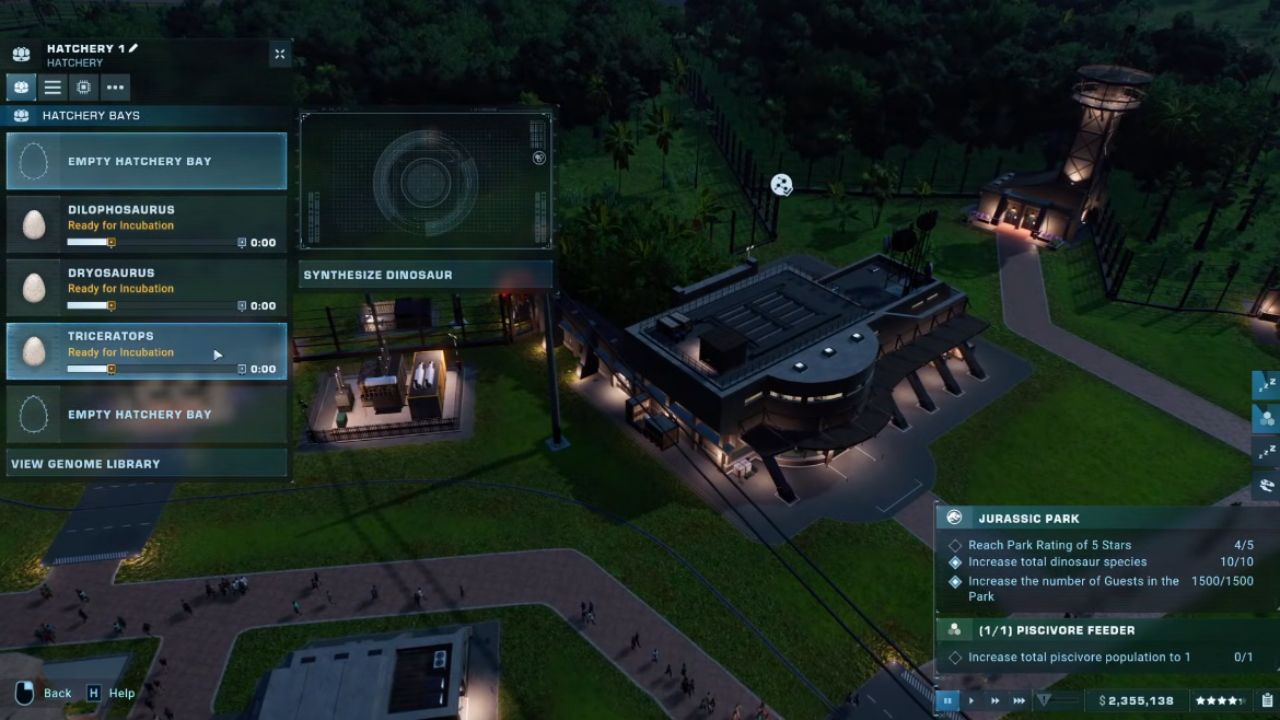
When a dinosaur is ready, select the species and pick the eggs to incubate. Always check traits before confirming the batch. Some eggs roll negative traits, and those traits can create expensive problems later.
The Aggressive trait is a common example. An aggressive dinosaur can start fights even when others are not aggressive. That leads to injuries, more medical treatment, and more scientist time spent fixing problems rather than advancing your park. Avoid stacking aggressive animals together unless they are meant to be alone or managed very carefully.
Release or Transport After Hatching
The dinosaur can be transferred to a new enclosure or released into the linked one once incubation is complete. In cases where the present enclosure is unsuitable, relocating the dinosaur to a new environment is necessary, or when overseeing various species zones within the park necessitates the use of transport.
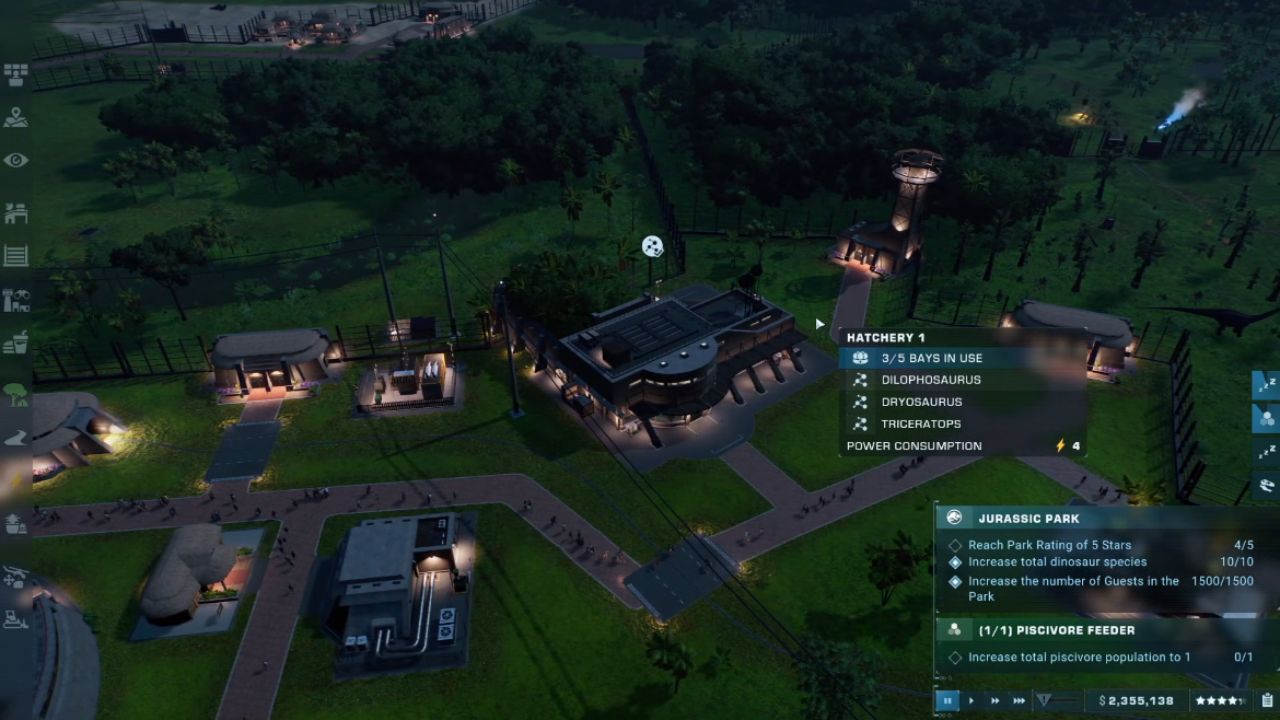
After the incubation period is over, take a moment to think about whether release or transport is better for your layout. When the habitat is ready, the fastest way to release is straight into the attached cage. When you need more control, as when you want to keep species apart, stop fights before they start, or put the dinosaur in a planned zone, transport is best. If you keep improving the Hatchery, pushing genomic advancement, and getting rid of poor features, the whole process will become smooth and easy to replicate.
Also, check our Jurassic World Evolution 2: Dominion Biosyn Review
Editor, NoobFeed
Latest Articles
No Data.