
Little Nightmares III Guide | How to Activate the Elevator (Chapter 3)
Here's a guide on how to activate the Elevator in Chapter 3 of Little Nightmares III.
Game Guide by Ragib Rawnak on Oct 13, 2025
In this part of Little Nightmares III, you’ll need to activate the Furnace and secure the Light Battery to progress further. This section also introduces the Flashlight, which becomes a permanent tool for the remainder of the level in Little Nightmares II.

Activating the Furnace
After returning to the hallway, head into the room where the Nome previously ran. Inside, you’ll see the Nome pointing toward a button on the wall. Switch control to Alone and use them to smash the button. Doing this will activate the Furnace, causing the Nome to move again and reveal the missing Light Battery in Little Nightmares II.
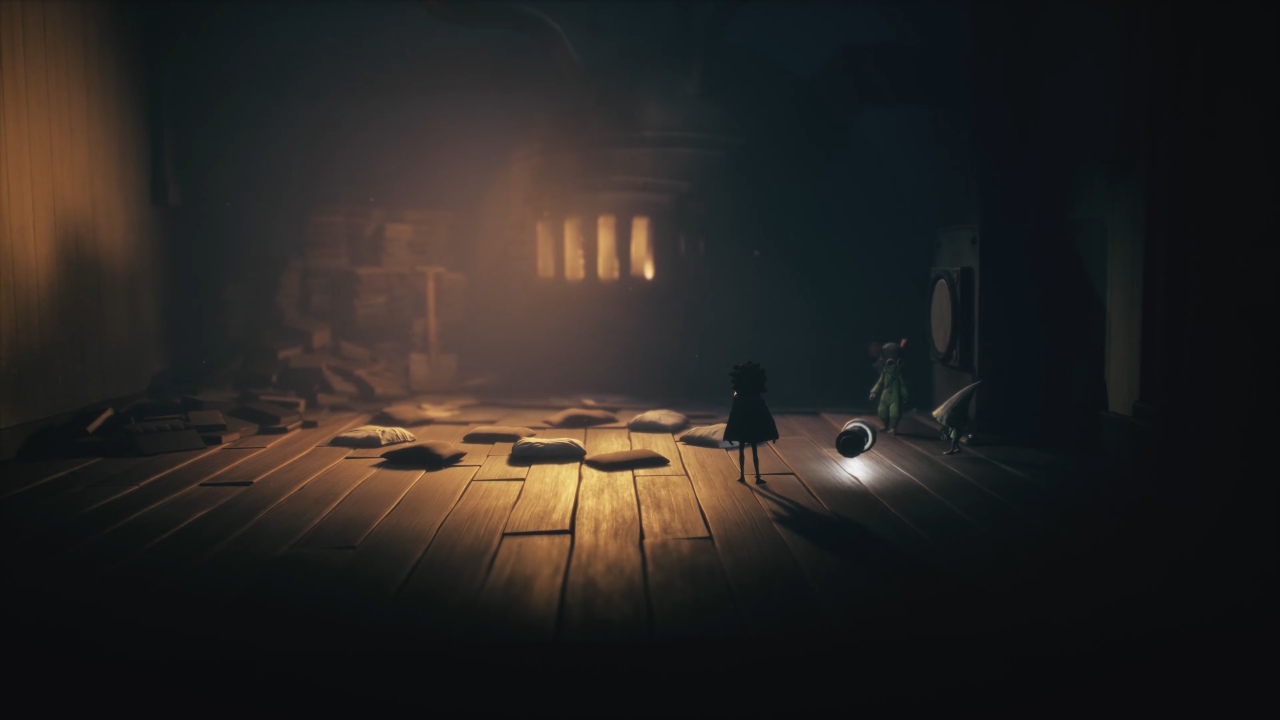
Installing the Light Battery
Collect the Light Battery and bring it back to the empty socket in the hallway. Once you’ve inserted it, pull the lever next to the elevator to begin your ascent to the next area.
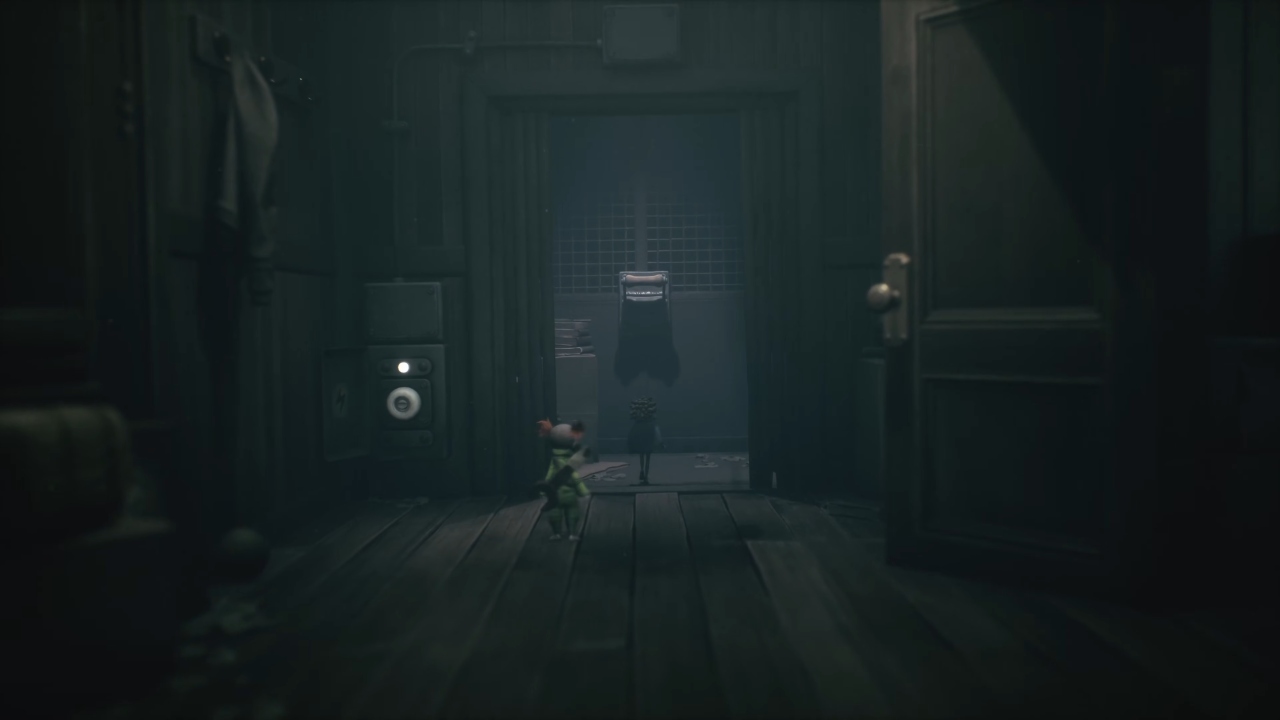
Getting the Flashlight
When the elevator stops, you’ll notice a Flashlight lying in the middle of the floor. Pick it up to add it to your usable tools. This isn’t an item that needs to be carried manually—it can be activated at any time throughout the level whenever light is required in Little Nightmares II.
Also, check our Little Nightmares III Review and other guides below:
- Little Nightmares III Beginner's Guide | Gameplay Tips & Tricks
- Little Nightmares III Guide | How to Escape The Supervisor (Chapter 2)
- Little Nightmares III Guide | How to Counter Candy Weevils (Chapter 2)
- Little Nightmares III Guide | How to Power The Elevator (Chapter 2)
- Little Nightmares III Guide | How to Counter The Supervisor (Chapter 2)
- Little Nightmares III Guide | How to Solve the Button Puzzle (Chapter 3)
- Little Nightmares III Guide | How to Find All Chapter 3 Dolls
- Little Nightmares III Guide | First Locked Door Key Location (Chapter 3)
- Little Nightmares III Guide | How to Fix The Furnace (Chapter 3)
- Little Nightmares III Guide | How to Solve Radio Puzzle (Chapter 3)
- Little Nightmares III Guide | How to Counter The Puppets (Chapter 3)
- Little Nightmares III Guide | How To Counter the Blindfolded Boss (Chapter 3)
- Little Nightmares III Guide | How to Complete The Carnival Game (Chapter 3)
- Little Nightmares III Guide | How to Counter Kin and Mini Kin (Chapter 3)
- Little Nightmares III Guide | How To Move The Herd Member (Chapter 3)
- Little Nightmares III Guide | How to Counter Blind Doctor (Chapter 4)
- Little Nightmares III Guide | How to Kill the Plant (Chapter 4)
- Little Nightmares III Guide | How to Find All Chapter 4 Ghosts
- Little Nightmares III Guide | How to Find All Chapter 4 Dolls
- Little Nightmares III Guide | How to Use Special Doll Ability (Chapter 4)
- Little Nightmares III Guide | How to Counter the Crowd (Chapter 4)
- Little Nightmares III Guide | How to Find the Locked Door Key (Chapter 4)
- Little Nightmares III Guide | How to Escape the Hand (Chapter 4)
- Little Nightmares III Guide | How to Find the Battery (Chapter 4)
- Little Nightmares III Guide | Stage Key Location (Chapter 3)
- Little Nightmares III Guide | How to Solve the Steam puzzle (Chapter 3)
- Little Nightmares III Guide | How to Escape Kin and Mini Kin (Chapter 3)
- Little Nightmares III Guide | How To Defeat The Puppets (Chapter 3)
- Little Nightmares III Guide | Second Locked Door Key Location (Chapter 3)
- Little Nightmares III Guide | How to Solve The Mine Cart Puzzle (Chapter 2)
- Little Nightmares III Guide | How to Beat The Supervisor (Chapter 2)
- Little Nightmares III Guide | How to Find All Chapter 2 Dolls
- Little Nightmares III Guide | How to Ring The Bell (Chapter 1)
- Little Nightmares III Guide | How to Beat Flying Beetles (Chapter 1)
- Little Nightmares III Guide | How to Use Abilities
- Little Nightmares III Guide | How to Counter Monster Baby (Chapter 1)
- Little Nightmares III Guide | How to Find The Key (Chapter 1)
- Little Nightmares III Guide | How to Collect All Chapter 1 Dolls
Senior Editor, NoobFeed
Latest Articles
No Data.