
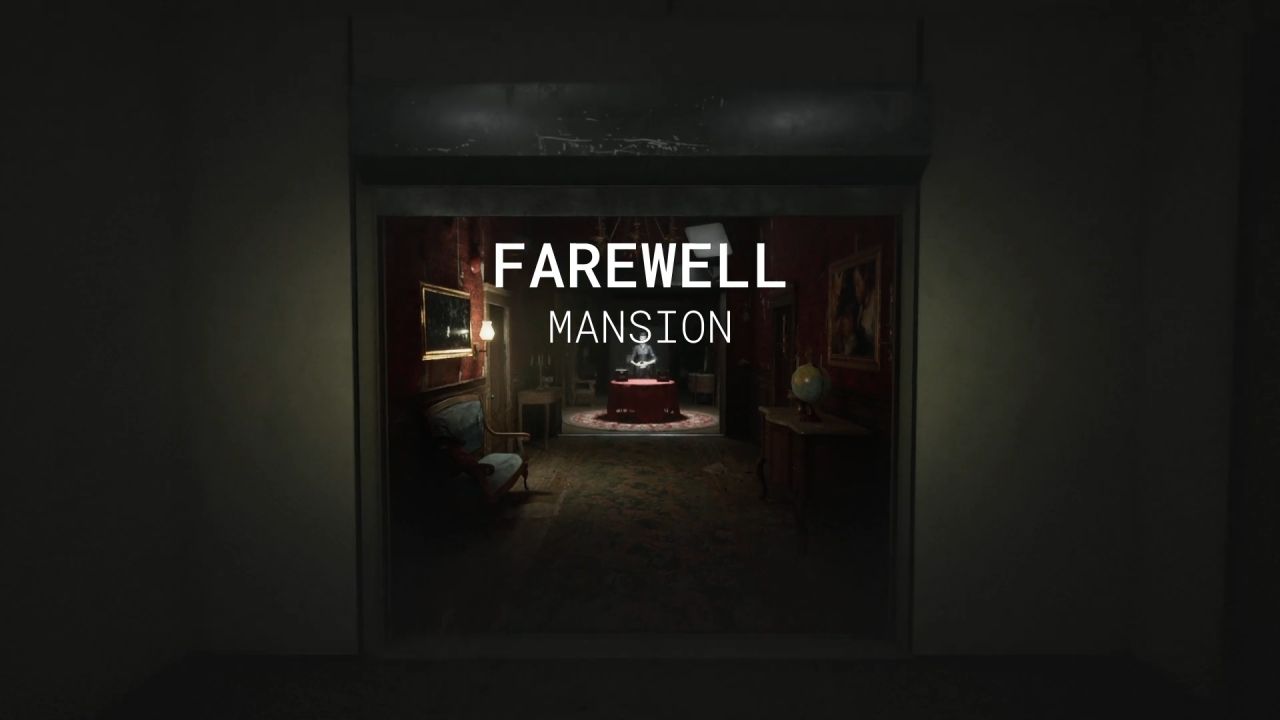
The Outlast Trials Guide | How to Complete the Main Mission in Farewell Mansion
A guide on how to complete the main mission of Farewell Mansion in The Outlast Trials.
Game Guide by Rubaiyat Shihab on Oct 27, 2025
The last mission in The Outlast Trials is the Farewell Mansion task. It's your last and final test after you've finished all of the Program X trials. The house you saw in the introduction is where this mission takes place, but this time it's your way to freedom.
To get it, you must first get ten Release Tokens, which you can get by finishing Program X trials. Once you have all ten, the passage to Farewell Mansion becomes available.
Unlocking Farewell Mansion
Once you have all ten Release Tokens, talk to the Security Officer in the booth across from the computer in the hallway where tasks are chosen. He will present you with a release form confirming your readiness for the final test, which must be completed alone.
Once you accept, the corridor to your left will turn red, marking the way to your escape. Before departing, you may encounter other Reagents in the lobby who often gather to jump in place near the entrance as a gesture of farewell.
When the shuttle doors open, enter to begin the mission.
Preparing for the Mission
Before entering Farewell Mansion, it is advised to equip the Health Rig. Supplies in this mission are limited, and since you will not have teammates to revive you, maintaining your health is essential.
Inside the Mansion
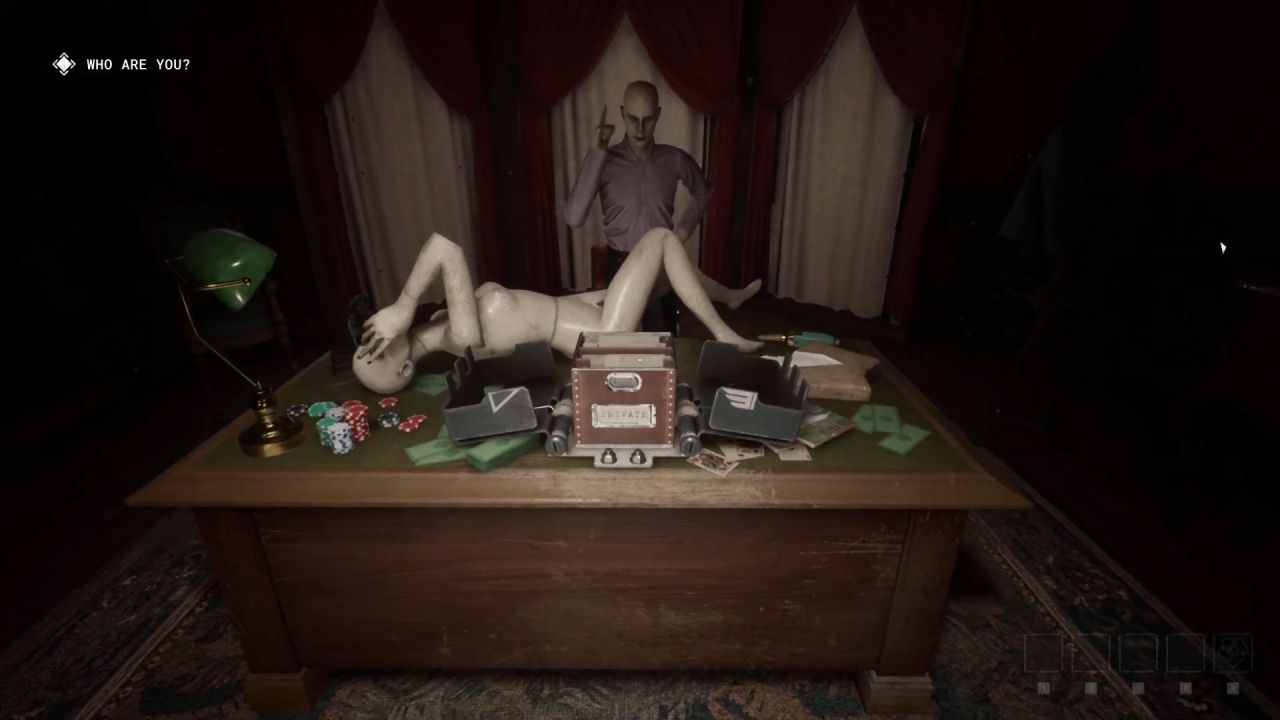
Upon arrival, you will find yourself in a mirrored version of the tutorial area. In front of you is a table with two boxes labeled Personal Records and Private Records. Each must be delivered to its corresponding office located on this floor.
One office lies at the end of the left corridor and the other at the end of the right corridor. The order of these corridors is randomized, but you can determine which is which by observing the TV screens placed in each hallway.
While exploring, be cautious. Two Large Grunts, along with Pouncers and Imposters, patrol the area. Move carefully, plan your route before carrying any records, and ensure the path is clear since holding the records will slow your movement.
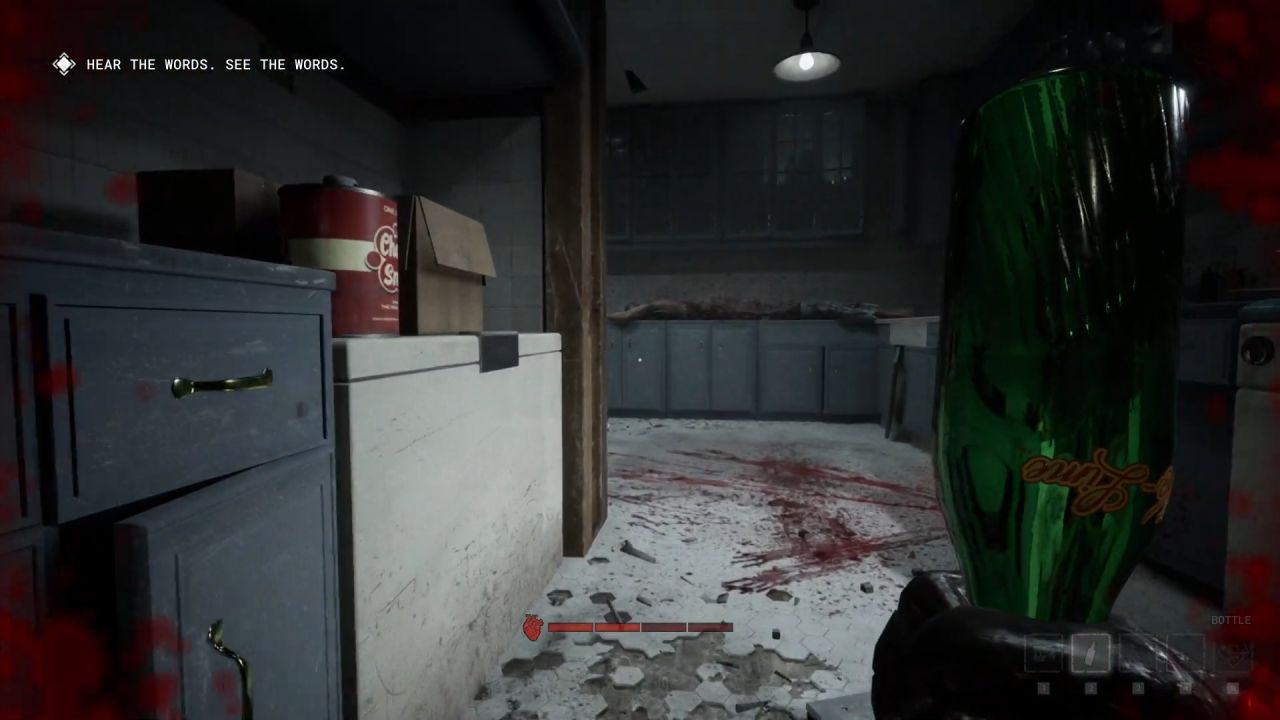
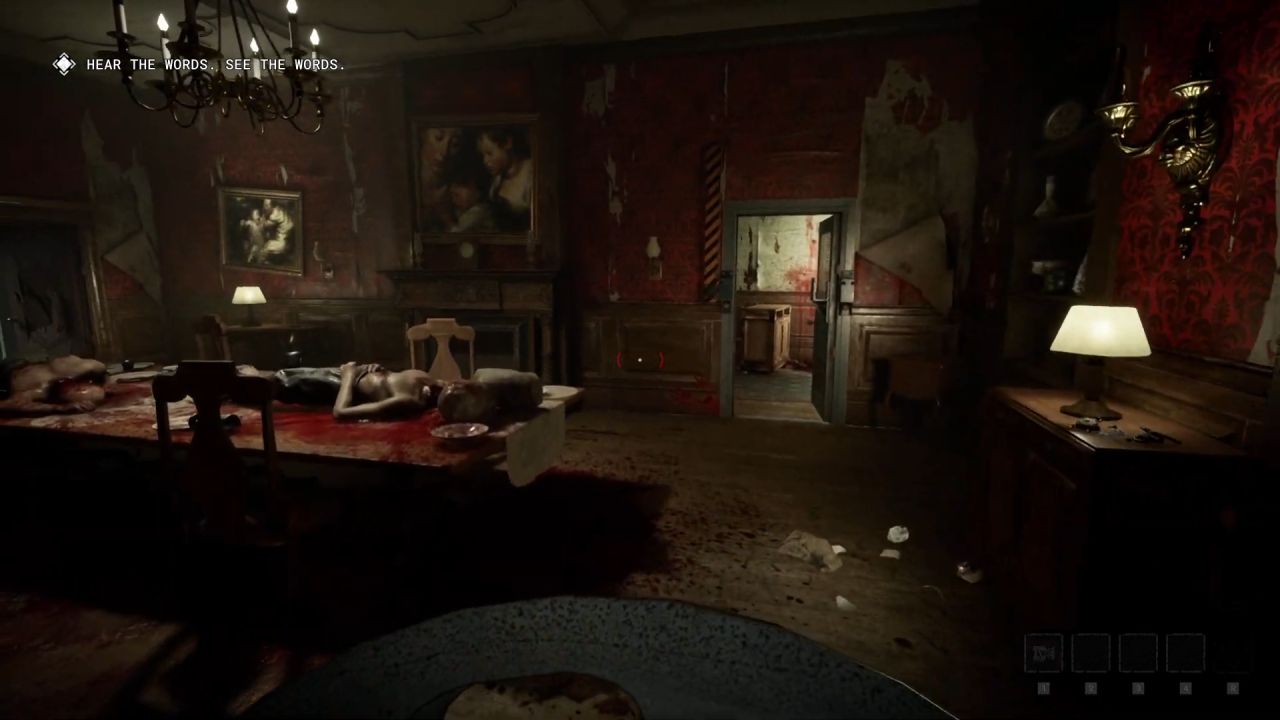
When both records are placed in their designated offices, a new objective called See the Words, Hear the Words will begin. The doors to the staircase leading to the first floor will then open.
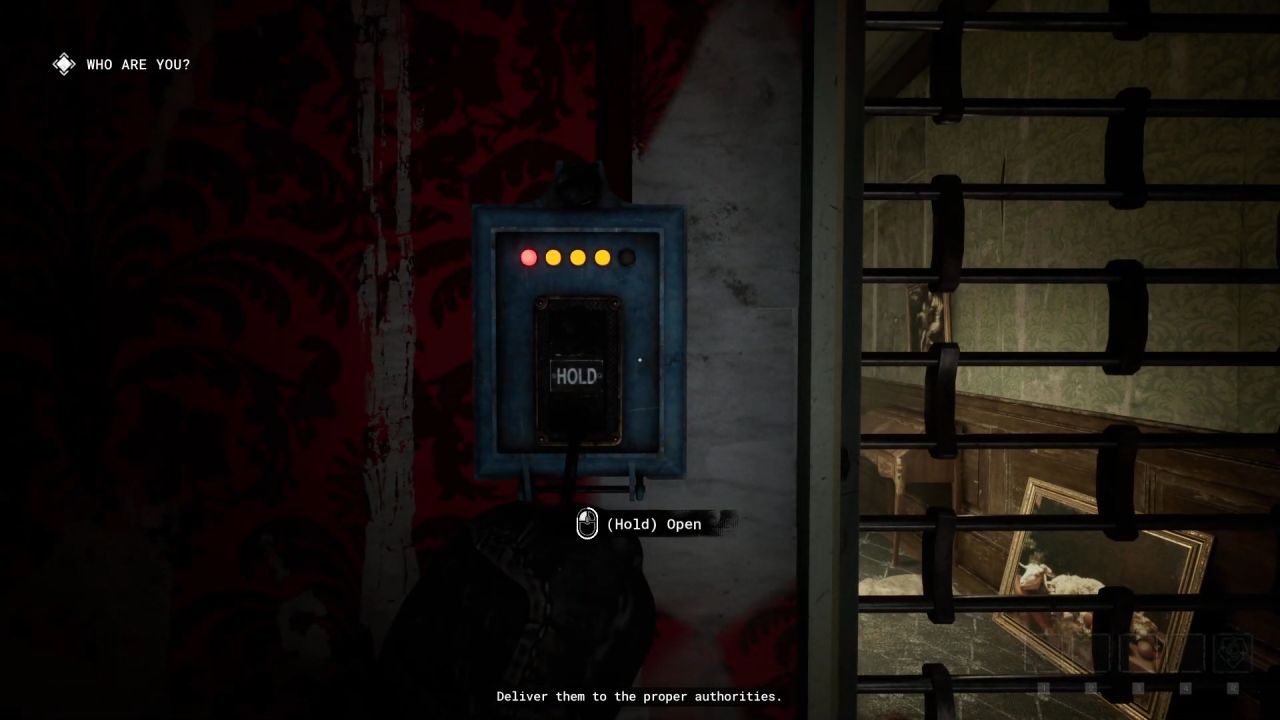
Searching for the Keys
Once downstairs, you will encounter two locked doors requiring keys with matching symbols. Move south from the key slots and enter the back garden of the manor. In this area, a Night Vision Grunt roams continuously.
Look for corpses bearing tattoos of key emblems and identify the two that match the symbols you need. To safely retrieve the keys, lure the Night Vision Grunt to the far side of the garden before interacting with the bodies.
After collecting both keys, return to the corridor and unlock the right-hand passage.
The Radio Receivers
Continue through the newly opened corridor until you reach a large living room containing a Radio Receiver. Tune the receiver while avoiding the Grunt patrolling the nearby room. Once done, move through the door on the left, keeping your distance from the Grunt as you proceed.
The path will lead to a dining room where you will find a Film Reel on the table, an unlockable shortcut door connecting back to the main corridor, and another door to your left.
If the Grunt spots you, unlock the shortcut door, lead it toward the radio receiver, then loop back through the now-opened door to regain distance. When ready, go through the left-hand door in the dining room to locate another Radio Receiver and tune it.
After activating the second receiver, collect the Film Reel and return to the main corridor. Follow the other locked path until you reach a set of double doors leading to the theatre.
Place the Film Reel into the projector, which will trigger a Grunt to burst through a nearby door. Evade it, enter through the same door, and follow the route to the final Radio Receiver. Once you activate it, return to the main corridor.
The Escape
At this point, the mansion doors will open. Exit the house, descend the steps, and follow the same route used during the tutorial. Continue through the scaffolding and proceed until you reach a drop. Heal before jumping down.

Upon landing, Mother Gooseberry will appear and pursue you one final time. Run along the path ahead until you reach an iron door.
Open it to fall into the ocean. Your character will swim upward, regaining control shortly afterward. Move toward the bright light in the distance to trigger a cutscene.
When you awaken, you will find yourself in a hotel room, lying on a blood-stained bed. Explore the surroundings until the phone rings. Answer it to complete the sequence. After the short scene, you are officially reborn.
You can now create a new Reagent and restart Program X while keeping your grades, outfits, currency, upgrades, and overall progress. Only your character identity will reset for the new cycle.
Also, check our The Outlast Trials Review and other guides below:
- The Outlast Trials | Beginner's Guide
- The Outlast Trials Guide | How to Unlock the Hidden GOLDEN E.S.O.P.
- The Outlast Trials Guide | How to Complete the Main Mission in Police Station
- The Outlast Trials Guide | How to Complete the MK Challenge 1 in Police Station
- The Outlast Trials Guide | How to Complete the MK Challenge 2 in Police Station
- The Outlast Trials Guide | How to Complete the Main Mission in Fun Park
- The Outlast Trials Guide | How to Complete the MK Challenge 1 in Fun Park
- The Outlast Trials Guide | How to Complete the MK Challenge 2 in Fun Park
- The Outlast Trials Guide | How to Complete the Main Mission in Orphanage
- The Outlast Trials Guide | How to Complete the MK Challenge 1 in Orphanage
- The Outlast Trials Guide | How to Complete the MK Challenge 2 in Orphanage
Editor, NoobFeed
Latest Articles
No Data.