
The Outer Worlds 2 Guide | Alexandra Monastery Observatory Puzzle
Here’s how you can complete the Alexandra Monastery Observatory Puzzle.
Game Guide by Joy Rahman on Nov 18, 2025
The Alexandra Monastery Observatory Puzzle in The Outer Worlds 2 can be intriguing because of its hidden environmental clues and vague hints. This guide will show you how you can complete it.
After entering the observatory, you notice the terminal at the corner of the room, which is where you have to plug in the right code.
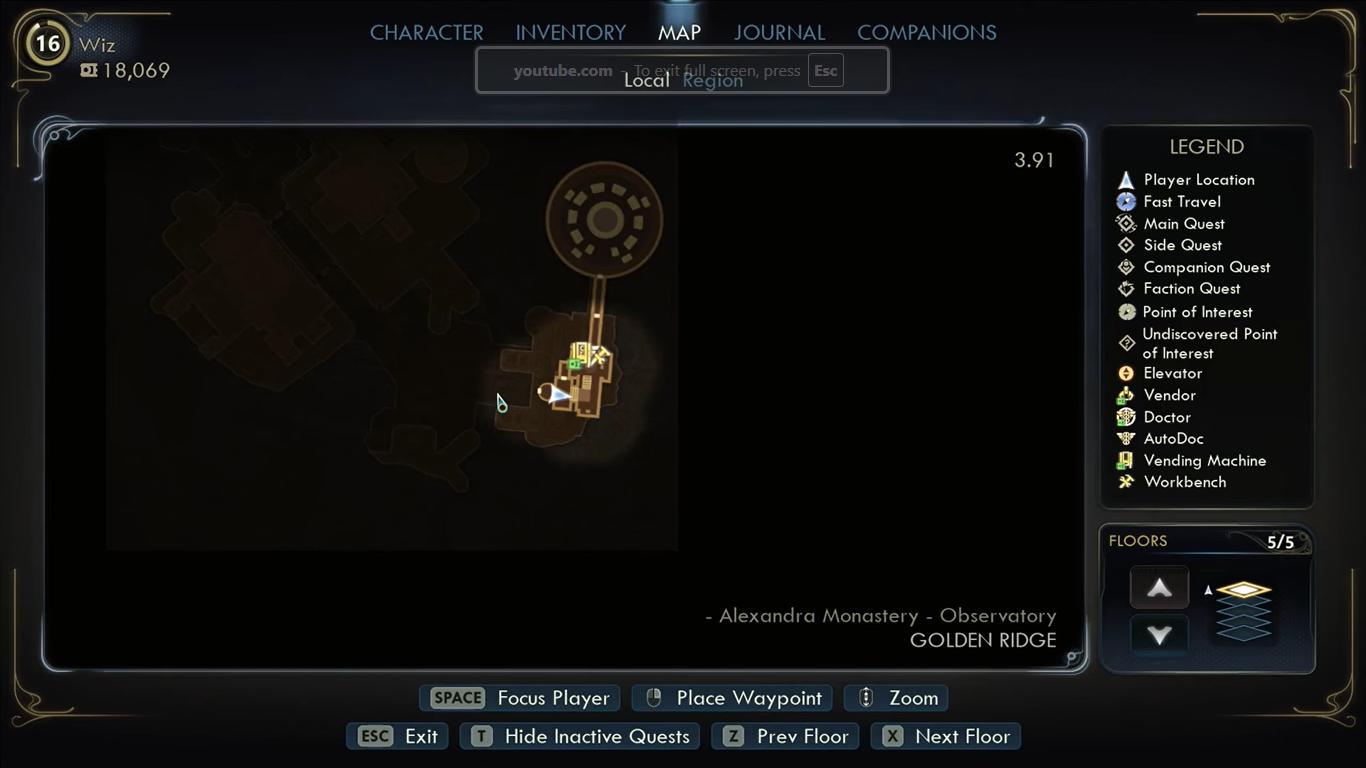
You’ll first want to interact with the terminal, where you will be given a vague message that will describe the 3 Numbers that you need to place in the correct order.
The numbers will basically represent the characteristics and position of moons and planets. There will be a hint provided on the side of the terminal, but it is also important that she explores the room thoroughly.
There are many planetary observations for you to interpret both inside and outside.
Their motion will correspond directly to the clue to determine the correct numerical combination.
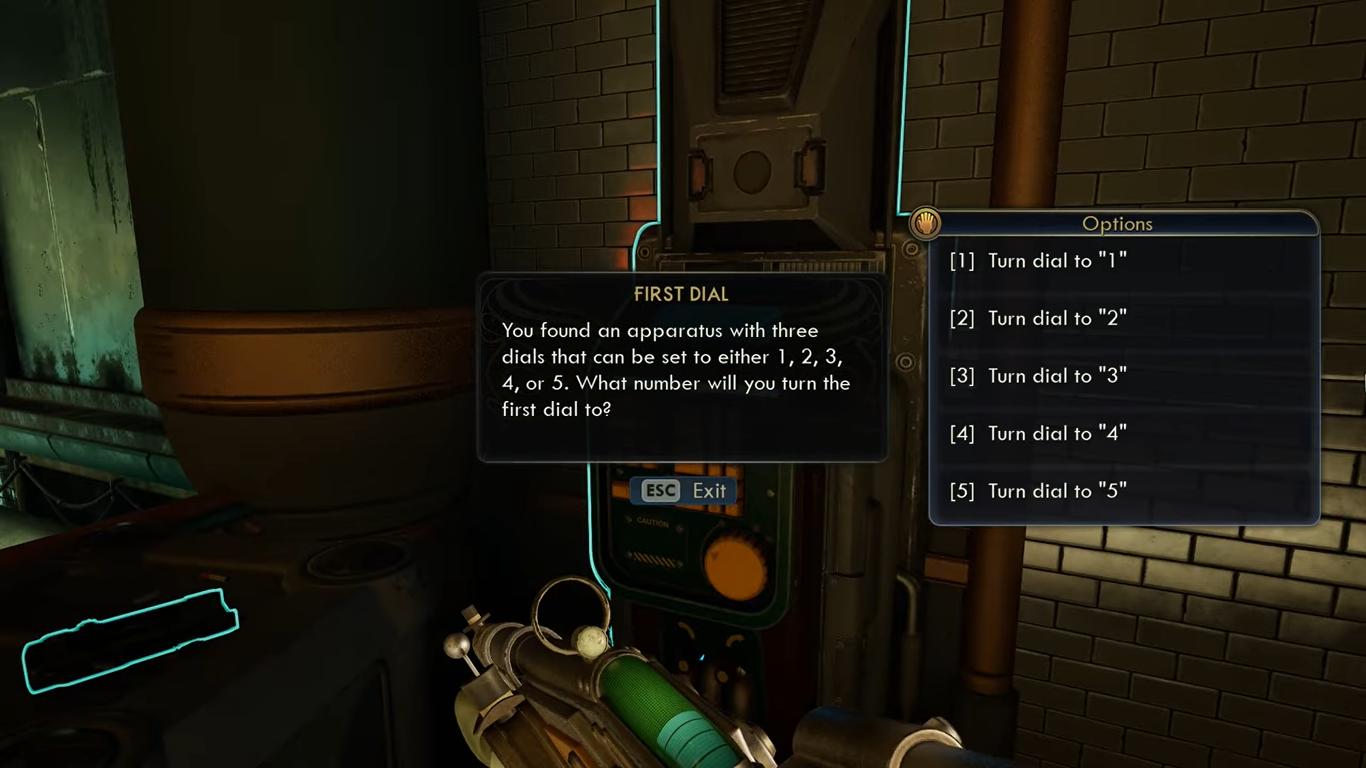
Once you’ve decoded the necessary details, head back to the terminal and input the current combination to unlock the hidden door in the wall.
The code will be: 4,1,4
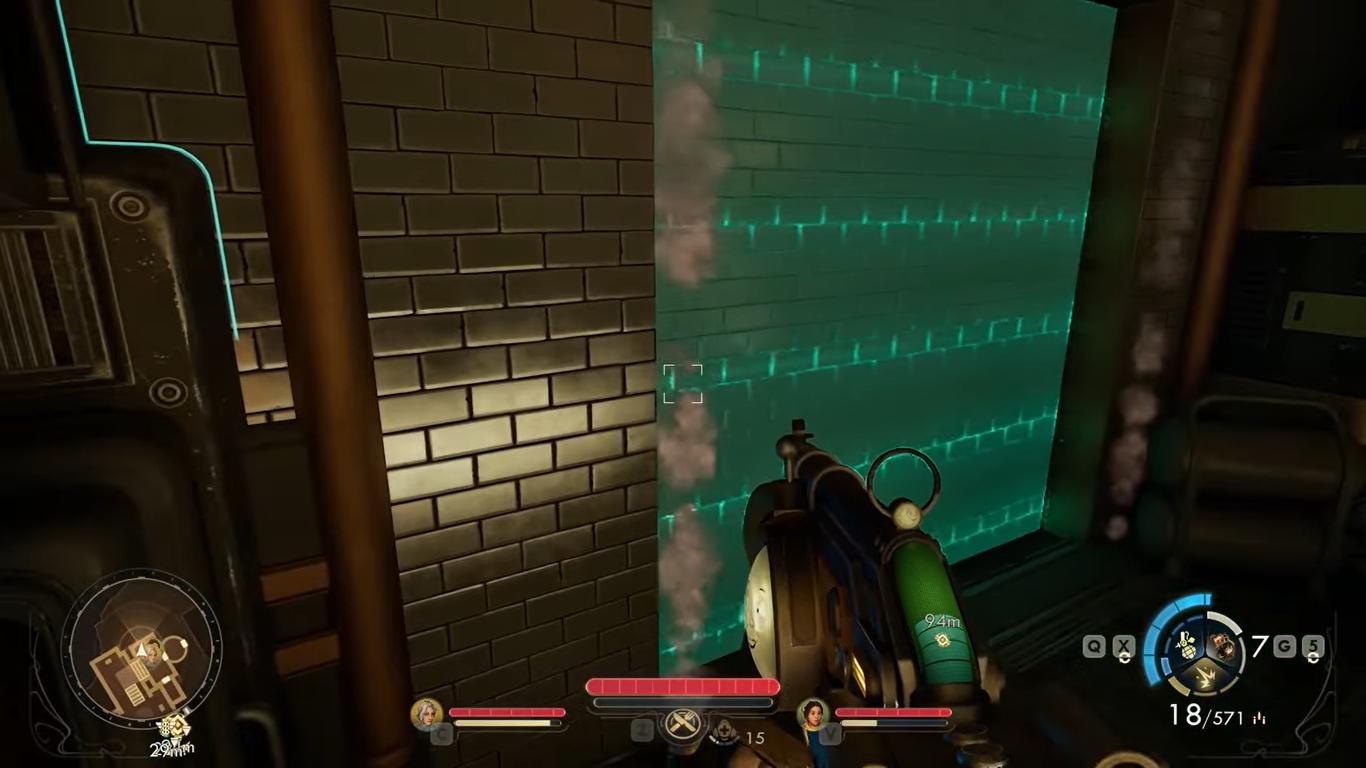
After confirming the final number, you will have completed a puzzle, the whole triggers a small animation as the wall begins to split, revealing a hidden room side that has a container that you can loot.
If you follow the instructions correctly, you will have completed the Alexandra Monastery Observatory Puzzle, rewarding you with loot and various bonus items in The Outer Worlds 2.
Also, check out our The Outer Worlds 2 Review and other guides below:
- The Outer Worlds 2 Beginner’s Guide | Tips & Tricks
- The Outer Worlds 2 Guide | 5 Mural Locations
- The Outer Worlds 2 Guide | Inez Grabble or Raptidon Graft
- The Outer Worlds 2 Guide | Mysterious Cave
- The Outer Worlds 2 Guide | How to Find Victor (N-Ray Range)
- The Outer Worlds 2 Guide | How to Pickpocket
- The Outer Worlds 2 Guide | How to Survive Zynarium Zones
- The Outer Worlds 2 Guide | Vox Ship Crash Decision
- The Outer Worlds 2 Guide | How to Level Up Fast
- The Outer Worlds 2 Guide | N-Ray Lever Puzzle
- The Outer Worlds 2 Guide | All 10 Science Adventures Quarterly Volume Magazine Locations
- The Outer Worlds 2 Guide | How to Farm Bits
- The Outer Worlds 2 Guide | How to Get Otto’s Information (Puzzle)
- The Outer Worlds 2 Guide | How to Upgrade Companions
- The Outer Worlds 2 Guide | How to Repair Thermal Transfer
- The Outer Worlds 2 Guide | Now Hiring Invaluable Disposable Agent Quest
- The Outer Worlds 2 Guide | Fiddling with Furfleeting Fermentations Quest
- The Outer Worlds 2 Guide | Walking on Eggshells Quest
- The Outer Worlds 2 Guide | Deviations Under Duress Quest
- The Outer Worlds 2 Guide | Mechanical Matriarch Quest
- The Outer Worlds 2 Guide | Water Release Valve System Fuse Location
- The Outer Worlds 2 Guide | Starving Reminder Quest
- The Outer Worlds 2 Guide | Listening for a Clue Quest
- The Outer Worlds 2 Guide | Contraband Contrivance Quest
- The Outer Worlds 2 Guide | Confession of a Sub-Finagler Quest
- The Outer Worlds 2 Guide | How to Save Hostages (Puzzle)
- The Outer Worlds 2 Guide | How to Get Rookie’s Reward
- The Outer Worlds 2 Guide | Alexandra Monastery Observatory Puzzle
- The Outer Worlds 2 Guide | How to Get Gary Armor (Tentacle)
- The Outer Worlds 2 Guide | All Pet Locations
- The Outer Worlds 2 Guide | How to Get Zynarium Hover Suit
Contributor, NoobFeed
Latest Articles
No Data.