
The Outer Worlds 2 Guide | All Compression Coil Locations – Hazard a Gas
Here’s how you can collect all 15 Compression Coils in The Outer Worlds 2.
Game Guide by Joy Rahman on Nov 30, 2025
Hazard a Gas quest in The Outer Worlds 2 can be a bit tedious to complete as it requires you to collect 15 Compression Coils that are scattered across the region.
The coils are required to repair the damaged medical equipment in Outpost Opportunity. Collecting all of the coils will complete the objective.
Compression Coil #1
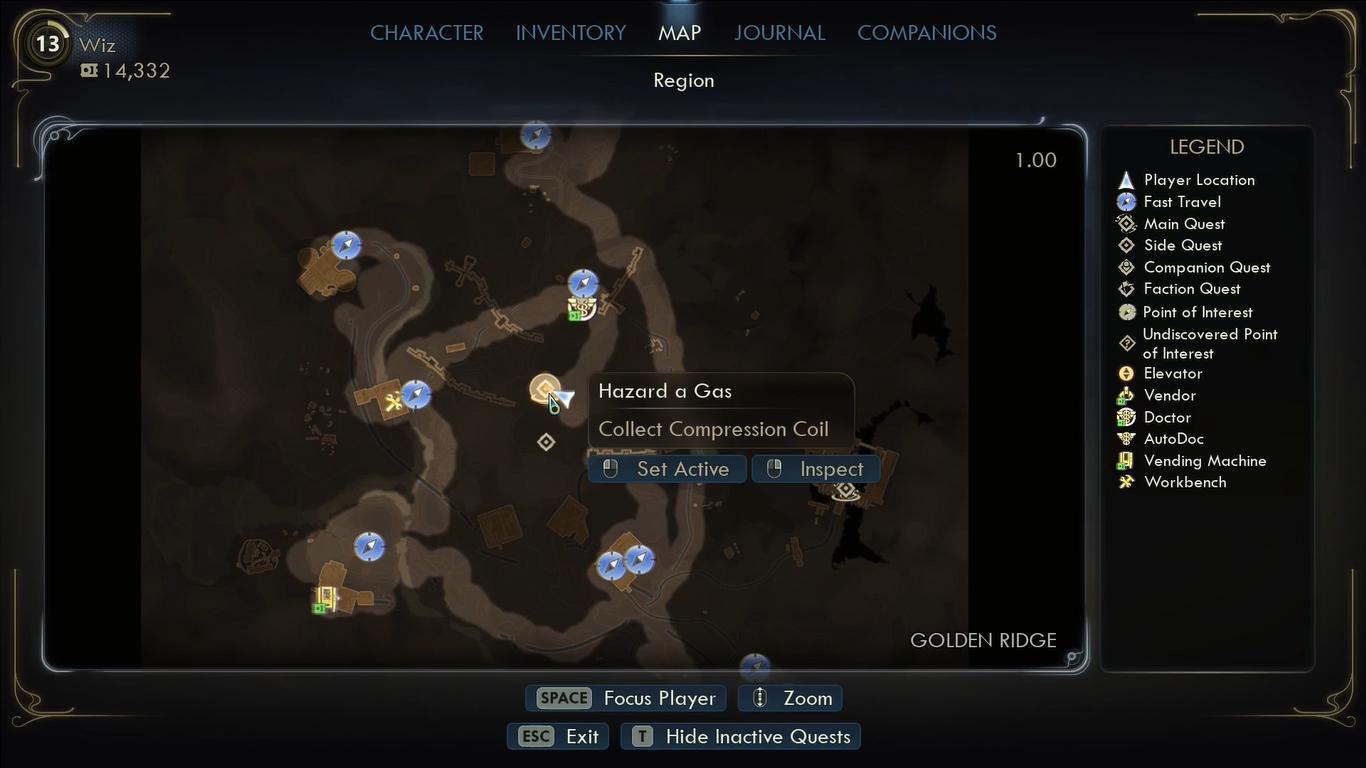
You'll be able to find the first compression coil pretty easily. There will be a quest marker that will lead you to a small landing pod south of the outpost. You'll need to head to the structure and claim the coil inside.
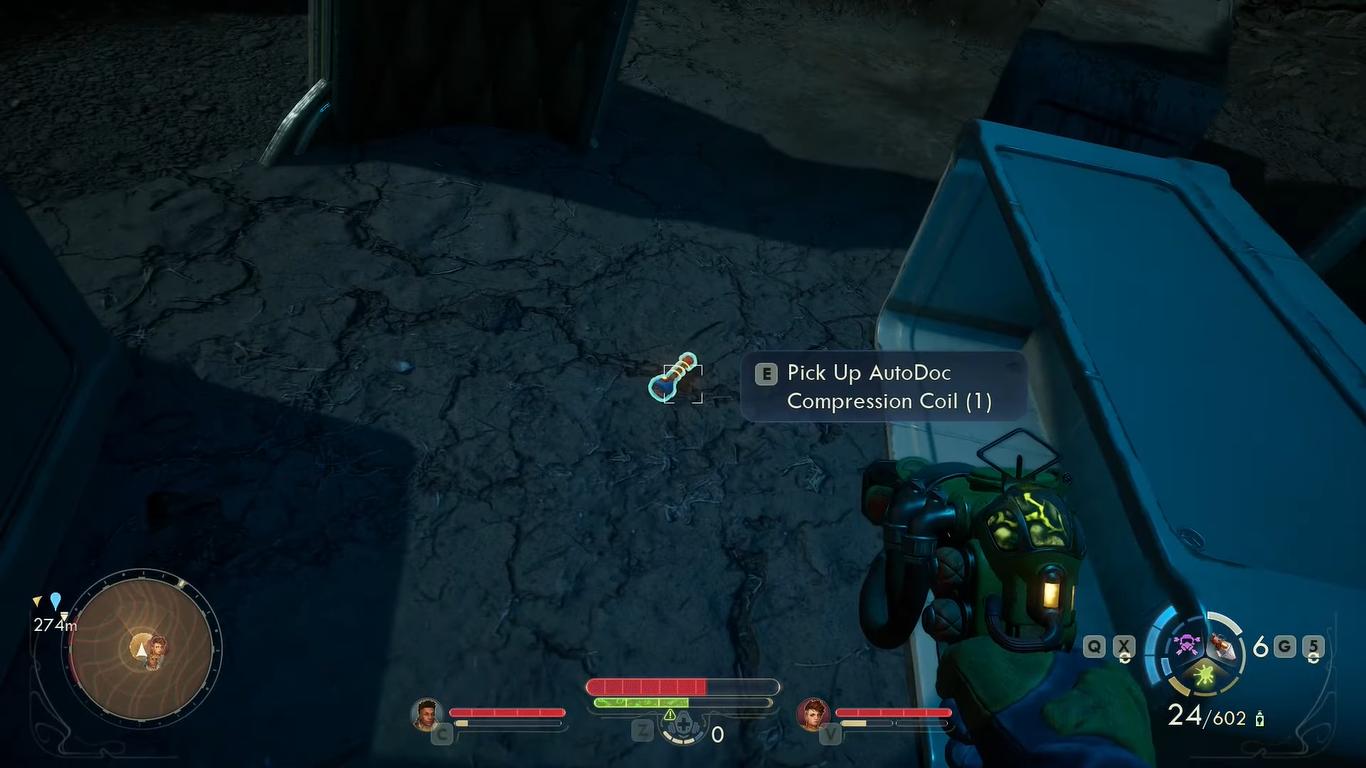
Compression Coil #2
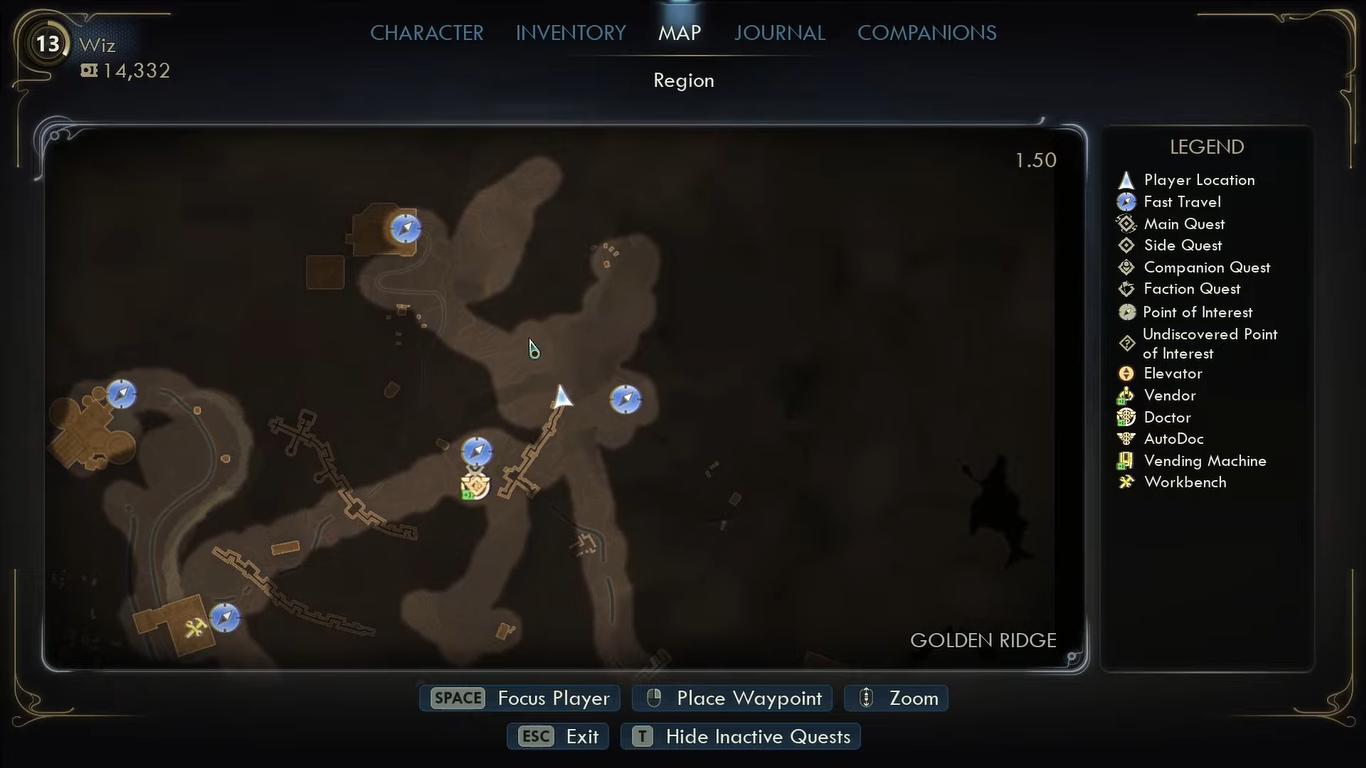
The second coil is a bit tricky to find. You'll first want to go past the trenches from Outpost Opportunity, and then there will be a path that will eventually take you beside a rock.
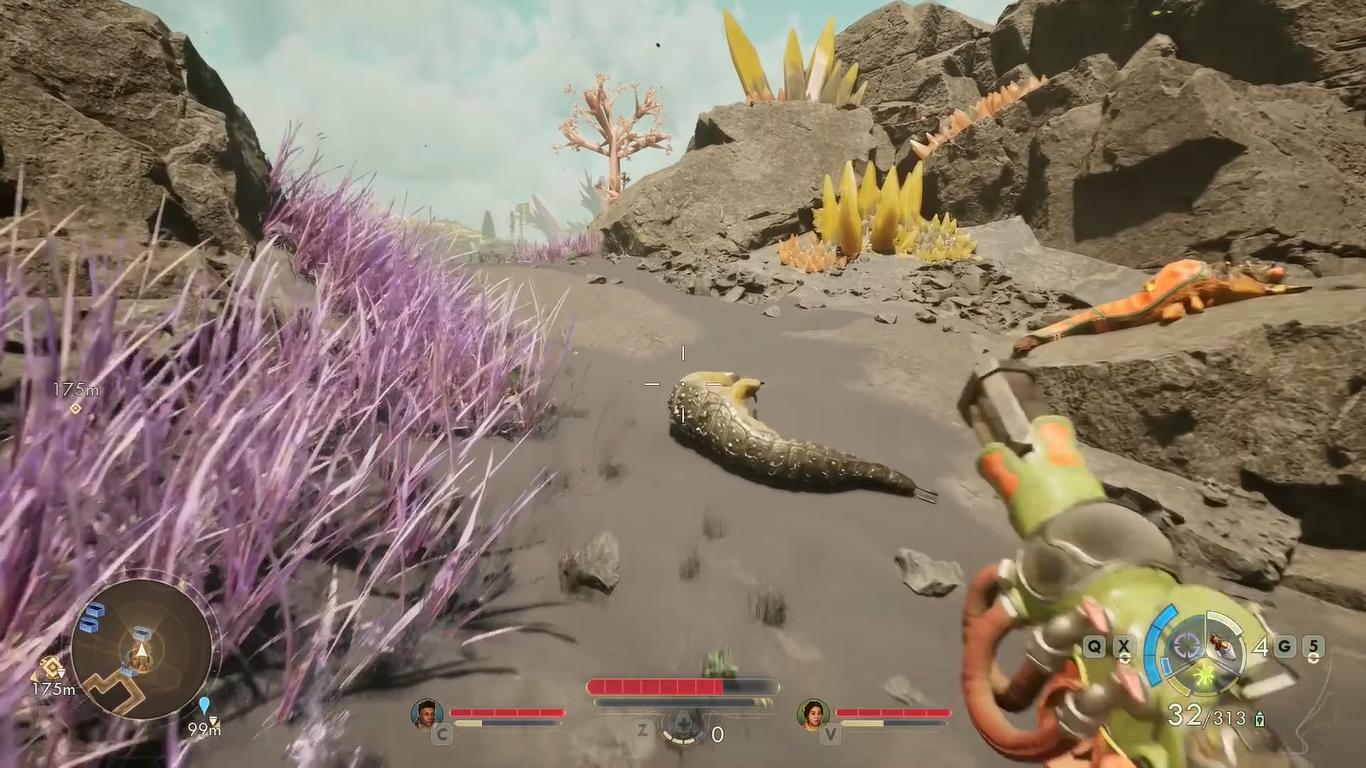
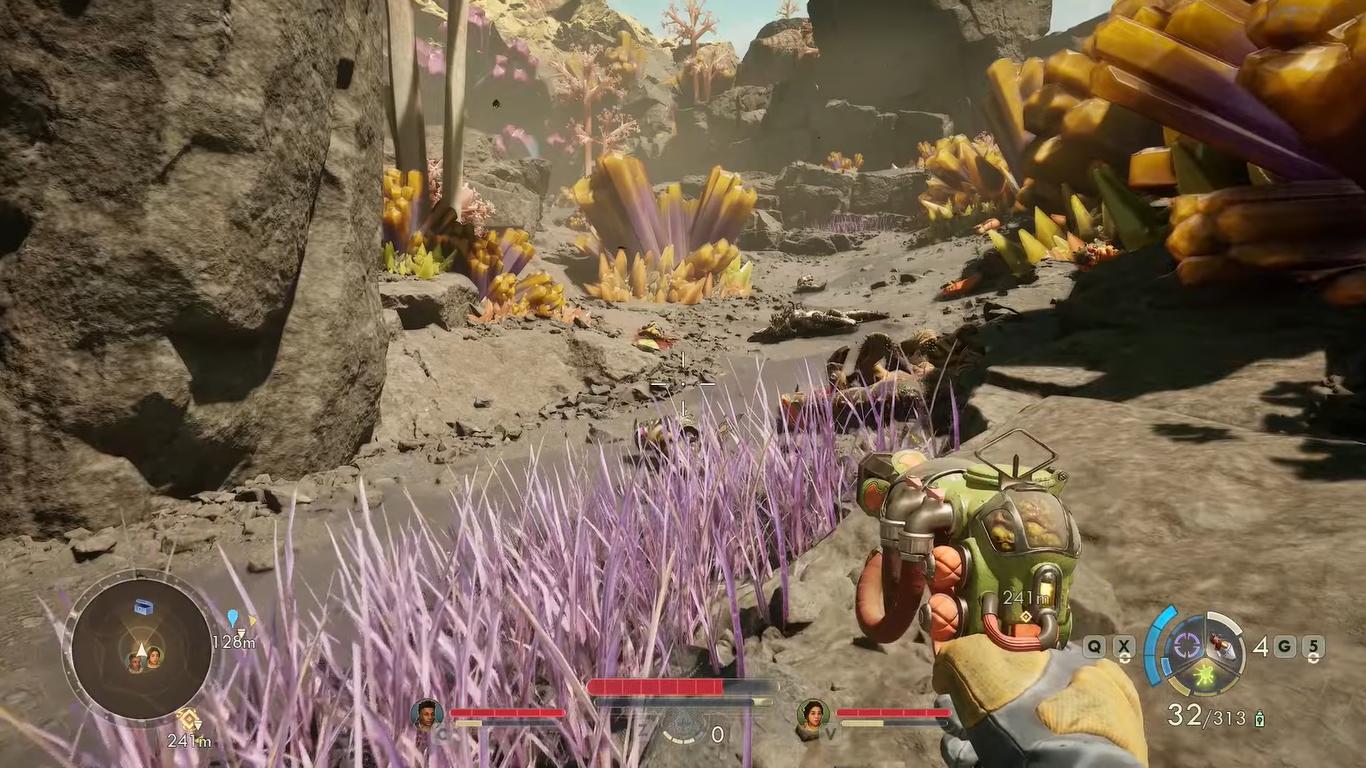
You'll want to climb the rock and then proceed staright. When you walk straight ahead, there will be another rock you'll need to climb that as well, which will take you to the crystal area.
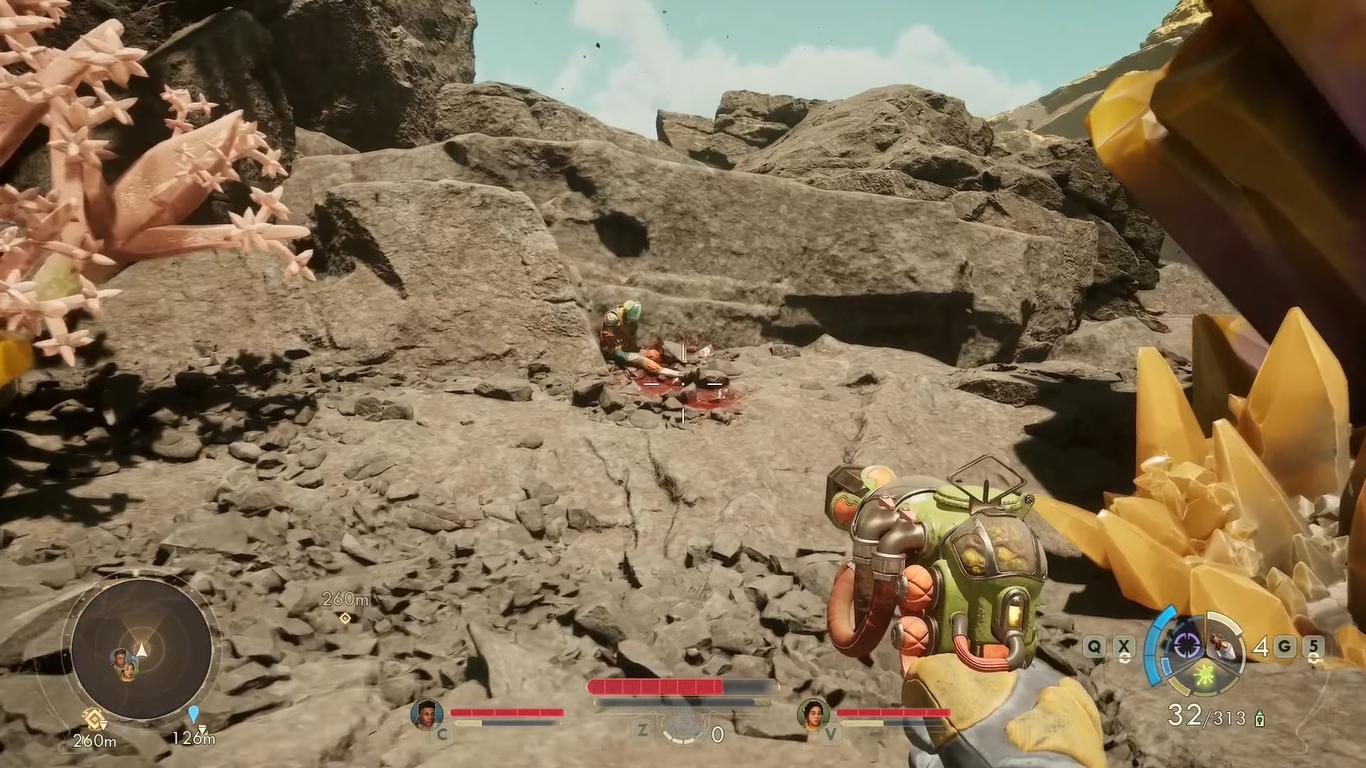
In the crystal area, there will be a dead body in front of one of the rocks, and beside the crystals. You want to climb that specific rock, and once you're up, the platform down below, you will see the second coil.
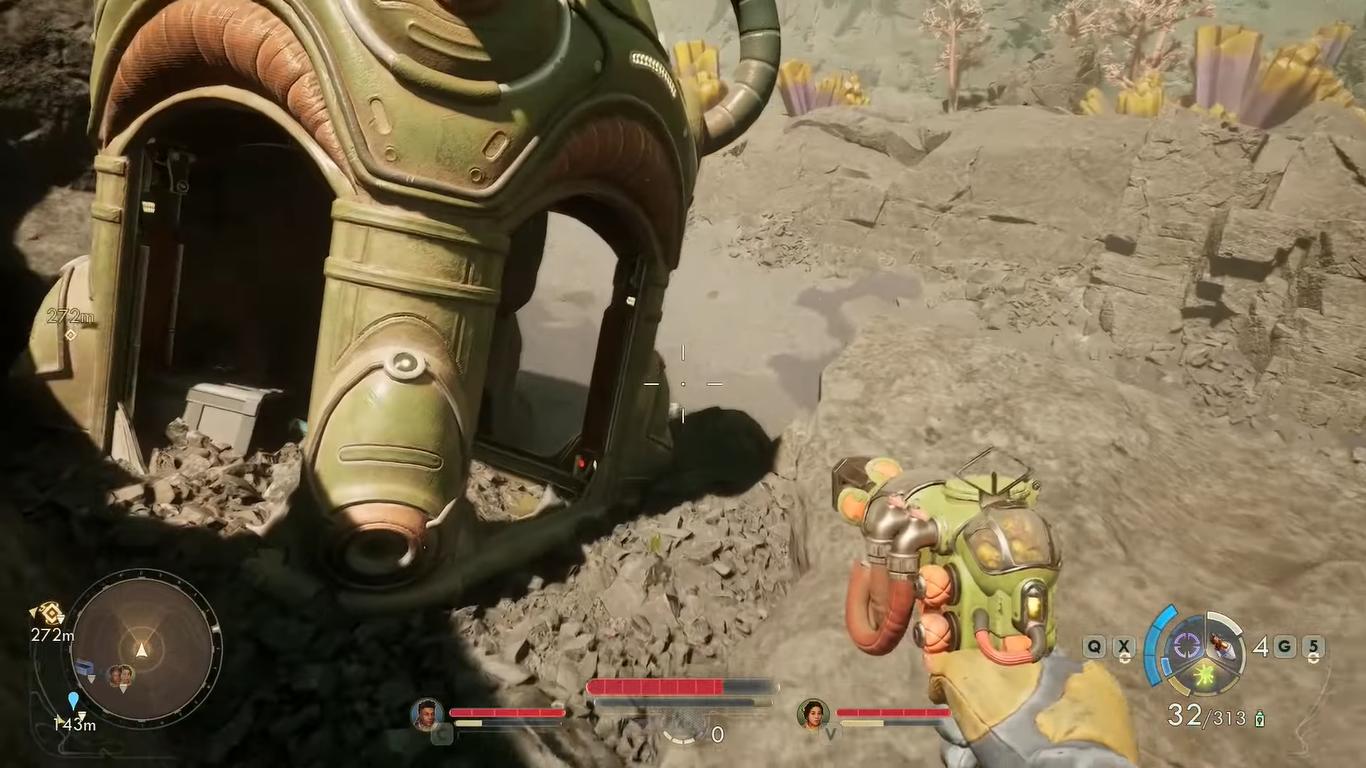
Compression Coil #3 & #4
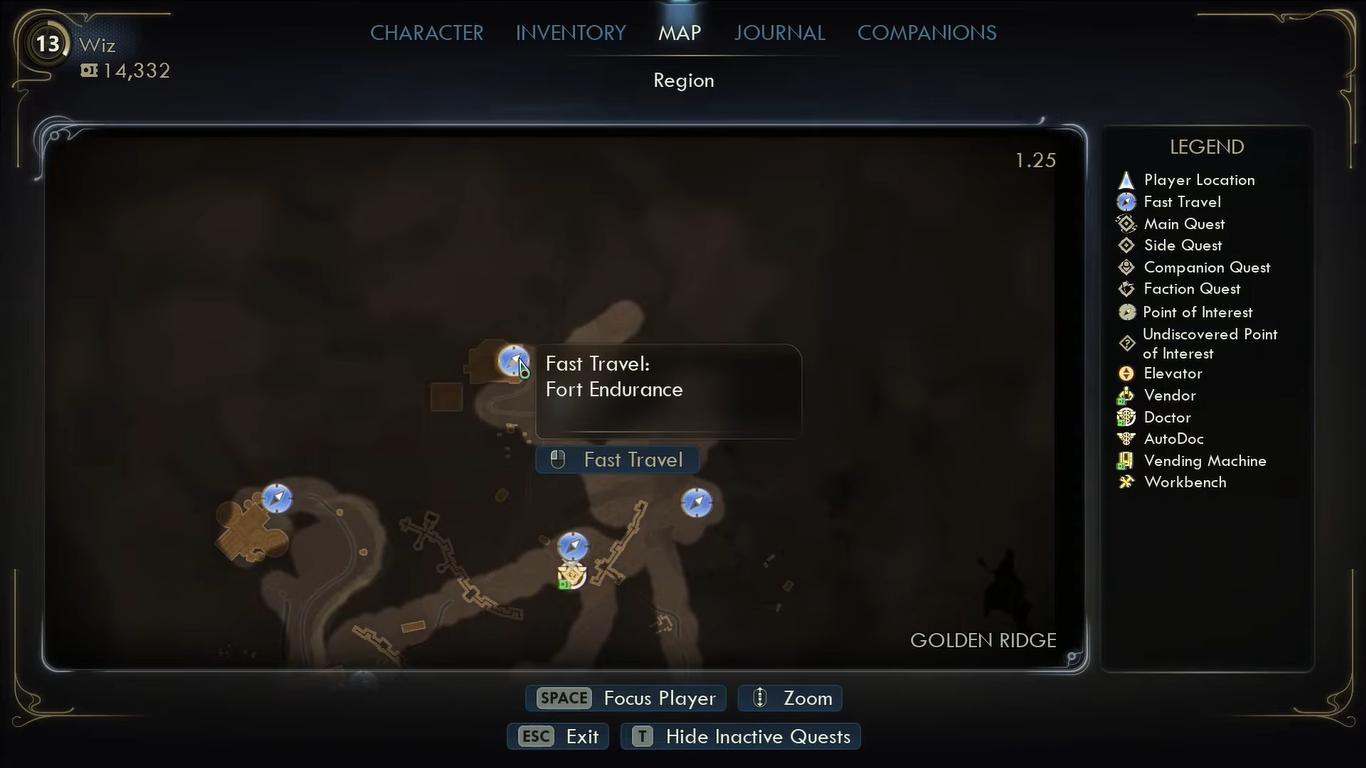
Underneath the mountain of Fort Endurance, there will be a path. Follow the path until you reach five pillar-like structures.
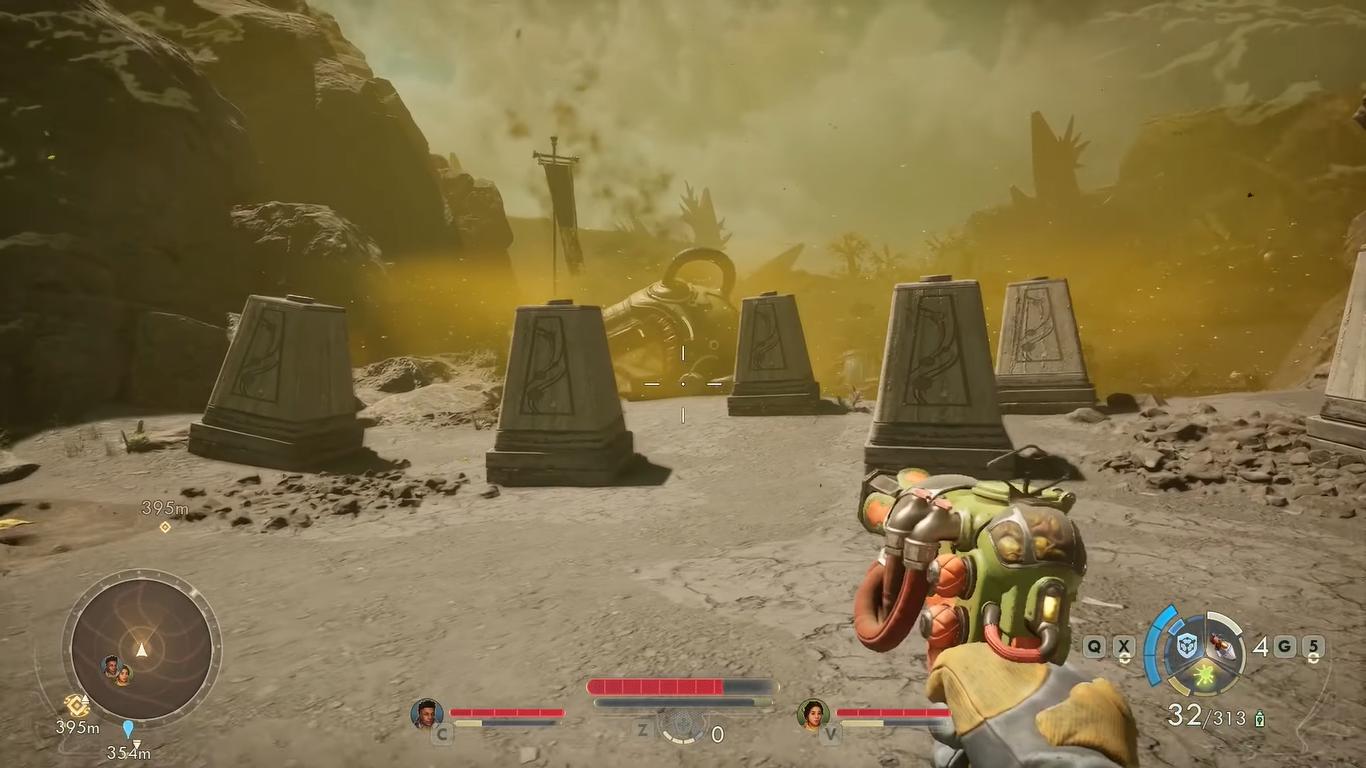
It is there that you'll find the compression coil. You'll also want to be careful, as the area is filled with toxic gas, so equipping adequate protection is recommended.
Compression Coil #5, #6 & #7
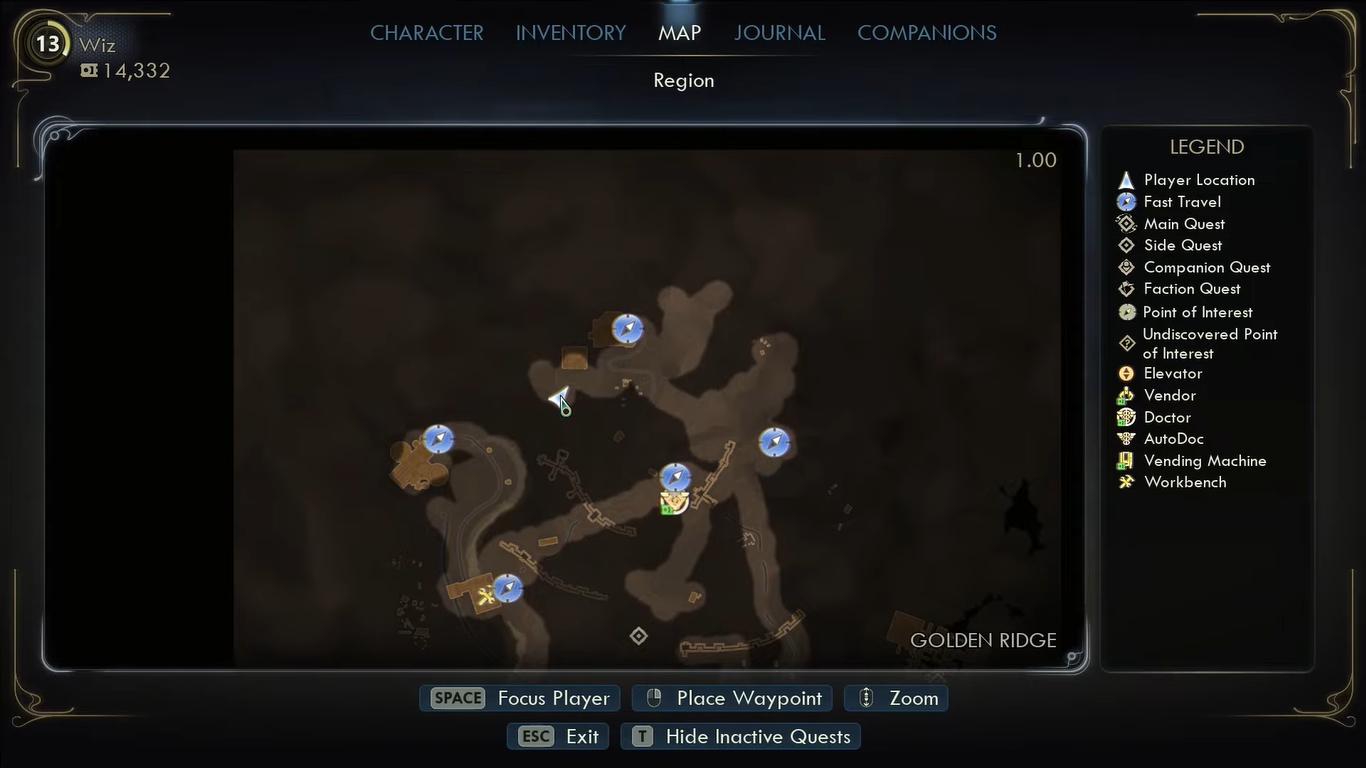
Around the southwest of Fort Endurance, there will be a small trench beside an entryway to a large crystal cave network. The area is going to be filled with mines and hostile creatures.
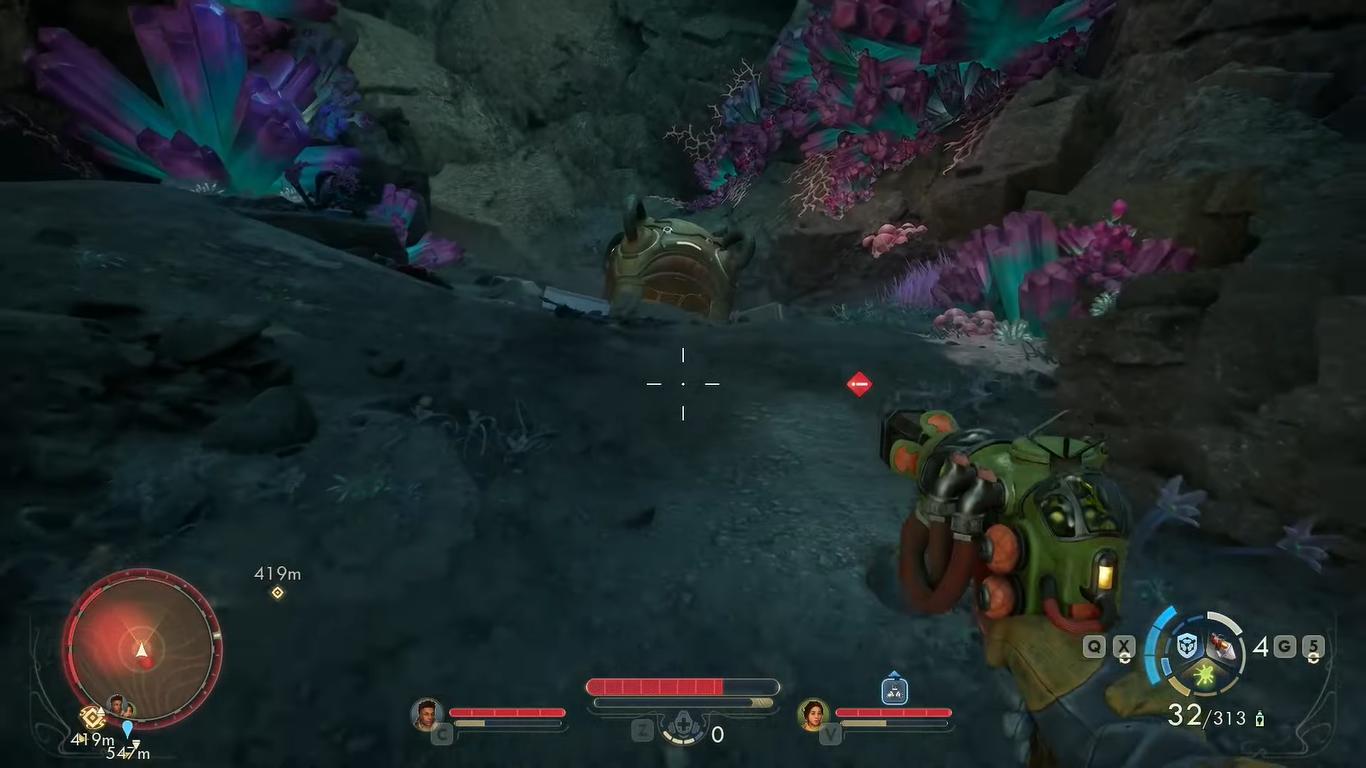
Inside the cave, you will find three more coils. One will be beside a corpse, the other two will be found together deeper inside.
Compression Coil #8
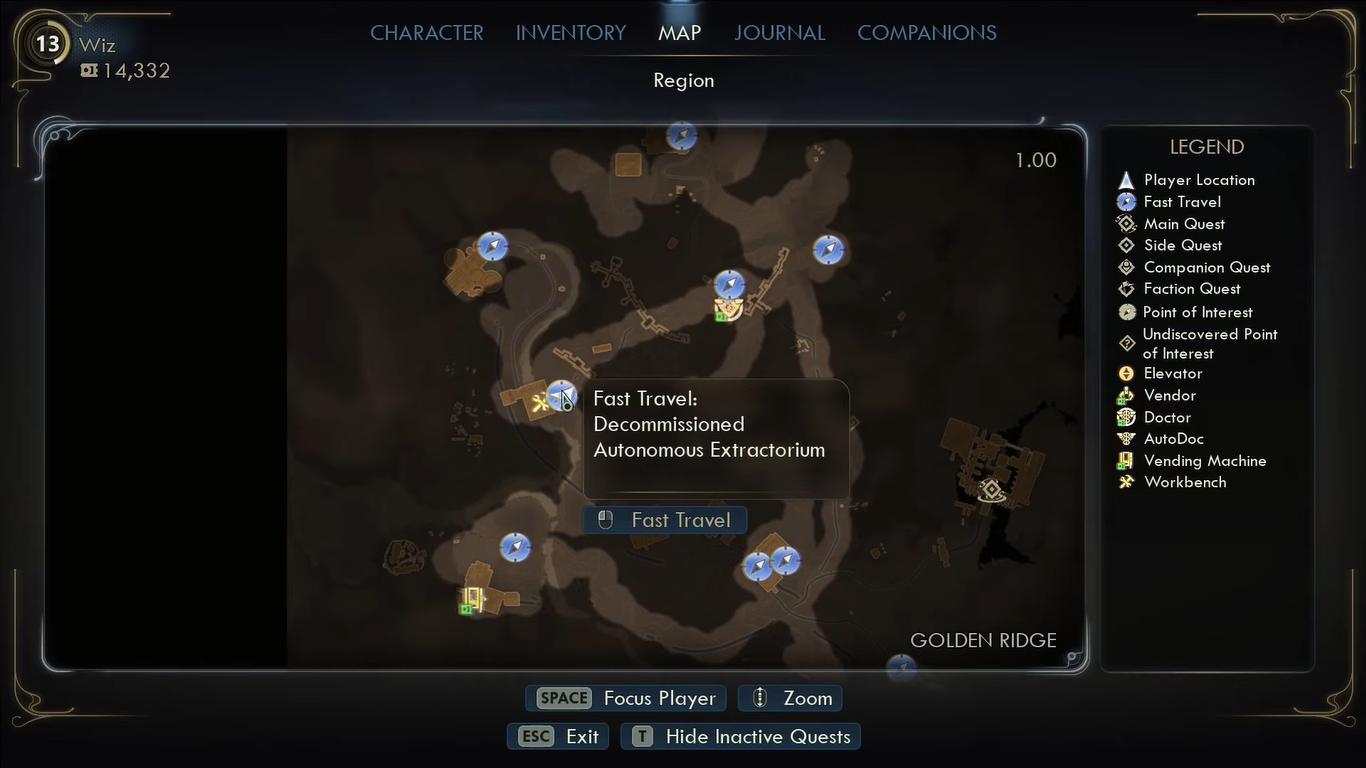
For the eighth coil, you will want to travel south to the Decommissioned Autonomous Extractorium. From the main entrance, you'll want to walk across the entire area, leaving the Extractorium until you reach a mining truck.
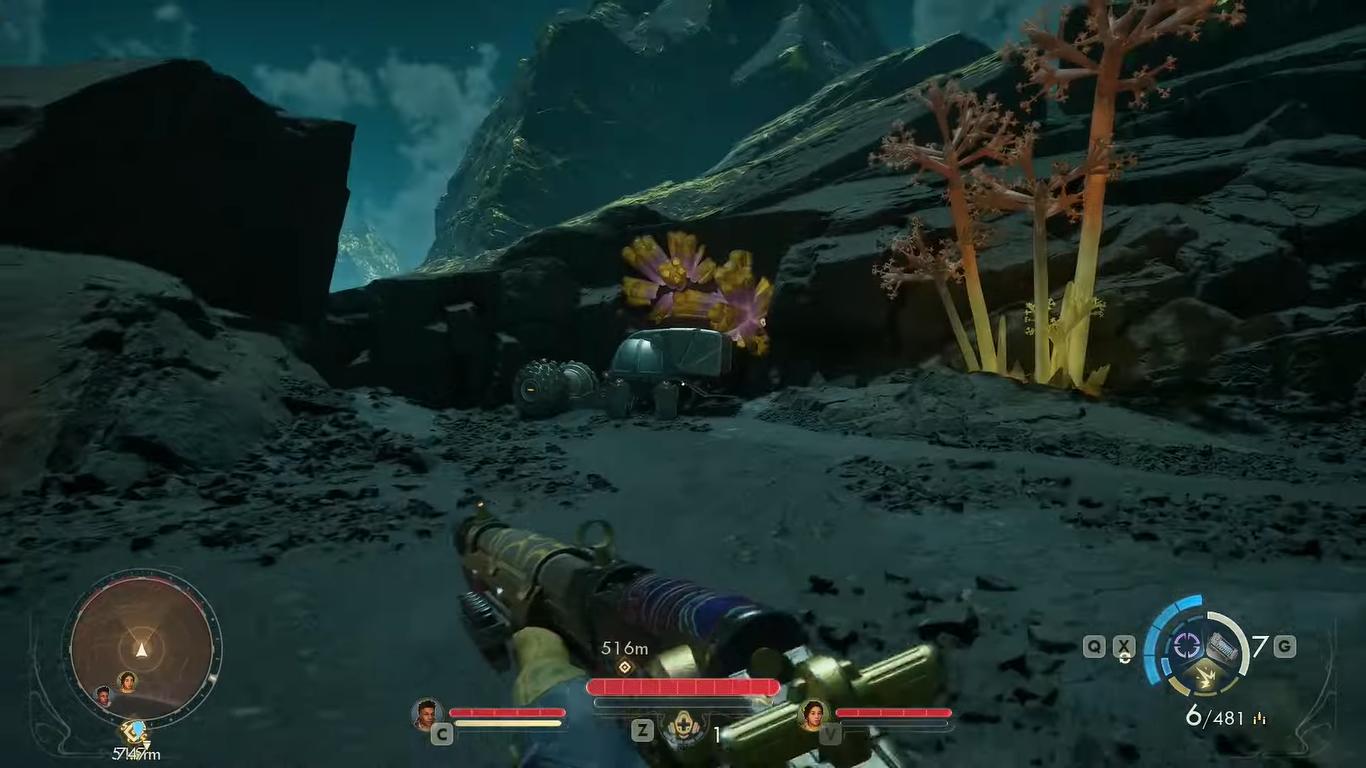
Then head right up until you see a tree, and head left. After which, you'll want to follow the small pathway that will lead you up. Following the path will lead you to a landing pod containing the Compression Coil.
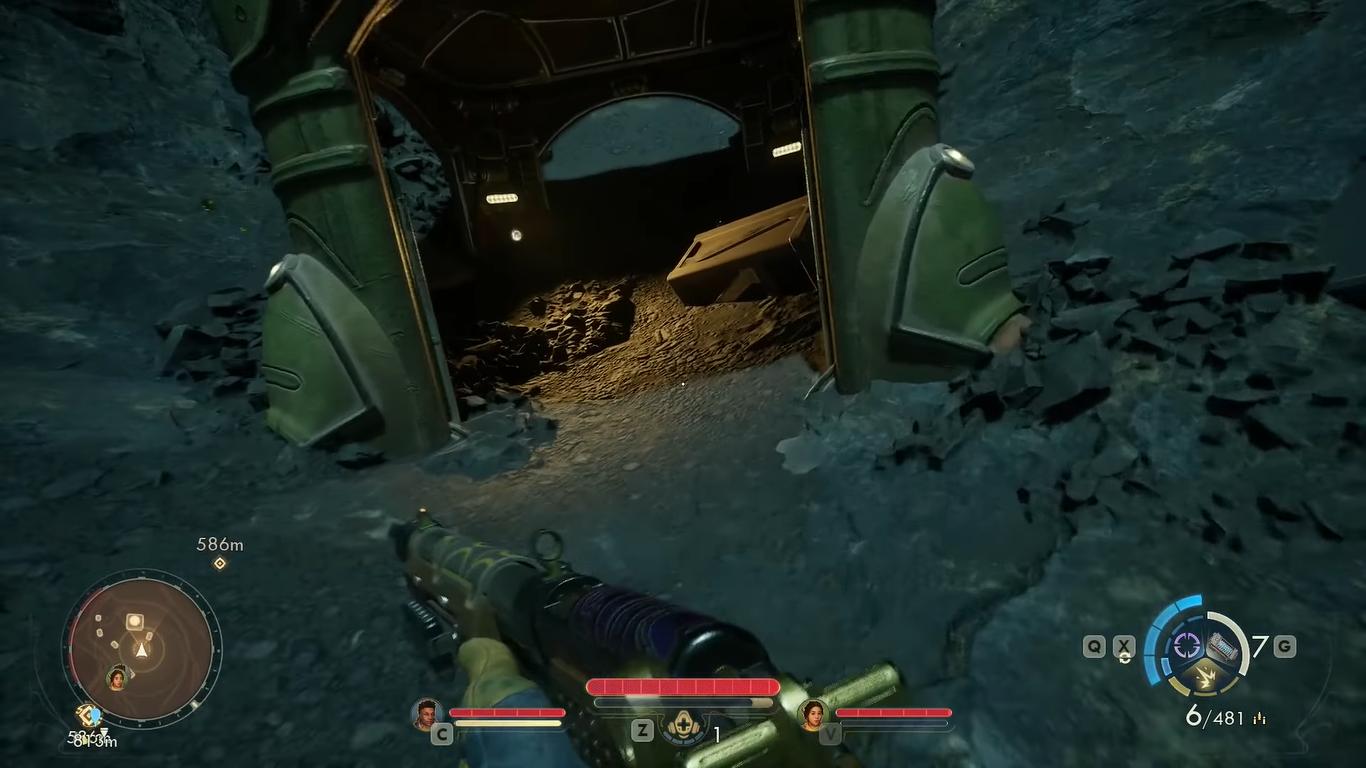
Compression Coil #9 & #10
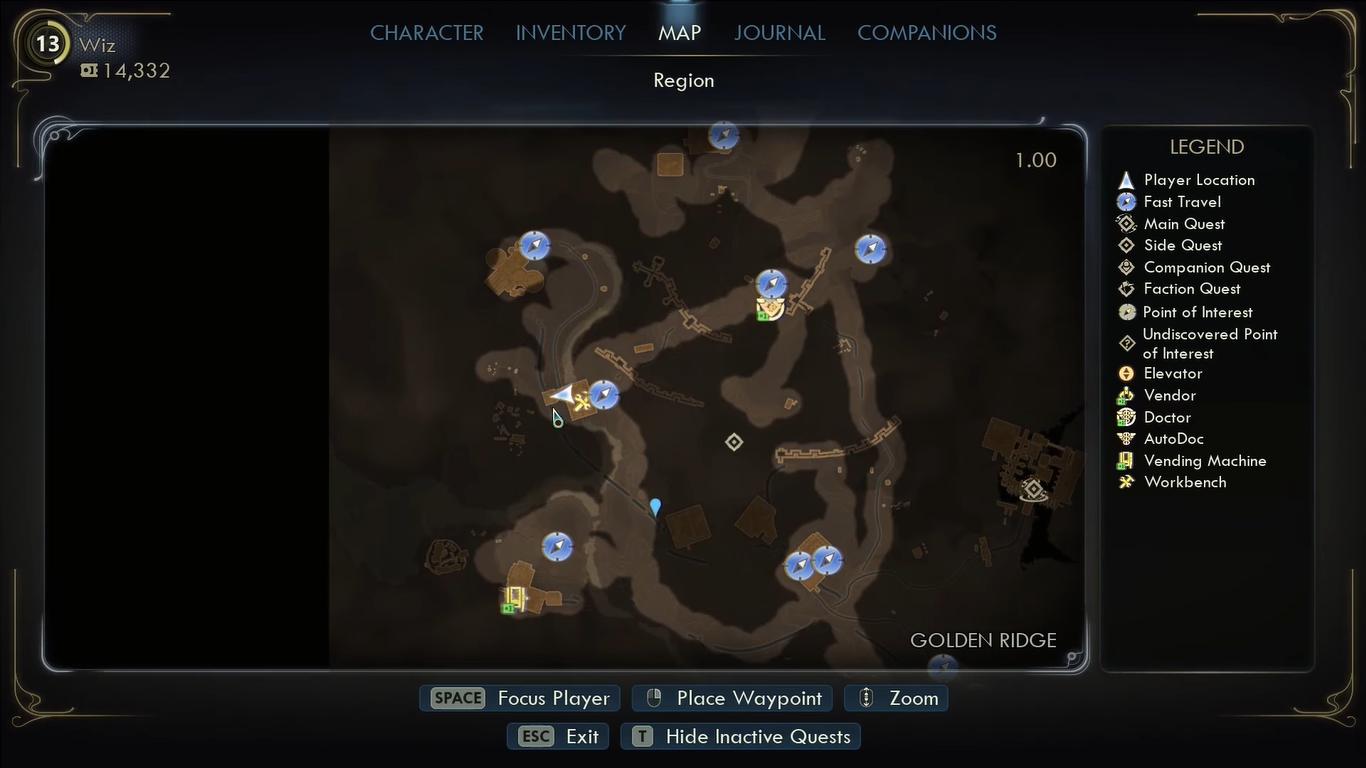
Finding this compression coil can be a bit tricky. You'll first need to go to the train station and then follow the mountain path by walking across the railway. It will take you a while.
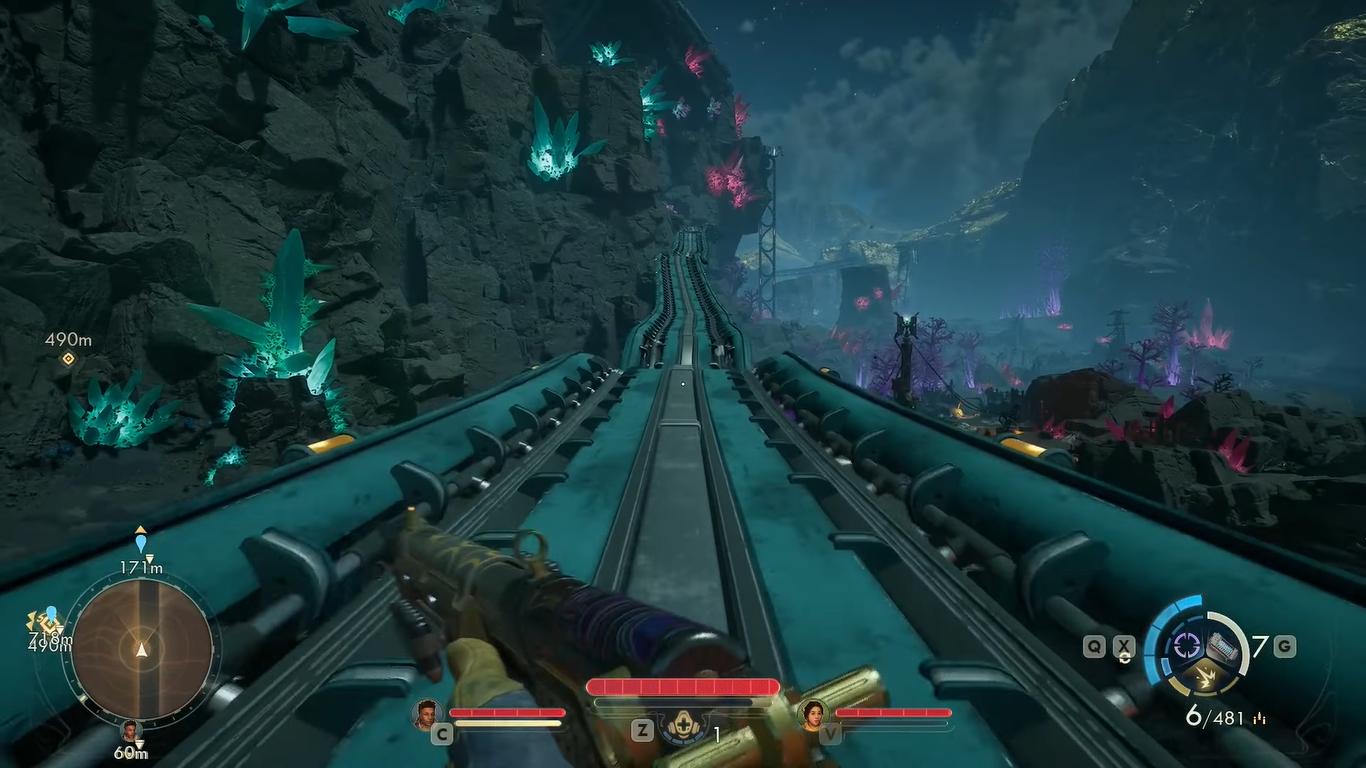
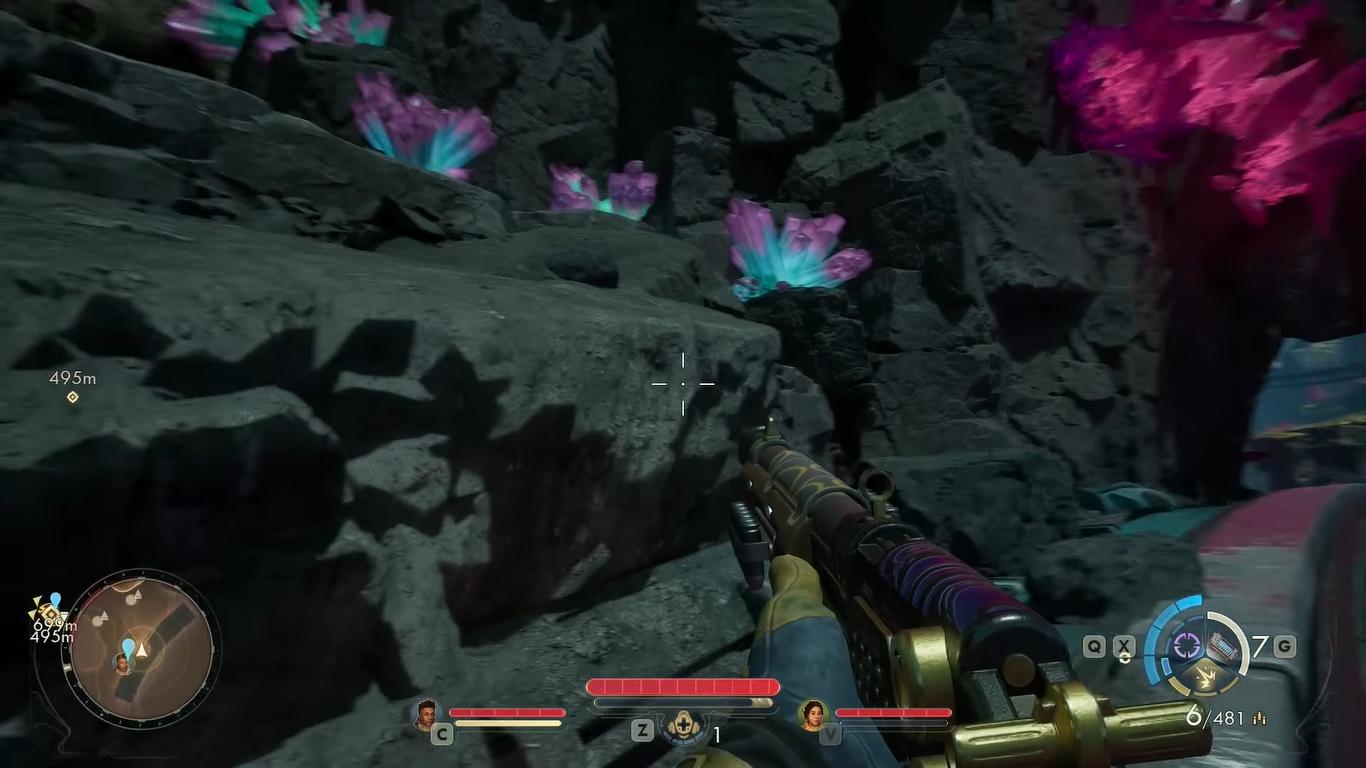
After jumping across a few platforms, there will be a rock with a few crystals on the left that touches the tracks. You'll want to climb the rocks up and go ahead following the path.
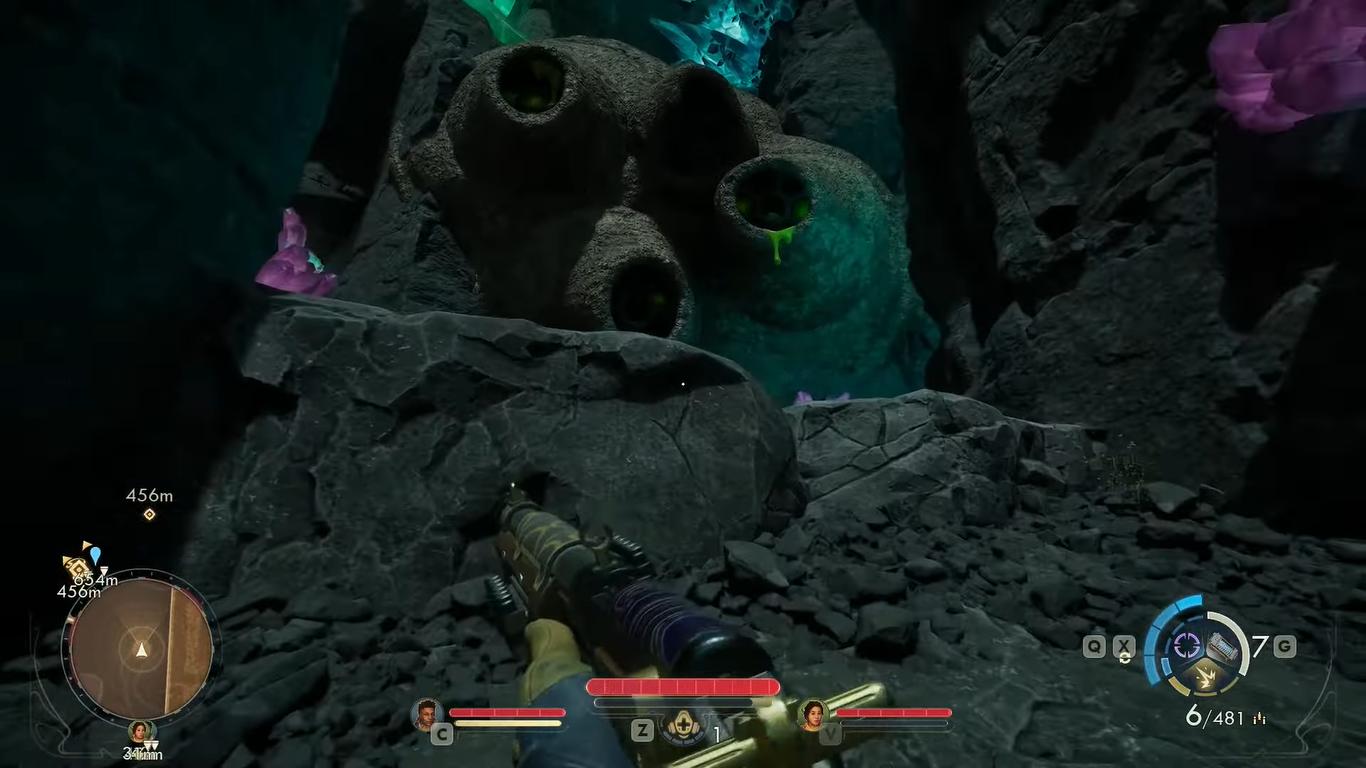
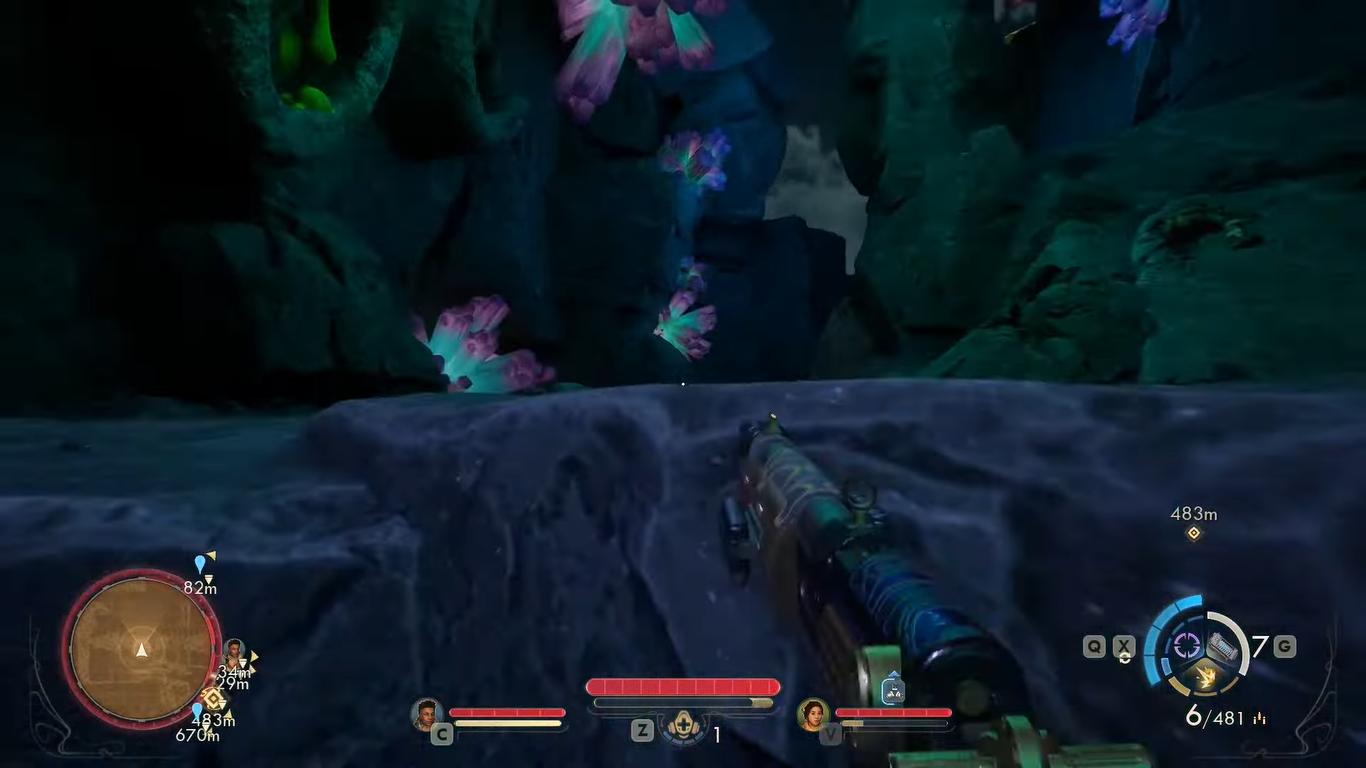
After reaching the weird, large rock with the holes, head right and up to another path that goes right and up. Go straight ahead and jump across the crevasse. After which, there will be another railroad path for you to follow.
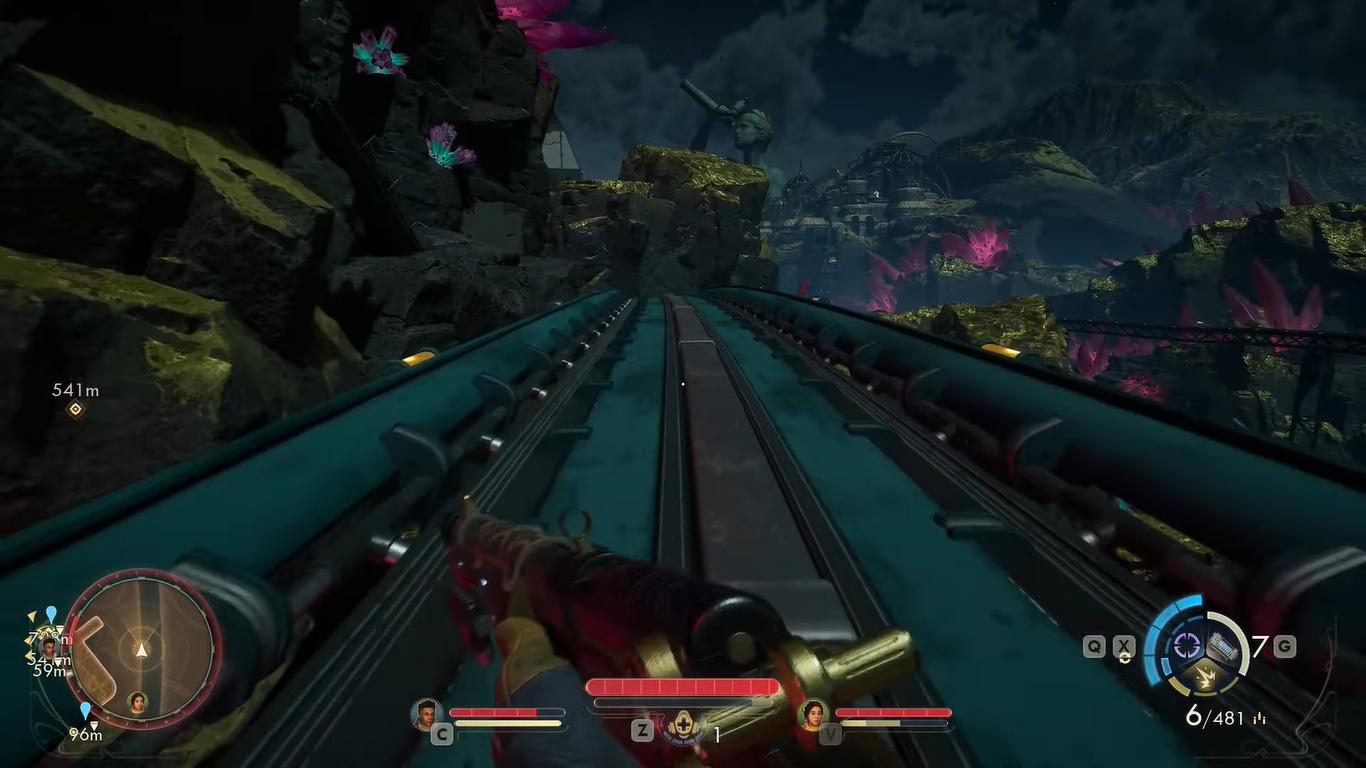
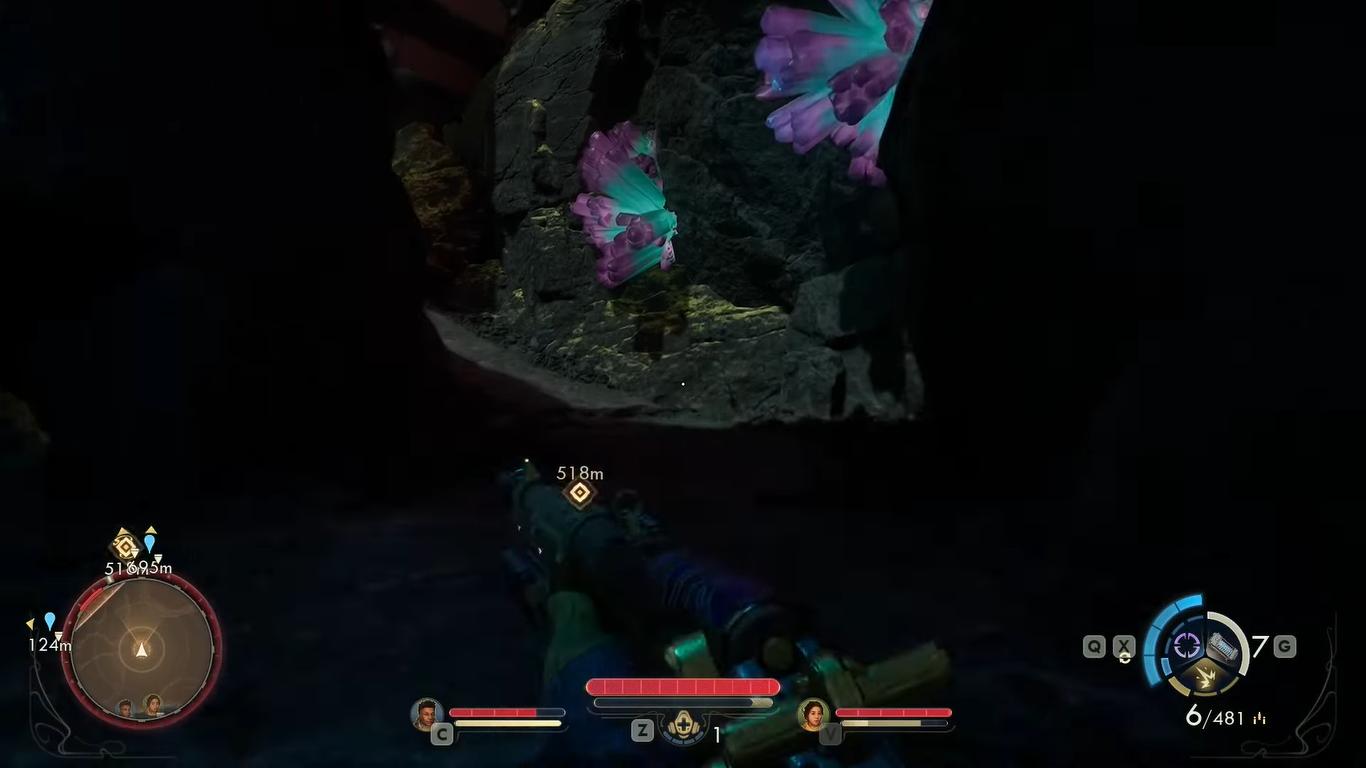
You will need to follow it until you reach another rock on the left-hand side, which will be close to the railroad.
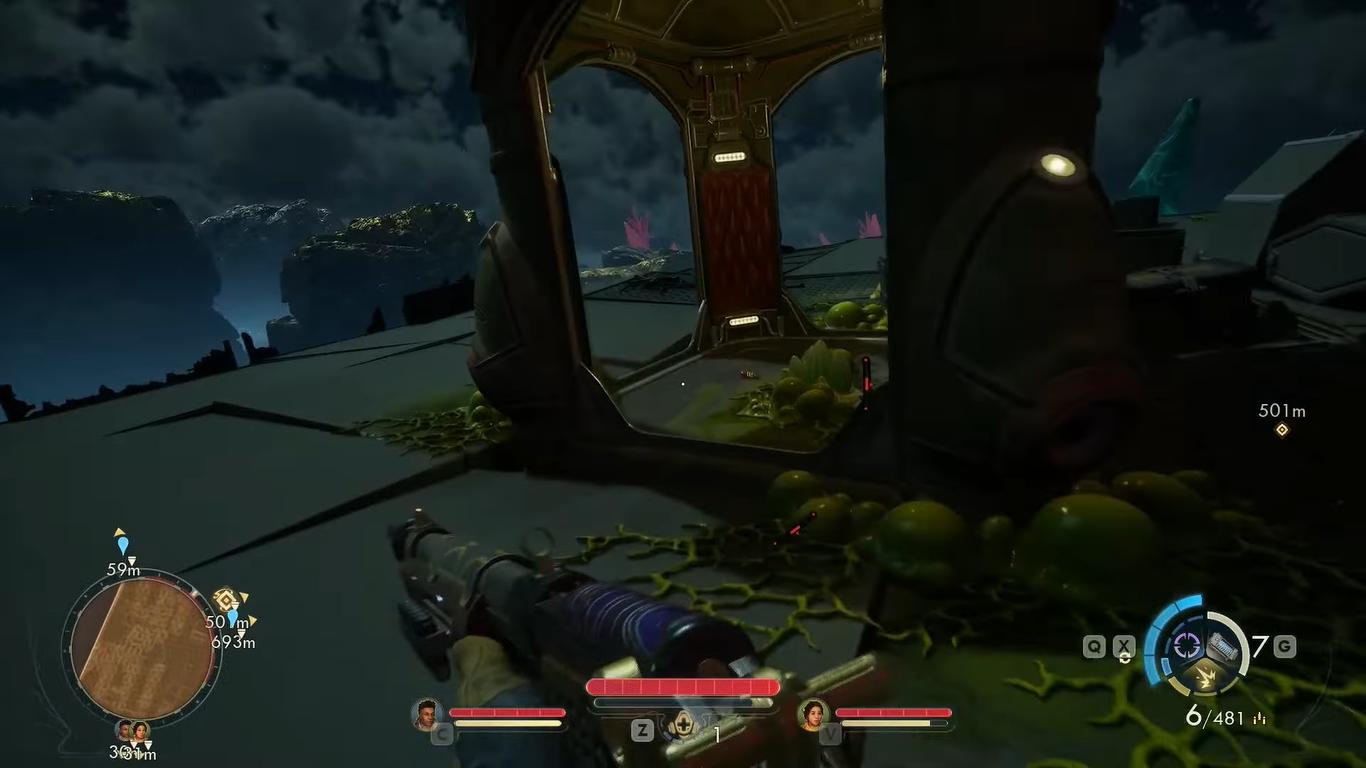
Follow the path up and on the left, there will be a stair-like path which will take you to the roof, where there will be a landing pod containing two Compression Coils.
Compression Coil #11, #12 & #13
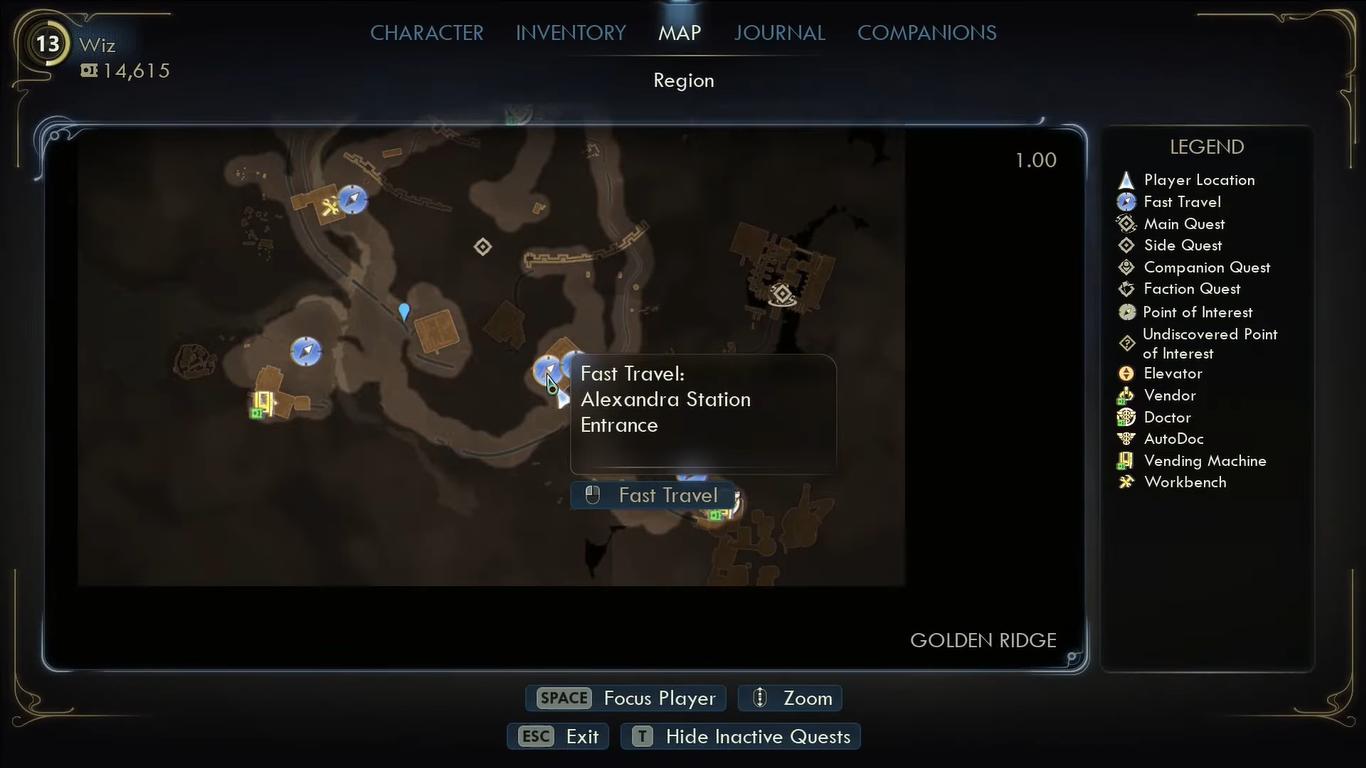
From the Alexandra Station entrance, you will need to go around it and go north by the mountains, where there will be a bunch of crystals scattered everywhere.
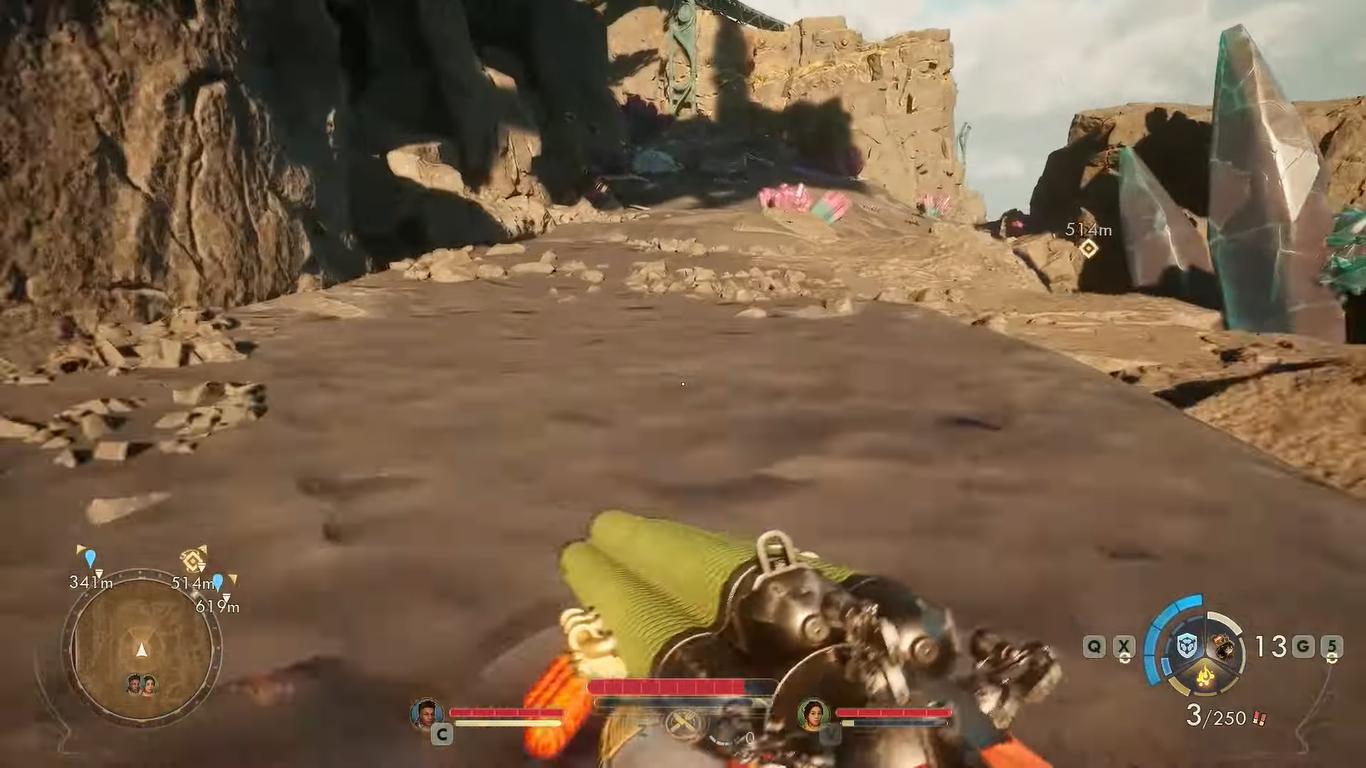
Following the path, head left, and you'll need to head left again on the same path. After which, you'll find a landing pod containing three coils.
Compression Coil #14 & #15
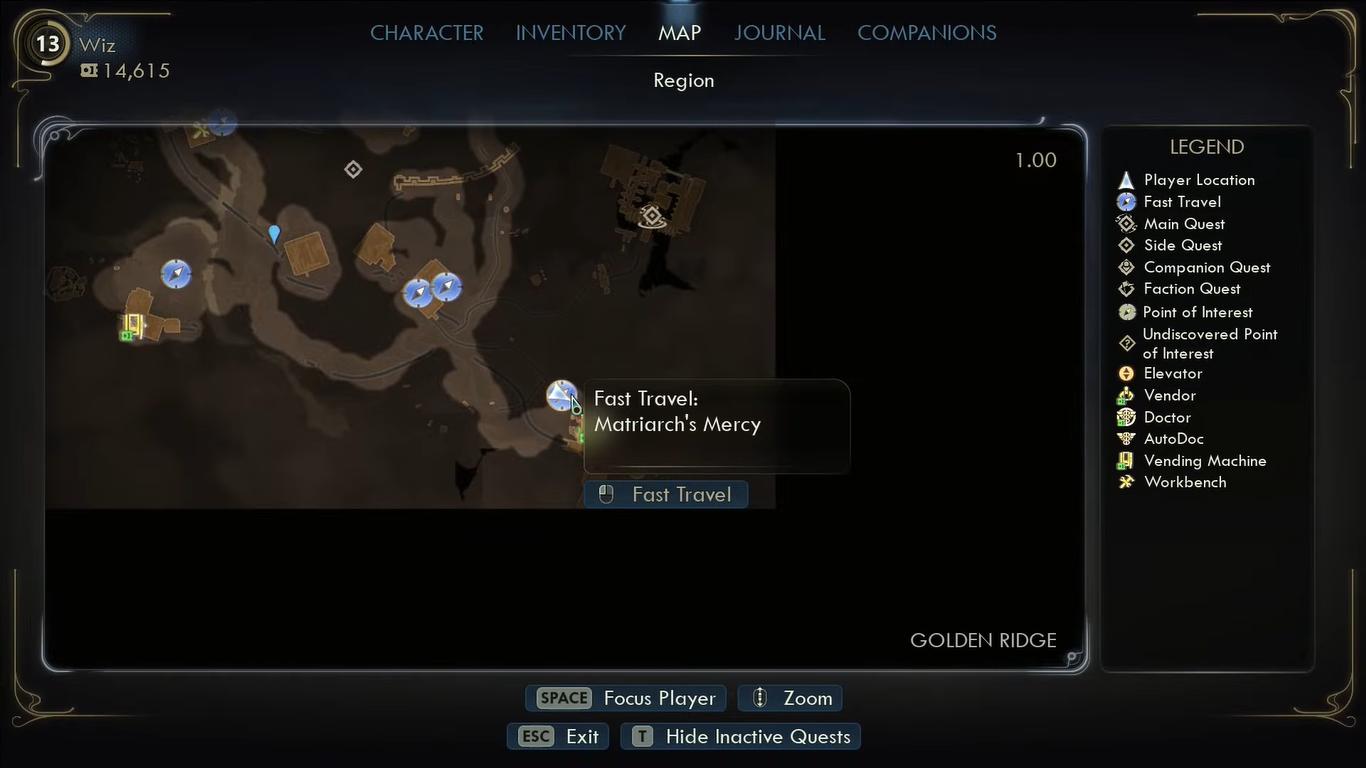
From the Matriarch's Mercy main entrance, you will need to head right off the pathway, where there will be a bunch of rocks scattered everywhere around a bunch of trees.
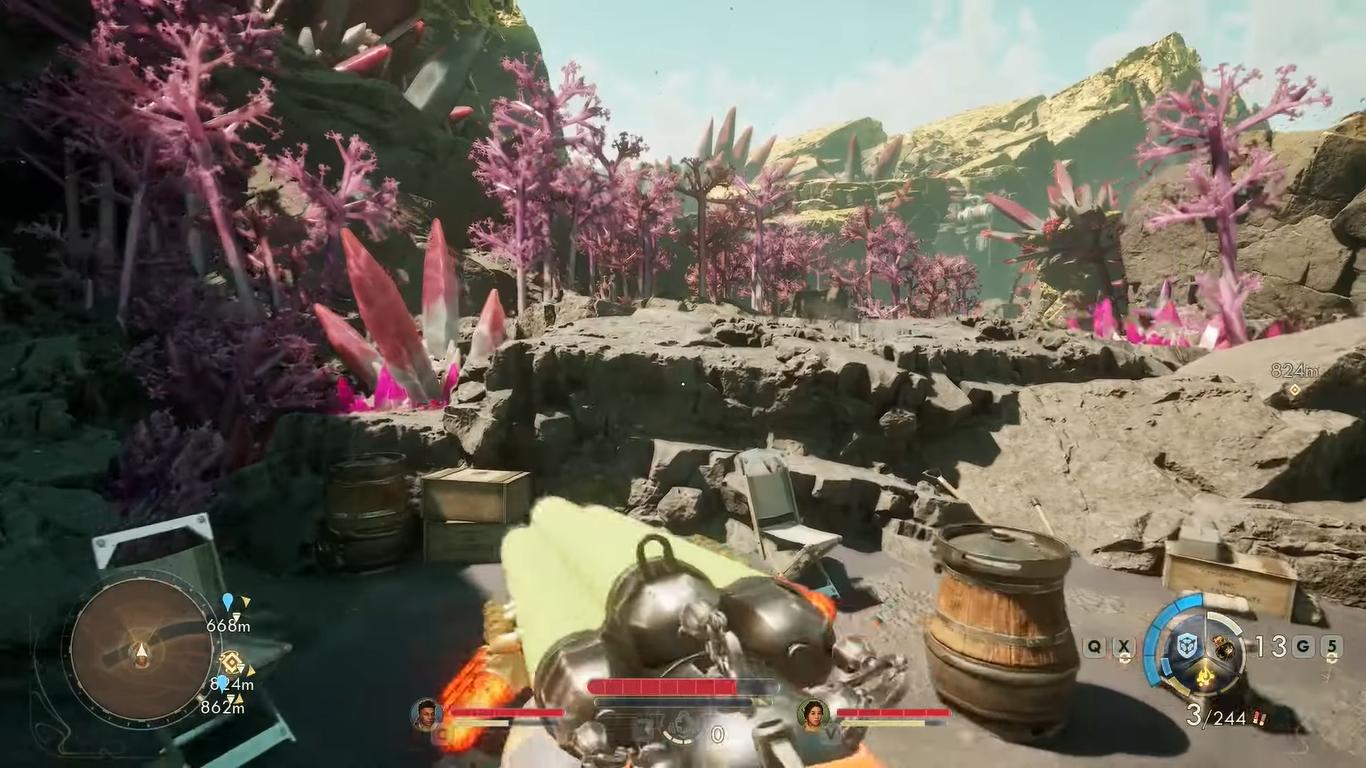
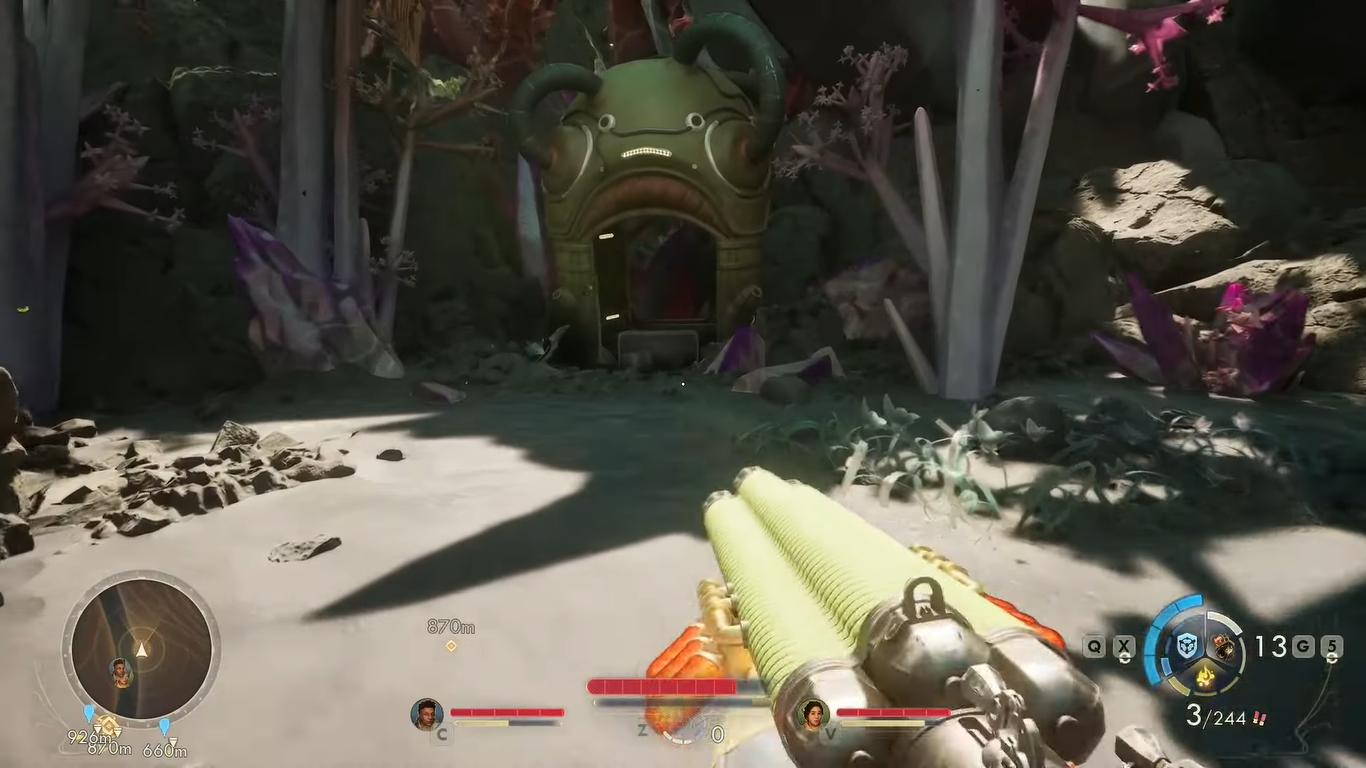
Going straight ahead and looking at the left-hand side beside the hill, you'll find a landing pod containing two coils.
Once you've collected all the coils, head back to the outpost and give them to the Medic to complete this tedious quest.
Also, check out our The Outer Worlds 2 Review and other guides below:
- The Outer Worlds 2 Beginner’s Guide | Tips & Tricks
- The Outer Worlds 2 Guide | 5 Mural Locations
- The Outer Worlds 2 Guide | Inez Grabble or Raptidon Graft
- The Outer Worlds 2 Guide | Mysterious Cave
- The Outer Worlds 2 Guide | How to Find Victor (N-Ray Range)
- The Outer Worlds 2 Guide | How to Pickpocket
- The Outer Worlds 2 Guide | How to Survive Zynarium Zones
- The Outer Worlds 2 Guide | Vox Ship Crash Decision
- The Outer Worlds 2 Guide | How to Level Up Fast
- The Outer Worlds 2 Guide | N-Ray Lever Puzzle
- The Outer Worlds 2 Guide | All 10 Science Adventures Quarterly Volume Magazine Locations
- The Outer Worlds 2 Guide | How to Farm Bits
- The Outer Worlds 2 Guide | How to Get Otto’s Information (Puzzle)
- The Outer Worlds 2 Guide | How to Upgrade Companions
- The Outer Worlds 2 Guide | How to Repair Thermal Transfer
- The Outer Worlds 2 Guide | Now Hiring Invaluable Disposable Agent Quest
- The Outer Worlds 2 Guide | Fiddling with Furfleeting Fermentations Quest
- The Outer Worlds 2 Guide | Walking on Eggshells Quest
- The Outer Worlds 2 Guide | Deviations Under Duress Quest
- The Outer Worlds 2 Guide | Mechanical Matriarch Quest
- The Outer Worlds 2 Guide | Water Release Valve System Fuse Location
- The Outer Worlds 2 Guide | Starving Reminder Quest
- The Outer Worlds 2 Guide | Listening for a Clue Quest
- The Outer Worlds 2 Guide | Contraband Contrivance Quest
- The Outer Worlds 2 Guide | Confession of a Sub-Finagler Quest
- The Outer Worlds 2 Guide | How to Save Hostages (Puzzle)
- The Outer Worlds 2 Guide | How to Get Rookie’s Reward
- The Outer Worlds 2 Guide | Alexandra Monastery Observatory Puzzle
- The Outer Worlds 2 Guide | How to Get Gary Armor (Tentacle)
- The Outer Worlds 2 Guide | All Pet Locations
Contributor, NoobFeed
Latest Articles
No Data.