

Ghost of Yōtei Guide | All Armor Sets Location
Here’s a guide on all of the armor sets in Ghost of Yōtei.
Game Guide by Joyramen on Oct 17, 2025
Ghost of Yōtei has 13 main armor sets available, each of which will have unique perks and abilities that are well-suited depending on your needs. Collecting all of these armors can help you attain the “All Occasions” trophy, giving you a purpose to collect all of them.
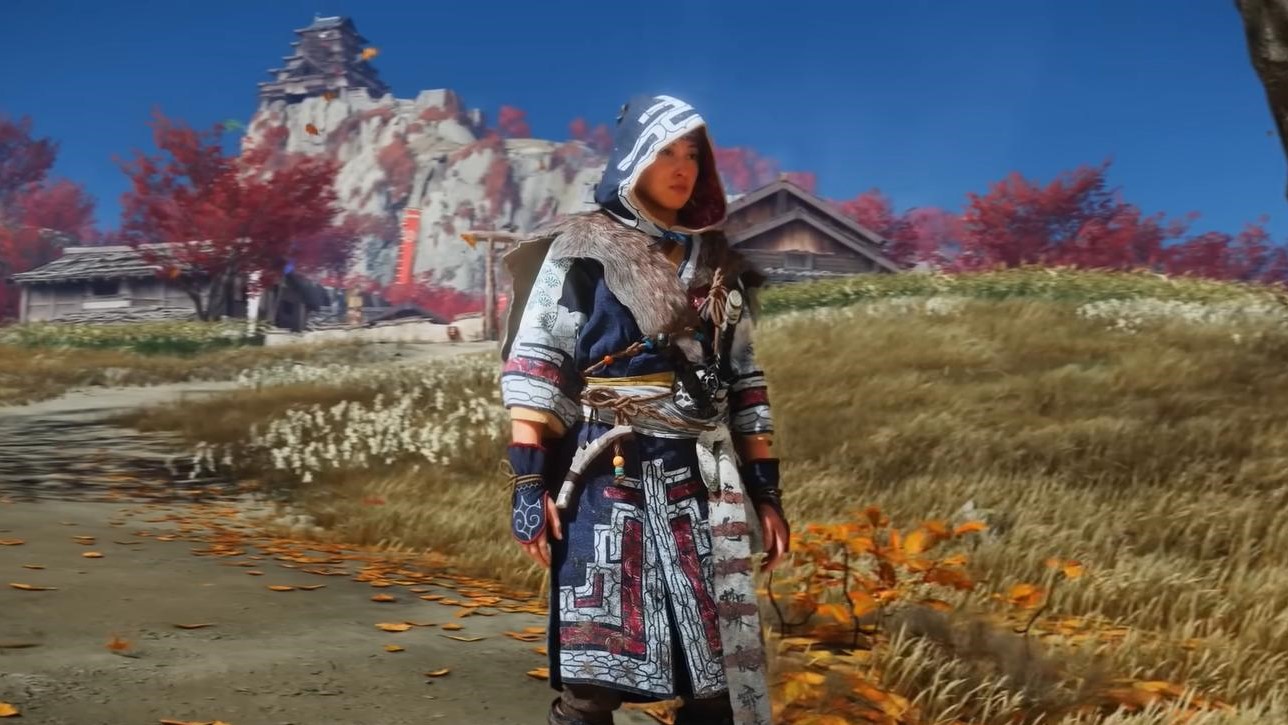
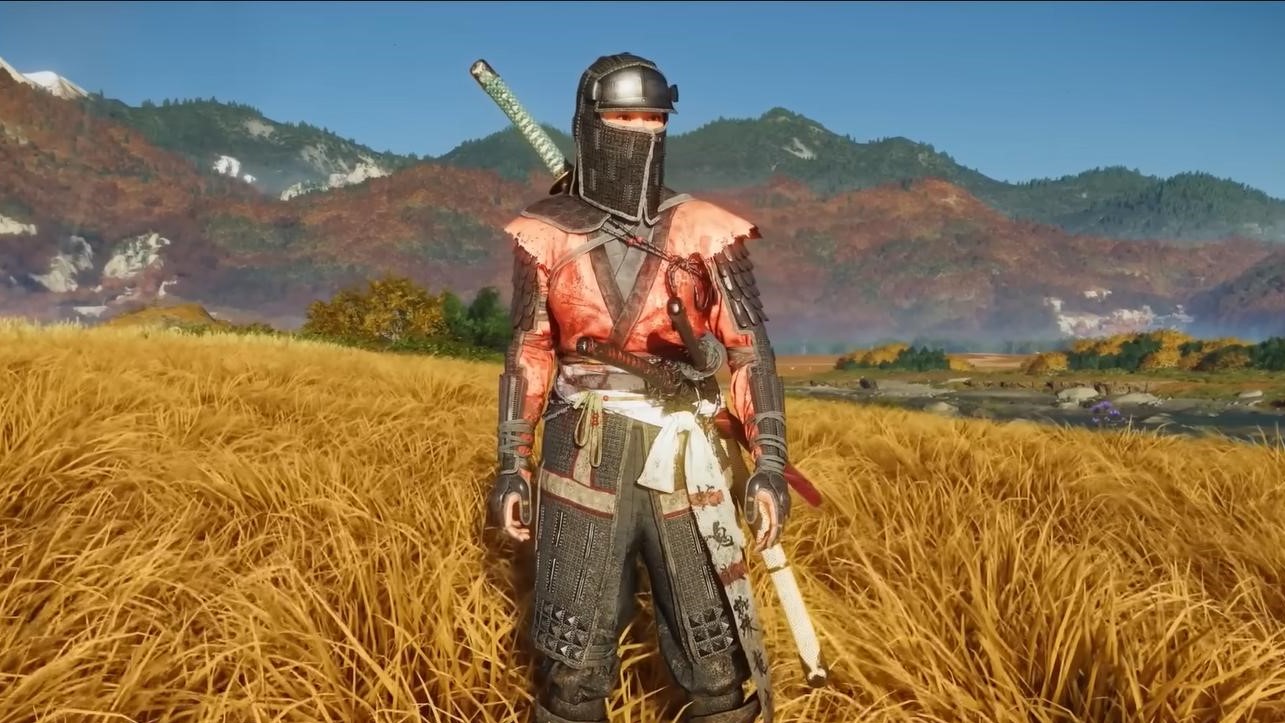
The Onryō Armor
This armor is one of the first armors that you acquired in the game. It might not seem as special from the get-go, but it does get stronger as you progress through the main story.
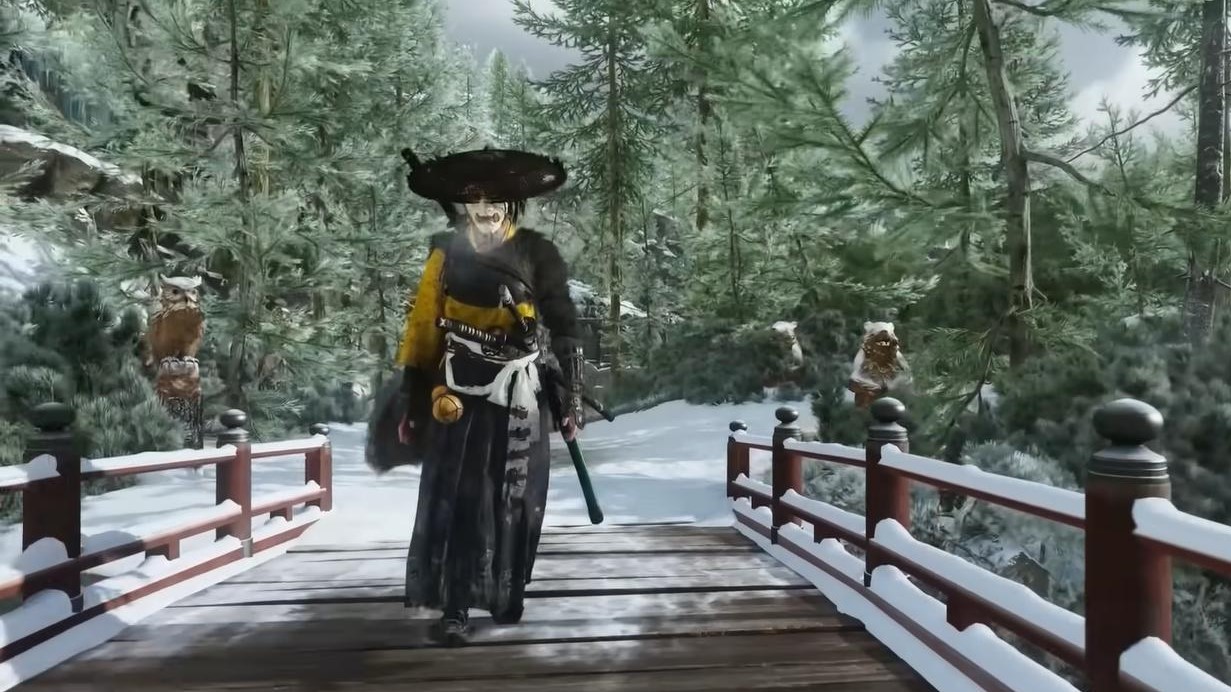
When you upgrade, the outfit will have an established cape and many useful perks.
You’re your first perk will grant you a chance to terrify nearby enemies when an enemy is killed using a Spirit Attack or by a thrown melee weapon. Allowing you to do easy follow-up attacks, you’re damage will also be increased to the terrified targets as well.
There’s also a chance for the wolf spirit to appear when enemies are terrified, although this does happen pretty irregularly.
This may not be the most powerful armor, but it truly is effective, especially early on.
Snake Skin Armor
This armor will provide you with a unique and fun playstyle. If you decide to pick up empty sake jars off the ground, sometimes that empty bottle might turn into a full one without you losing the empty one, meaning you could still throw it.
Thrown sake jars will explode on impact. This will release poisonous fumes that can take down enemies, allowing you to finish them off easily.
But this method can be a bit tricky and counterintuitive at times, as if you consume the jars to throw at enemies, you’ll just end up intoxicated, affecting your movement and vision.
Despite this, the armor is still fun.
Nine-Tail Armor
This armor primarily focuses on enhancing your weapons and stealth.
The perks are the increase in quick-fire damage and the extended duration of status effects. Your second perk allows you to recover and loot items after assassinating enemies.

This armor also allows you to go undetected for longer, reducing enemy detection speed and sound generated by your movement; use so if you’re going for a more stealthy approach.
You’ll be able to get this armor at the end of the main story mission, Blood on the Snow, in the Teshio Ridge. Well, this is in the strongest armor. It’s very stylish, and it’s practical, making it valuable in your arsenal.
Mercenary Attire
This set gives you a balanced set of bonuses, but it doesn’t stand out as much when it comes to specific perks.
Increases damage dealt by thrown melee weapons and will grant you more spirit energy, but the amount you gain is not really that noticeable.
You’re also guaranteed a sake bottle from assassinated enemies, but you need to manually collect them after assassinating each one of your enemies. Since you’re only allowed limited bottles, its benefit is definitely capped.
Another perk is that you’ll be granted a significant spirit boost during battles.
You’ll be able to get this armor by completing the Belly of the Beast main storyline mission; it’s one of the earlier quests in the game in the Ishikari Plains.
Genji’s Guard
This armor is built around the Tanegashima Rifle, reducing its reload speed from five seconds to around three, and the rifle and reloaded by following the main storyline.
This armor will also allow you to deflect incoming bullets if you block and generate spirit energy in the process.
Another cool feature is that you’ll get a 50% reduction in damage taken from thrown projectiles. This is really useful during ranged combat.
To get the armor, you’ll need to progress to the main story until you reach Oshima Coast, where you will meet Genji, who will provide you with a quest and reward you with the armor.
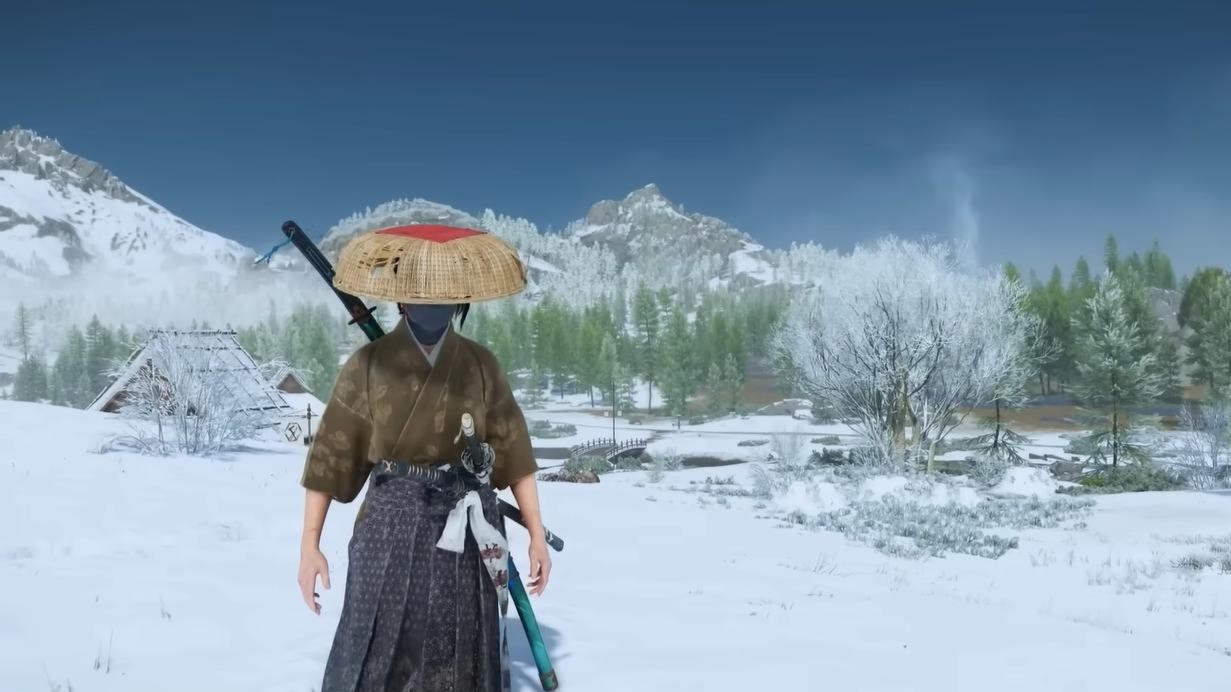
Fundoshi
This is a light armor that allows you to sprint without making any noise. I can see this being used in speed runs.

As the armor mostly leaves your skin bare, you have a health penalty in snowy areas, but it’s not as drastic as it sounds, only reducing it by a quarter to a fifth.
To get your hands on the armor, you’ll need to locate hot Springs across the map. The shamisen song can guide you to nearby hot springs once it’s unlocked in the Ishikari Plains.
Taro Armor
This armor is one of the first armors that you can get your hands on in the game, and it has a distinctive look to it.
It mainly increases your spirit gain and maximum health, although the difference is pretty subtle.
Its more significant ability is its resistance to fire and cold damage.
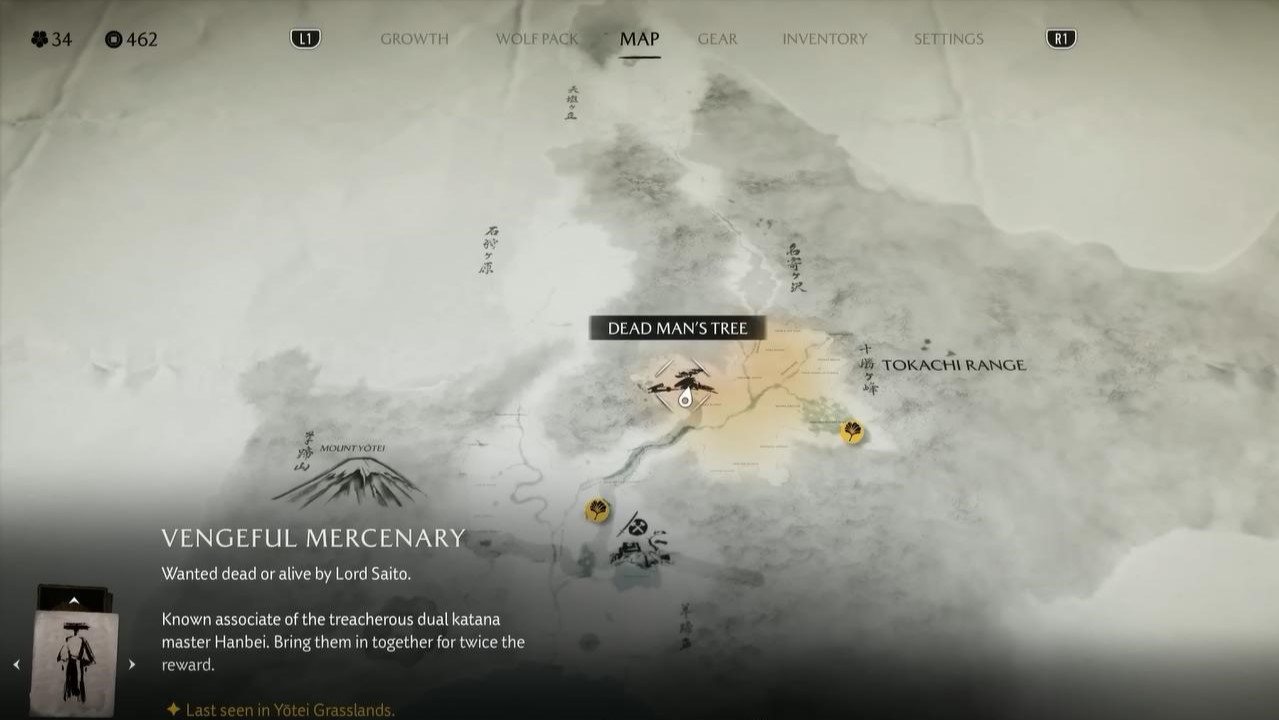
This makes the armor fairly situational. You’ll be able to get your hands on it by going to the Dead Man’s Tree as a guaranteed reward.
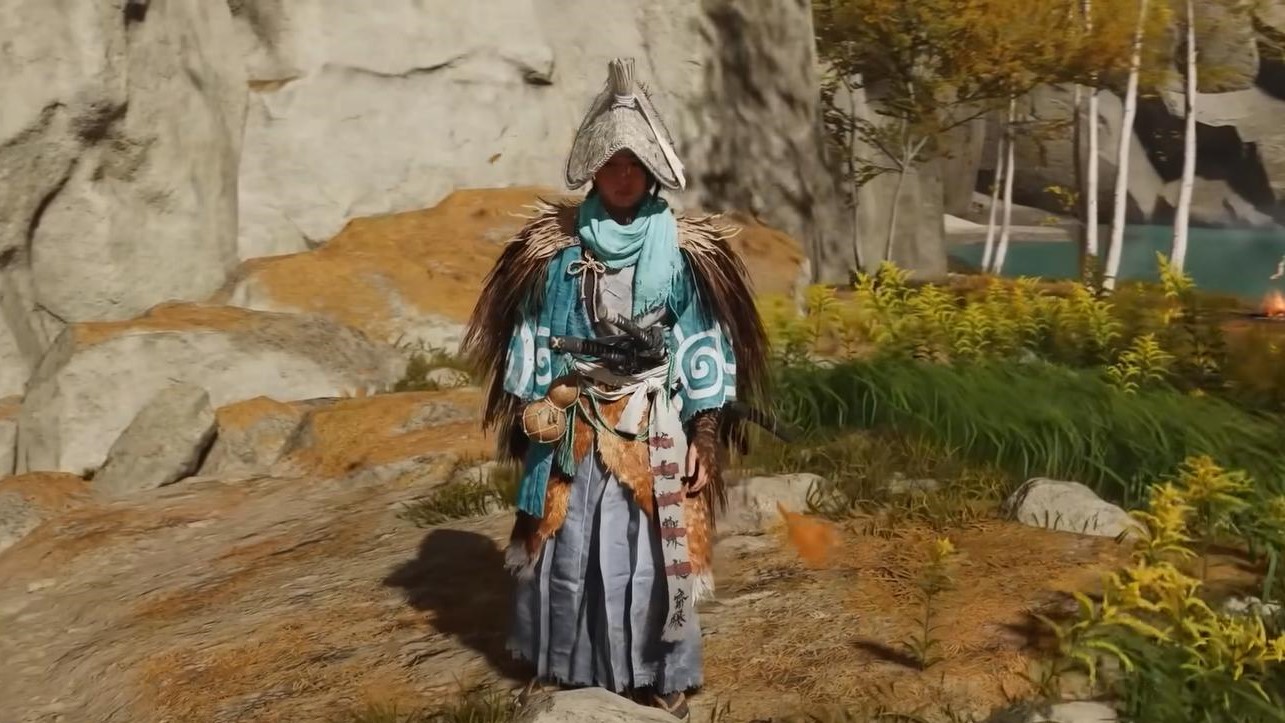
Robes of Sitturaynu
This is a pretty cool and unique armor set. It was a unique firefly ability where fireflies begin spawning around you, guiding you through various quest lines and helping you find items.
Armor also collects flowers automatically when you move through flowers or tall grass, although not regularly.

You’ll be able to get it by completing Huci’s side quest.
Spider Lily Armor
The Spider Lily Armor is built for direct combat; it’ll increase your stagger, allowing you to break down enemy guards much faster.
Breaking a guard will also trigger a shockwave that will do significant damage to nearby enemies, although the AOE is pretty small.
A unique perk of this specific armor set is that dead enemies can drop throwable weapons. This is especially useful when you consider that the throw bowls are highly effective, and they can instantly take down weak enemies.
They aren't guaranteed drops, but they're still useful regardless.

You'll be able to get your hands on the weapon through a mythic tale that will begin at the mysterious gate in the first region of the map.
Bounty Master Armor
This armor will remove your ability to perform normal parries, but fear not, as it does make it significantly easier for you to perform perfect parries and dodges. This allows you to do a lot of damage in your follow-up attacks, easily breaking down enemy defenses.
The Bounty Master armor will also give you a spirit gain boost, and stealth kills will give you nearly a full spirit orb, meaning that you can heal more frequently.
Just because regular parries are disabled, it doesn't mean that you can still block. You want to pay close attention to attacks with a blue glint, as those are the attacks that can be countered with perfect timing.
You’ll be able to get your hands on the armor by completing bounties from Kojiro's bounty board. After completing around four contracts, there will be a special target; taking on the target will get you the armor.
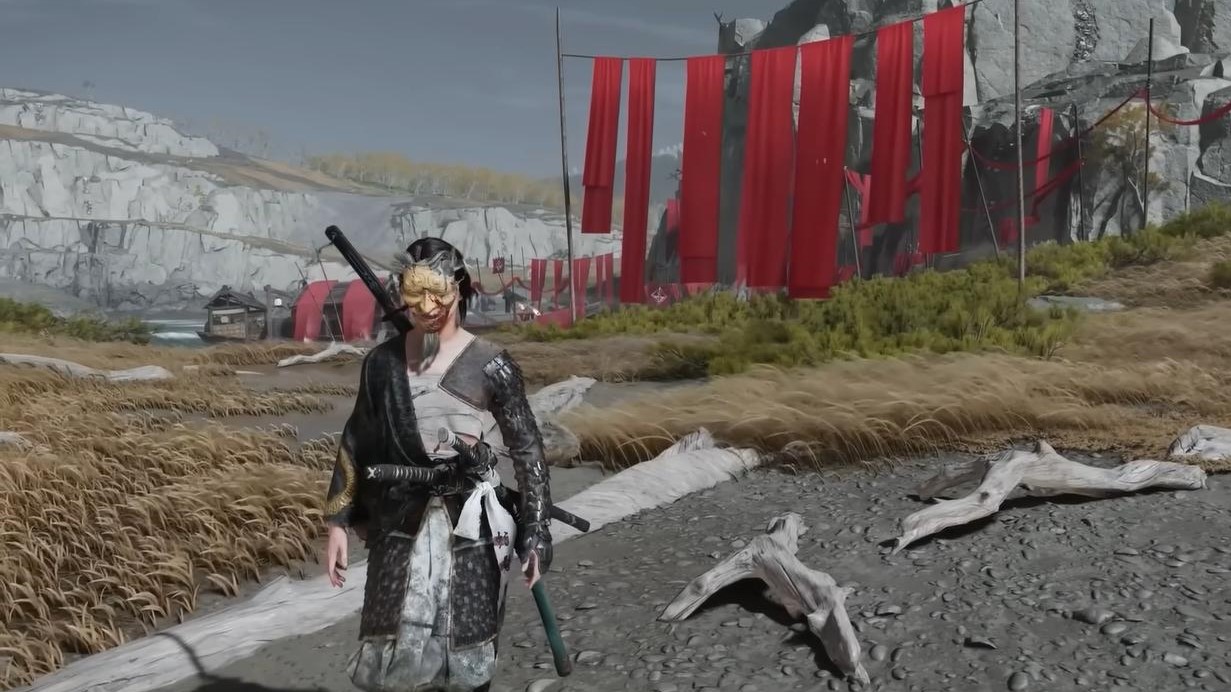
Crimson Kimono
The Crimson Kimono is a terrific stealth armor. When you equip it, it reduces enemy detection, allowing you to approach the enemies much closer without being spotted.
It also significantly increases the range of the Kusarigama Assassination, once you unlock the skill, making long-range stealth kills much easier.
If you possess enough kunai ammo, you'll also be able to perform chain assassinations, allowing you to potentially take on five enemies rapidly.
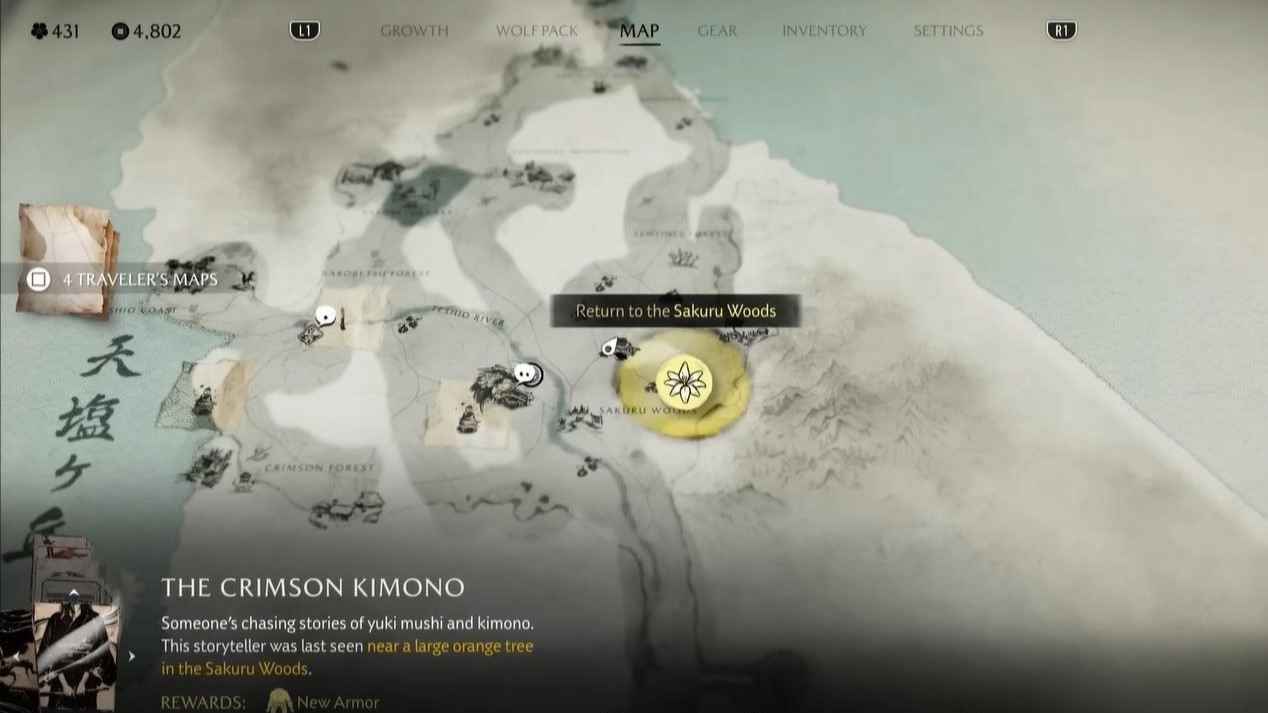
To unlock the armor set, travel to Teshio Ridge and speak to Ugetsu in the Sakura Forest.
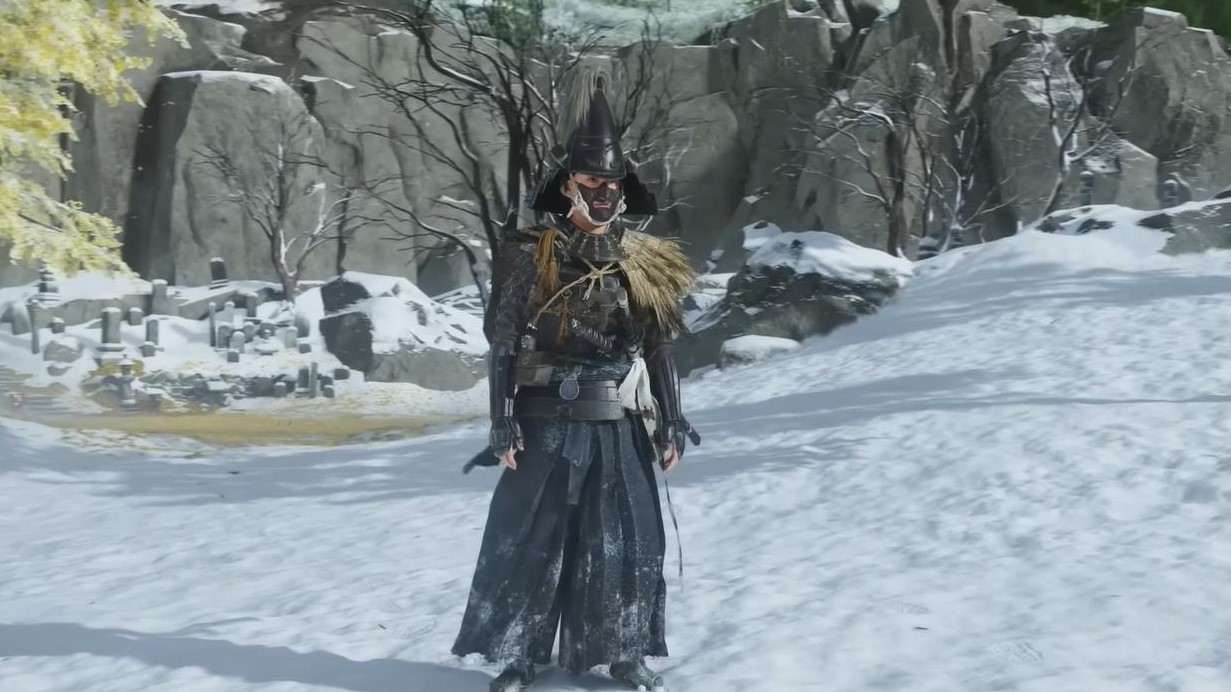
Armor of the Undying
Like the name says, this armor primarily focuses on survivability. Its special effect restores health, and enemies are staggered, and if you use the correct weapon type against the enemy's weapon type, it will maximize the effect.
<
This armor will also increase the time window for you to perform perfect parries and dodges.
You’ll also be able to perform focus attacks to do extra trigger damage, although it won’t trigger often.
With all the perks combined, this armor will give you one of the strongest defensive perks in the game.
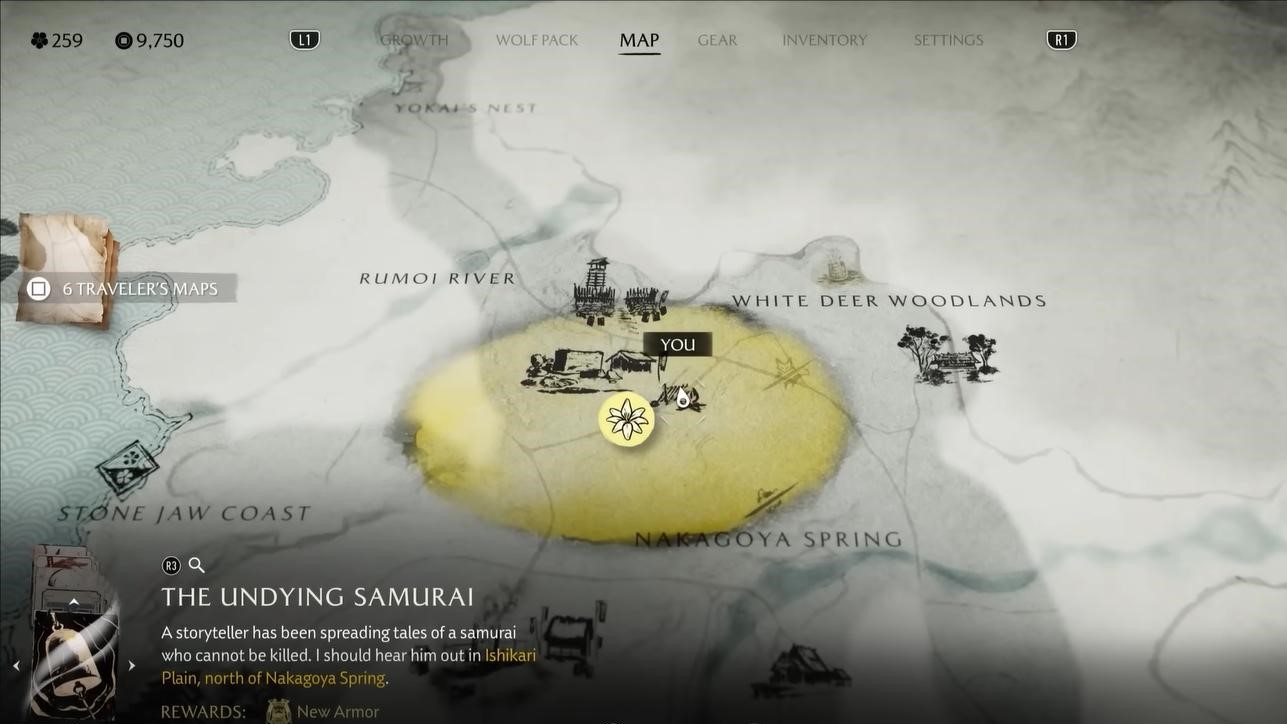
In the Ishikari Plains, you’ll be given the task of collecting four windchimes to get your hands on the armor.
Dragonfly Armor
For people who enjoy using ranged attacks, your best bet is the Dragonfly Armor.

When you fully draw your bow with the armor equipped, there will be a blue glint, releasing the arrow that, during the blue glint, will increase the range of damage.
It’s particularly strong with the short bow and will often significantly reduce the amount of total arrows needed to take down tougher enemies.
Empowered arrows will also restore concentration, increasing ability, endurance, and recharging them faster.
The armor will also decrease your reload time, making arranged combat much more efficient.
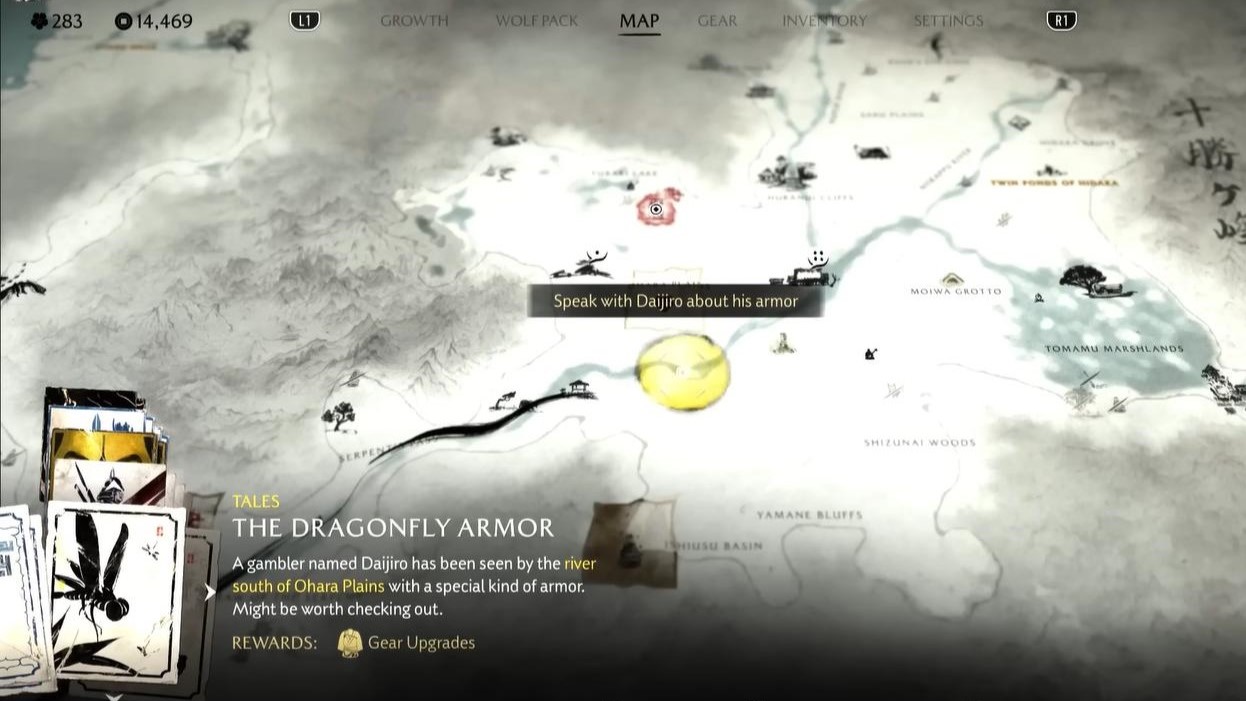
To get your hands on the armor, you'll want to head to Karen Forks in the Tekkashi Range and eavesdrop on an NPC conversation to start the quest line.
Each of the armor sets has unique advantages, encouraging you to experiment to see what fits you well.
Also, check our Ghost of Yōtei Review and other guides below:
- Ghost of Yōtei Guide | 5 Best Armor to Get Early
- Ghost of Yōtei Beginner's Guide | Tips & Tricks
- Ghost of Yōtei Guide | How to Use Onryō’s Howl
- Ghost of Yōtei Guide | How to Complete Soma The Condemned Bounty
- Ghost of Yōtei Guide | How to Complete Smiling Yoshitomo Bounty
- Ghost of Yōtei Guide | How to Find Cave Altar of Reflection
- Ghost of Yōtei Guide | How to Play Forging Mini Game
- Ghost of Yōtei Guide | How to Play Shamisen Guitar Mini Game
- Ghost of Yōtei Guide | How to Get The Best Charms Early
- Ghost of Yōtei Guide | How to Set Travellers Map
- Ghost of Yōtei Guide | How to Craft Weapons & Gears
- Ghost of Yōtei Guide | How to Upgrade Weapons & Gears
- Ghost of Yōtei Guide | How to Use Wolf’s Call Ability
- Ghost of Yōtei Guide | How to Activate Spider Lily General Puzzle
- Ghost of Yōtei Guide | How to Set Ishikari Traveller's Maps
- Ghost of Yōtei Guide | How to Solve All Kitsune Puzzles
- Ghost of Yōtei Guide | How to Complete Turtle Man Kamekichi's Bounty
- Ghost of Yōtei Guide | How to Collect All Wind Chimes
- Ghost of Yōtei Guide | How to Complete Toshi The Torch Bounty
- Ghost of Yōtei Guide | How to Complete The Traitorous Raider, Mad Goro Bounty
- Ghost of Yōtei Guide | How to Complete The Three Terrors Bounty
- Ghost of Yōtei Guide | How to Complete The Onryo Bounty
- Ghost of Yōtei Guide | How to Complete Snowstorm Katagiri Bounty
- Ghost of Yōtei Guide | How to Complete Snake’s Assassin Bounty
- Ghost of Yōtei Guide | How to Complete Shiro the Swindler Bounty
- Ghost of Yōtei Guide | How to Complete Nameless Killer Bounty
- Ghost of Yōtei Guide | How to Complete Muneji the Bone Crusher Bounty
- Ghost of Yōtei Guide | How to Complete Malevolent Hunter Bounty
- Ghost of Yōtei Guide | How to Complete Houndmaster Toyotaro Bounty
- Ghost of Yōtei Guide | How to Complete Eijiro the Ruthless Bounty
- Ghost of Yōtei Guide | How to Complete Eagly Eye Kondo Bounty
- Ghost of Yōtei Guide | How to Complete Bloody Strings Hachibee Bounty
- Ghost of Yōtei Guide | How to Complete Black Powder Ippei Bounty
- Ghost of Yōtei Guide | How to Complete Black Knight Kubo Bounty
- Ghost of Yōtei Guide | How to Complete Blue Yamauba Bounty
- Ghost of Yōtei Guide | How to Use Oni’s Flame
- Ghost of Yōtei Guide | How to Find Serpent's Pass Altar of Reflection
- Ghost of Yōtei Guide | How to Complete The Reliquary of Strength
- Ghost of Yōtei Guide | How to Find Bear Rock Altar of Reflection
- Ghost of Yōtei Guide | All Hot Spring Locations
- Ghost of Yōtei Guide | How to Complete The Reliquary of Resilience
- Ghost of Yōtei Guide | All Fox Den Locations
- Ghost of Yōtei Guide | How to Complete The Reliquary of Courage
- Ghost of Yōtei Guide | How to Parry
- Ghost of Yōtei Guide | How to Use Heavenly Slash Ability
- Ghost of Yōtei Guide | How to Get Kanemori’s Two Faced Mask
- Ghost of Yōtei Guide | How to Set Auto Lock Target
- Ghost of Yōtei Guide | How to Use Wolf’s Call Ability
- Ghost of Yōtei Guide | A Moment to Breathe Trophy
- Ghost of Yōtei Guide | Good with Coins Trophy (Coin Game)
- Ghost of Yōtei Guide | Fireside Performance Trophy
- Ghost of Yōtei Guide | Two as One & Wolf Bait Trophy
- Ghost of Yōtei Guide | Best Charms to Get
- Ghost of Yōtei Guide | All Armor Sets Location
- Ghost of Yōtei Guide | How to Use Dance of Wrath
Contributor, NoobFeed
Latest Articles
No Data.