
Lost Soul Aside Guide | How to Beat Lord Buckhorn
A complete guide to defeating Lord Buckhorn in Lost Soul Aside.
Game Guide by Faviyan Mustafiz on Sep 08, 2025
There are a lot of tough bosses in Lost Soul Aside, and each one has its own fighting style and set of difficulties. One that stands out is Lord Buckhorn, a fight that requires accuracy, strategy, and careful timing.
This guide goes into great detail about the gear and skills you should bring, as well as the boss's moves and hits, and how to block them. After following these steps, you will be better equipped to defeat Lord Buckhorn and emerge victorious.
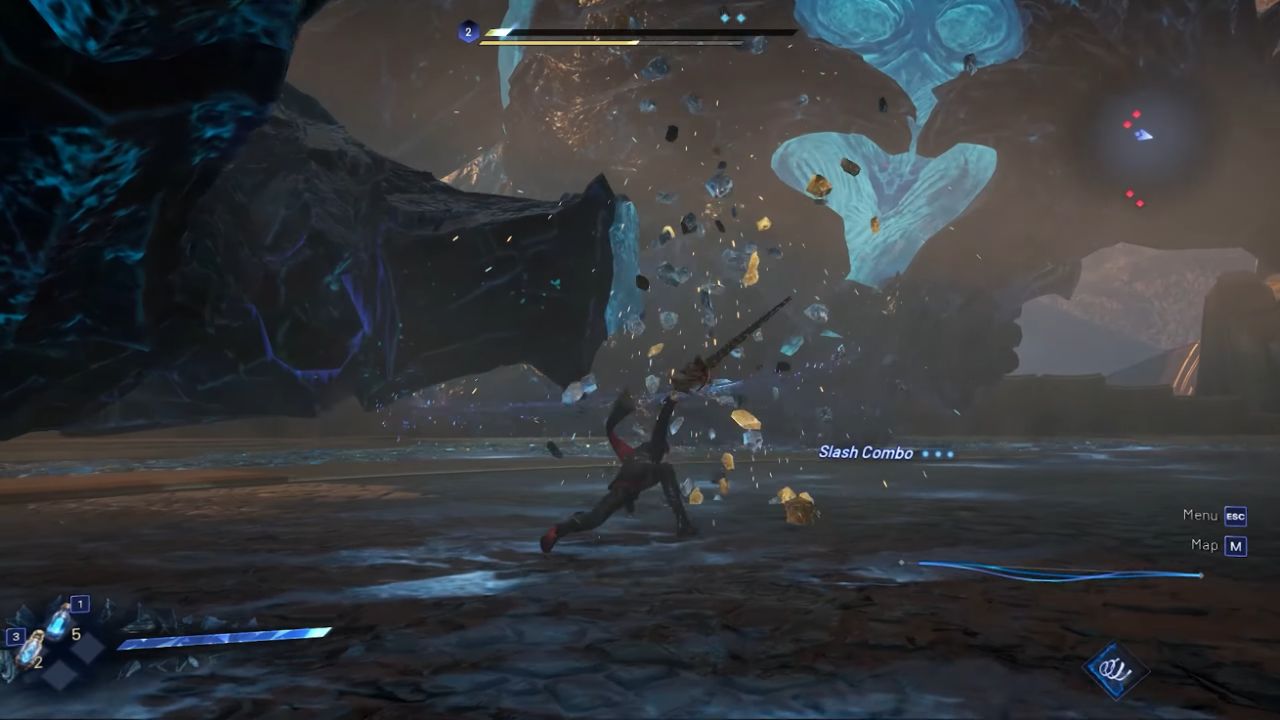
Equipment, Skills & Abilities
As the fourth boss in the game, Lord Buckhorn allows you to utilize a decent range of equipment.
A strong choice is the Snow Peak Sword, although the Fire Sword can also be practical if you prefer a different approach. With the Snow Peak Sword, attaching specific enhancements makes the battle smoother.
For arena power, Frost Blast is highly recommended since the boss does not move frequently. This ability is instrumental against the claws that you will need to target.
Additionally, equipping the Bracelet of Glimmer provides an extra attack boost after executing a perfect dodge. Although perfect dodging may not occur as often in this fight compared to earlier bosses, it still offers significant benefits.
Skill points can be allocated along the weapon's path, but it is wise to save some for future armaments that will unlock later in the game. While additional skills may help, the essentials listed here are enough to prepare for the fight with Lord Buckhorn.
Understanding Lord Buckhorn
Unlike previous bosses, Lord Buckhorn takes the form of a dragon. To deal effective damage, specific body parts, such as the claws on each foot, must be destroyed. Once both sets of claws are broken, the boss collapses, leaving the main body vulnerable to direct attacks.
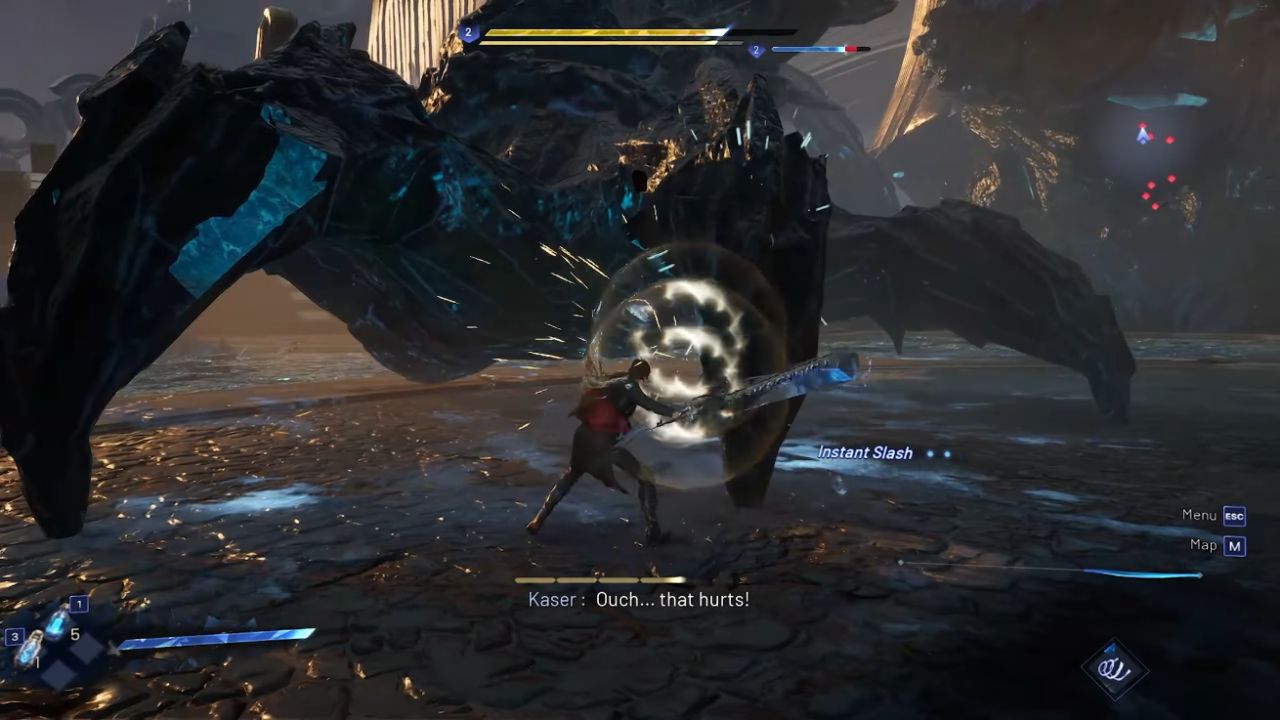
The battle primarily revolves around targeting the claws, dodging incoming attacks, and seizing the opportunity to strike the main body once the boss falls. Awareness of his move set is crucial, as many of his attacks inflict heavy damage if not appropriately avoided.
Key Attacks and How to Counter Them
One of Lord Buckhorn's main attacks is a fire blast that begins from one side of the arena and sweeps across. The strategy here is to run to the opposite side and attack the claws while the blast moves harmlessly past you.
Shortly after, the boss typically repeats the attack from the other side, prompting you to switch sides again.
When a punch-like attack is telegraphed by a red circle on the ground, dodging to the side avoids the damage. Many of Lord Buckhorn's attacks display red indicators, making it easier to anticipate and evade incoming strikes.
The Frost Blast ability is especially effective when one of the boss's hands is relatively stationary. Activating it at the right time deals significant damage to multiple claws at once, often destroying an entire hand in the process.
After both hands are disabled, the boss collapses, granting a valuable window to attack the main body. It is best to save your finishing move for when the stamina bar is nearly complete, maximizing the damage during this phase.
Second Phase Mechanics
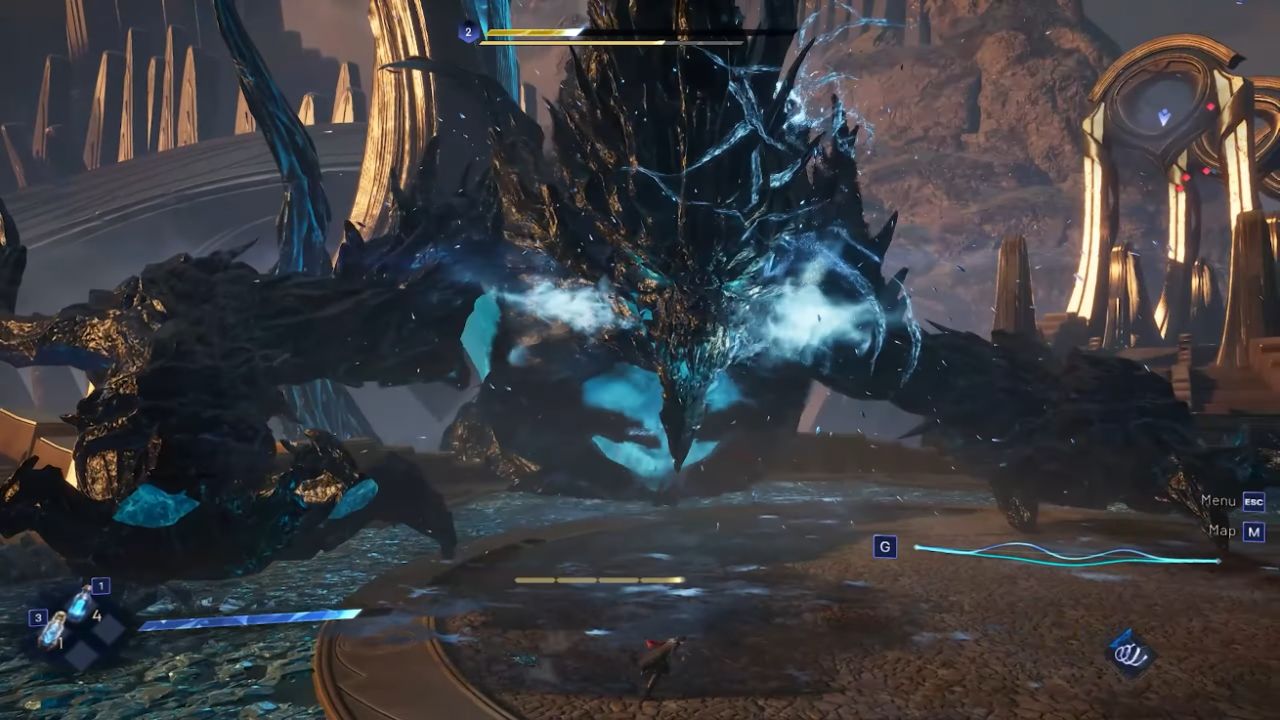
Once the first health bar is depleted, Lord Buckhorn introduces new attacks. He may retreat and summon geysers across the arena, which can be avoided by constant movement.
Later, arena-wide attacks appear, such as glowing ground areas with falling meteors. These patterns intensify the fight, requiring you to remain mobile while continuing to target the claws.
Another dangerous move is a central breath attack that sweeps across the arena. At lower health, meteors begin covering large sections of the battlefield, making positioning critical. Always prioritize claw damage to bring down the boss and reach the main body.
Final Phase and Ultimate Attack
During the final health bar, Lord Buckhorn prepares a devastating attack that can instantly defeat you if left exposed. Fortunately, meteors that fall onto the arena remain as cover. Hide behind these when prompted to survive the assault.
Other attacks in this phase include shockwaves, ground eruptions, and combinations of earlier moves.
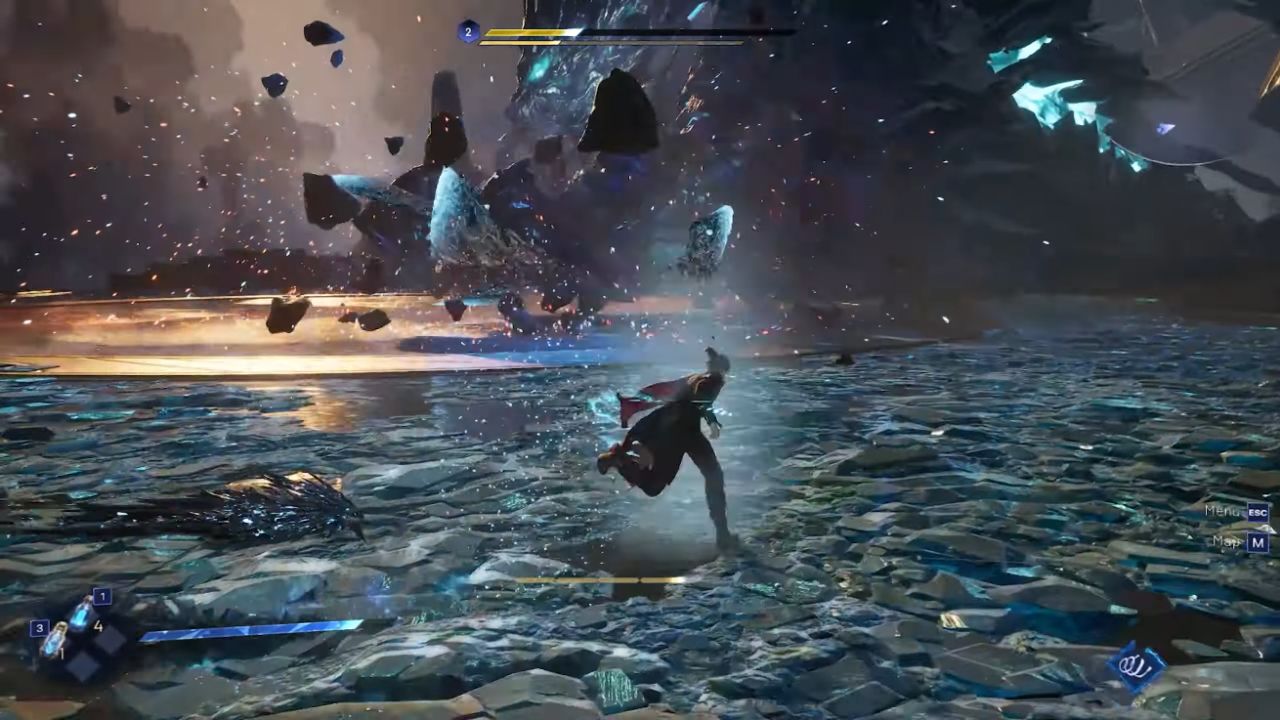
The keys to success are still being aware of red warning zones, keeping your movement, and keeping your attention on the claws. You will beat Lord Buckhorn in the end by repeatedly damaging the claws, hitting the main body, and dodging high-damage hits.
Also, check our Lost Soul Aside Review and other guides below:
Contributor, NoobFeed
Latest Articles
No Data.