
STAR WARS: Galactic Racer Beginner’s Guide | Gameplay Tips & Tricks
Here’s a guide to some beginner’s gameplay tips and tricks in STAR WARS: Galactic Racer.
Game Guide by Ragib Rawnak on Oct 07, 2026
STAR WARS: Galactic Racer plays quite differently from older podracing titles. Speed still matters, but races now depend heavily on vehicle stats, active abilities, damage meters, and path management.
If you jump in without knowing how these systems interact, you will wreck your speeder before finishing your first circuit. Here is what you need to know to survive each track and build a winning machine.
Picking Speeders & Racer Styles
Campaign runs start with three primary vehicle classes, each built for a different approach on the track.
The Landspeeder acts as your balanced starter choice. It is forgiving on tracks with tight bends and busy traffic and delivers good turning ability and increased base armor.
The Speeder Bike focuses on quick handling and snappy pickup. Whenever you pull out of a drift, you receive a burst of extra acceleration. It is nimble, but it will not survive heavy contact.
The Speed Skimmer features a wide footprint made for highway straightaways. Its broad frame makes it simple to clip rivals and shove them into barriers as you pull ahead.
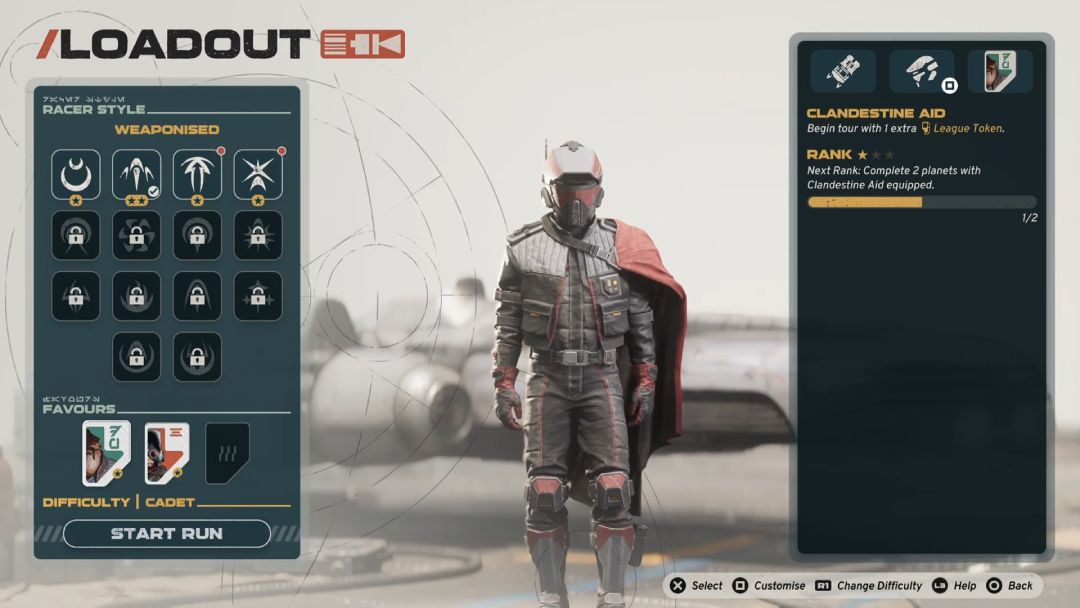
Beyond the vehicle itself, you can pick from 14 distinct racer styles. These function like perk kits that apply to whatever chassis you drive in STAR WARS: Galactic Racer.
Survivor grants the Shield active skill along with a higher top speed. Tenacious gives you an Autopilot feature and lets you survive one extra crash before elimination. Ramjet Rider starts you with the Vent skill and runs your engine cooler.
Unlock Additional Racer Styles
Campaign mode hands you Survivor right away, while multiplayer starts you off with Ramjet Rider. To open the rest during solo play, you need to match your driving habits to specific milestones logged in your logbook.
Running your boost burner repeatedly unlocks Ramjet Rider, while aggressively taking out opponents opens the Brawler setup. In multiplayer lobbies, new styles simply unlock as your rank level climbs.
Campaign Tours & Branching Routes
The single-player campaign structures its progression around long multi-planet tours. At the start of a tour, you pick your ride, choose your style, and receive one League Token. That single token serves as your run life. Lose it, and the tour ends on the spot.
Tours use a branching route map where you preview upcoming nodes and pick your direction across several event types. Standard races task you with regular circuit laps where you aim for a podium spot in STAR WARS: Galactic Racer.
Eliminator rounds knock out the last-place driver at set intervals until only three racers remain. Test flights offer solo challenges where you chase target lap times or sustain boost distances.
You will also run into character encounters, which trigger special opportunities like lowering purchase prices at Hibi's Shop.
Completing an event awards a random pick of parts and stat boosts. These upgrades last only for the current tour, so build around your immediate path. If an eliminator round is coming up, buy pure speed and turbo kits to stay off the back of the pack.
When you touch down on new planets, you will get small on-foot segments. These advance the narrative and let you visit Hibi to spend spare credits before launching into the next leg.
Even after a total tour loss, she provides baseline scrap credits so you never start a run empty-handed.
Damage, Walls, & Crash Limits
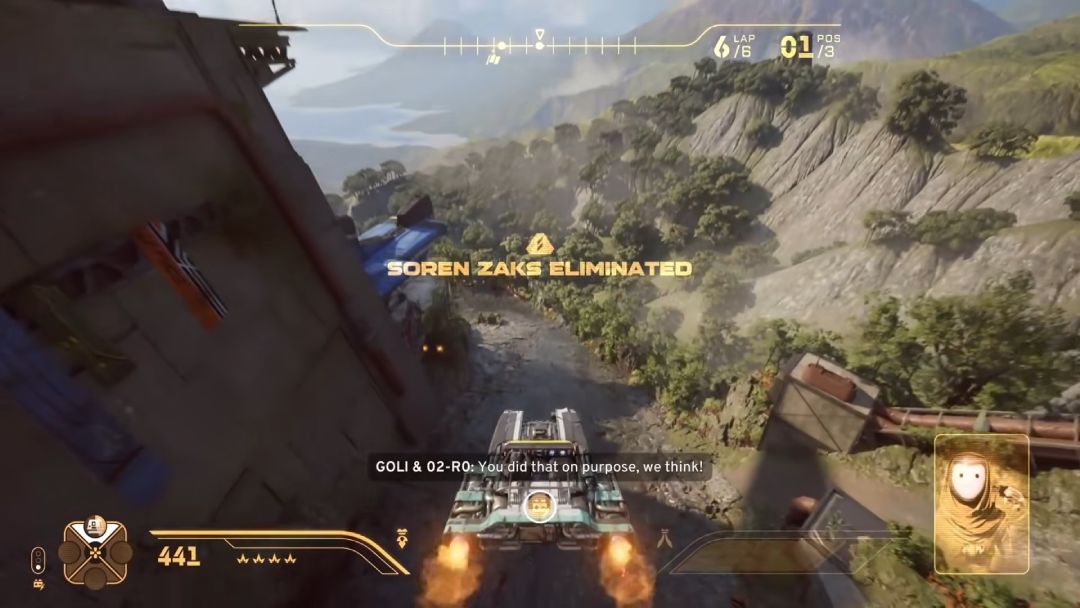
Every machine takes chassis damage when scraping walls, hitting barriers, or trading paint with opponents in STAR WARS: Galactic Racer.
The game limits how many times you can wreck in a single race based on your selected difficulty setting, scaling from four crashes on easy down to just one on expert. Styles like Tenacious add one extra crash buffer to that cap.
When you wreck within your allowed limit, your craft respawns on track at zero speed. Once your crash pool runs dry, you suffer a terminal wreck, surrender your League Token, and wipe your tour progress.
Rubbing other speeders works like bumper cars. Shoving a competitor into an outer barrier triggers a brief slow-motion replay of their crash. If you prefer avoiding scraps, pull out in front early or run defensive perks like Shield to deflect side impacts.
Timing the Pre-Race Start
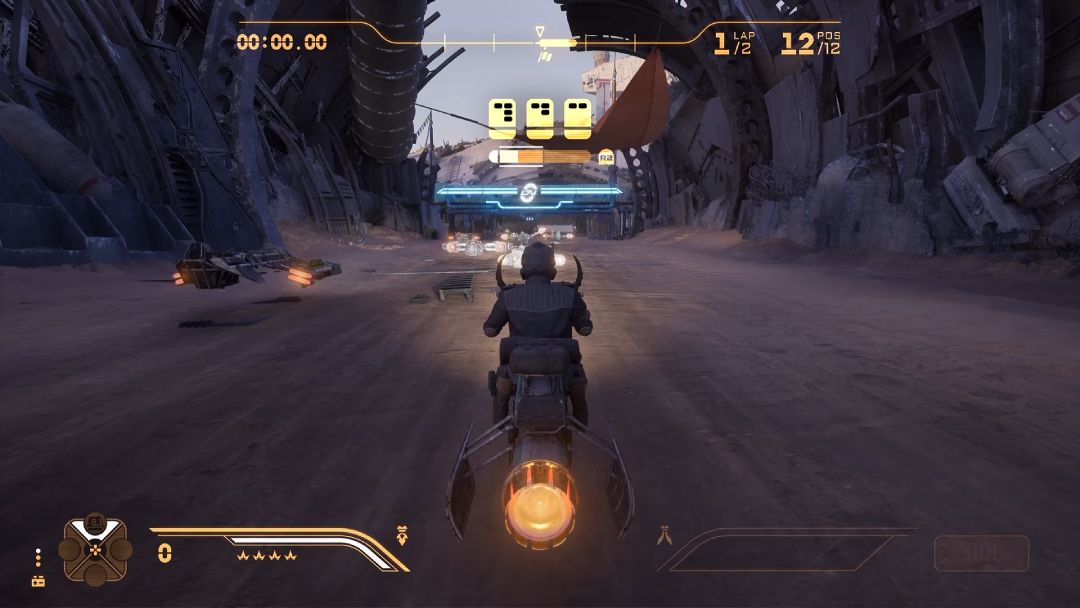
Before the starting lights begin to tick down, quick-time button prompts appear in the upper-left corner of the HUD. The more abilities you have installed, the more prompts you get.
Clearing all of them fills your Afterburner gauge instantly and powers up your active skills for their initial use. If you have Autopilot equipped, hitting its button first will auto-complete the rest of the sequence for you.
Once the actual countdown starts, feather your throttle. You want the rev needle resting inside the second notch between the white meter lines. Holding that sweet spot when the light flashes green triggers a clean launch that ramps straight to maximum velocity.
Afterburner vs. Ramjet Mechanics
Both systems provide speed boosts, but they handle heat and consumption differently in STAR WARS: Galactic Racer.
The Afterburner recharges automatically during normal driving. You can tap it out of corners or hold it flat down long stretches to stay at your machine's top speed without major downsides.
The Ramjet requires careful throttle discipline. It packs much higher forward thrust, but pushing it too long redlines your heat gauge.
Overheating damages your internal components, locks out your abilities, and can leave you saddled with vehicle debuffs across the rest of the tour. Additionally, tapping the Ramjet drains its pool immediately, meaning it must complete a full cooldown cycle before firing again.
Managing Active & Passive Abilities
Abilities run on separate cooldown meters depending on their utility class. Active skills like Shield absorb incoming collisions, while Autopilot steers your line and triggers your speed boosts automatically for a short duration.
Crash skills fire as retaliation perks when your speeder breaks, such as Ion Blast discharging an EMP wave that disables nearby rivals right at your crash site.
You can stack multiple ability modules onto your chassis if you find the right upgrade drops during tour stops.
In-Game Currencies Explained
Progress relies on three separate wallet balances. Credits act as the standard run currency spent at Hibi's Shop for temporary tour upgrades, repair parts, and skill modules.
Tuning Points drive long-term progression, letting you permanently unlock the Speeder Bike and Speed Skimmer in the campaign while purchasing persistent stat boosts for your garage.
Finally, Kit Points serve as cosmetic tokens used strictly for vehicle paint jobs, skins, and visual parts in STAR WARS: Galactic Racer.
FAQ
Q. Can you drive classic podracers right away?
A. No. Your default choices are the Landspeeder, Speeder Bike, and Speed Skimmer. Classic podracers are locked behind late-game milestones and special tour events.
Q. What happens to your upgrades when a tour ends?
A. Engine parts, ability modules, and temporary buffs purchased during a tour disappear once that run ends or resets. Only items bought with Tuning Points and Kit Points carry over permanently.
Q. Which vehicle is best for beginner players?
A. The Landspeeder paired with the Survivor style gives you the most room for error. It offers high base defense, forgiving turning, and an on-demand Shield to block track collisions.
Also, check our other guides below:
Senior Editor, NoobFeed
Latest Articles
No Data.