
Castlevania: Belmont's Curse Guide | How to Solve Library Planetarium Puzzle
Here’s a guide on how to solve the Library Planetarium Puzzle in Castlevania: Belmont's Curse.
Game Guide by Ragib Rawnak on Oct 18, 2026
The Planetarium section inside the Library can stop your run cold if you do not know the jump patterns. You need to clear three sequential platform puzzles in this room to open the path to Carmilla.
Planetarium Puzzle Location
Make your way through the Library until you hit the chamber marked with icon glyphs on your mini-map.
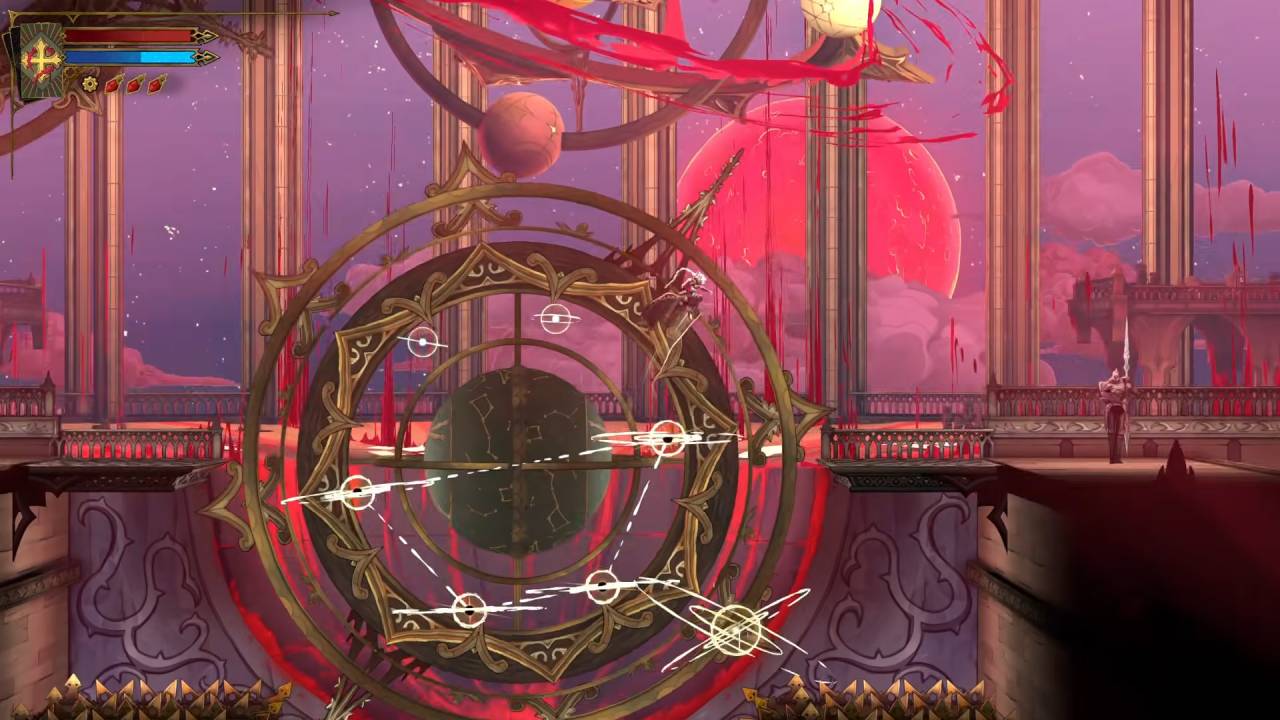
When you step inside, you will see suspended platforms floating across the room. You have to jump across them in a specific order. Landing on the wrong node resets the sequence, so take your time between hops in Castlevania: Belmont's Curse.
Solving Each Planetarium Puzzle
Look for the human figure glyph above the platforms. To solve this first room, jump to the far left platform first. From there, drop down and hit the two bottom platforms in order from left to right. Finish the sequence by jumping across to the far right platform.
Once you land on the far right ledge, the path unlocks. You can repeat this exact pattern whenever you spot this human pose icon elsewhere in the castle to grab hidden treasure chests.
Head up to the next tier of the chamber and look for an interactable device beneath an overhead skeleton glyph.
Start by jumping to the far left platform. If your timing feels off, you can safely bounce on this single node to line up your next move in Castlevania: Belmont's Curse.
Jump up toward the top right platform next. From the top right, drop down along the right side: hit the middle-right platform on your way down, and land on the bottom-right platform last.
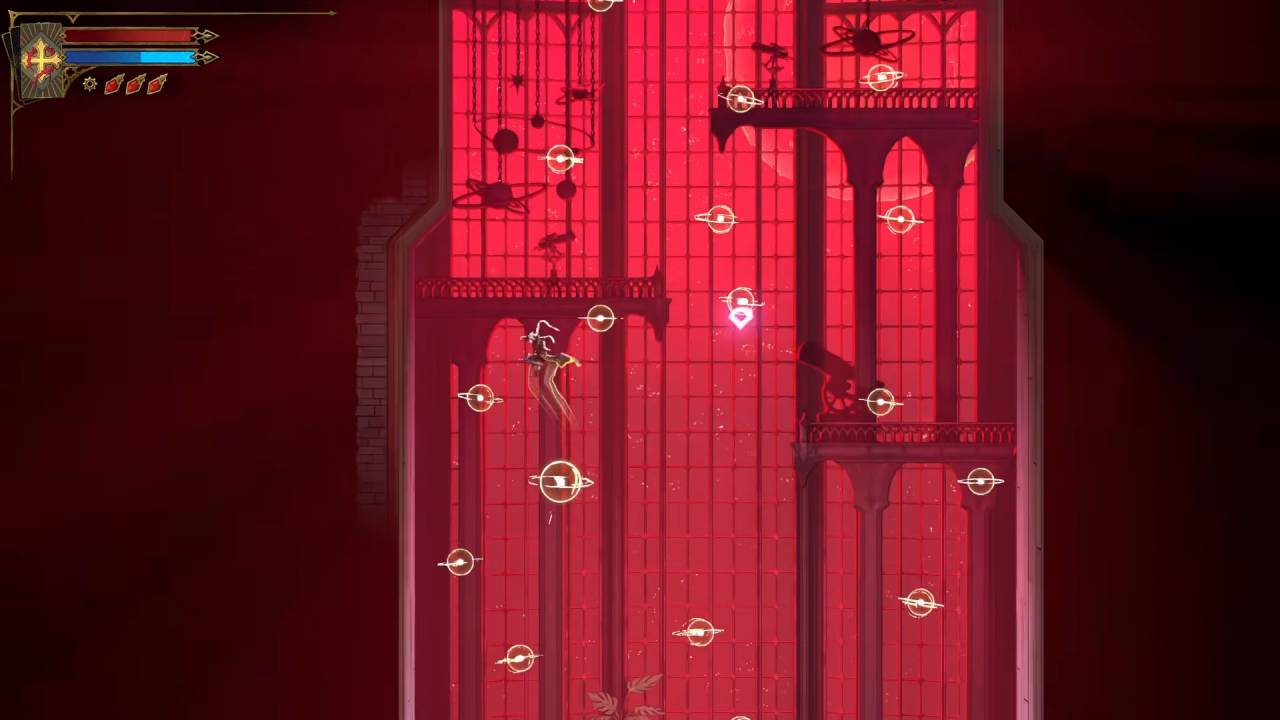
The third puzzle sits directly above the skeleton room and opens the final route to the boss.
Begin by bouncing on the left side platform. Leap up to the top platform, then drop down onto the bottom right platform. Finish the puzzle by leaping over to the far right platform.
Once you clear this third puzzle, you can head directly into the rest area right before the fight with Carmilla. Use the bed in this anteroom to sleep, recover your missing health, and prepare for the battle ahead in Castlevania: Belmont's Curse.
FAQ
Q. Can I reuse these jump patterns in other rooms?
A. Yes. Anytime you find these same glyph icons elsewhere in the Library, use the matching jump sequence to unlock hidden paths leading to optional weapons and loot.
Q. What happens if I jump on the wrong platform?
A. You will fail the sequence, and the puzzle resets. Return to the starting platform and input the pattern from step one.
Q. Is there a save or heal spot near the Planetarium puzzle?
A. Right after completing the third puzzle, you enter a staging room just ahead of Carmilla. You can sleep in the bed there to fully restore your health before starting the encounter.
Also, check our Castlevania: Belmont's Curse Review and other guides below:
- Castlevania: Belmont's Curse Guide | How to Fast Travel
- Castlevania: Belmont's Curse Guide | How to Get Alucard Sword & Shield
- Castlevania: Belmont's Curse Guide | How to Solve Clock Tower Puzzle
- Castlevania: Belmont's Curse Guide | How to Get Durandal Sword
- Castlevania: Belmont's Curse Guide | How to Get Vampire Killer
- Castlevania: Belmont's Curse Guide | How to Beat Joan
- Castlevania: Belmont's Curse Guide | How to Get Best Early Items
- Castlevania: Belmont's Curse Guide | How to Solve Secret Organ Melody Puzzle
- Castlevania: Belmont's Curse Guide | How to Get Normal Ending
- Castlevania: Belmont's Curse Guide | How to Get Bad Ending
- Castlevania: Belmont's Curse Guide | How to Get True Ending
- Castlevania: Belmont's Curse Guide | How to Get the Best Weapons
- Castlevania: Belmont's Curse Guide | How to Unlock All Outfits
- Castlevania: Belmont's Curse Guide | How to Get Whip
- Castlevania: Belmont's Curse Guide | How to Find the Prophetess Tarot Clue
- Castlevania: Belmont's Curse Guide | How to Beat Mammon
- Castlevania: Belmont's Curse Guide | How to Beat The Fallen
- Castlevania: Belmont's Curse Guide | How to Beat Medusa
- Castlevania: Belmont's Curse Beginner’s Guide | Gameplay Tips & Tricks
Senior Editor, NoobFeed
Latest Articles
No Data.