
Castlevania: Belmont's Curse Guide | How to Farm XP Fast
Here’s a guide to Farming XP fast in Castlevania: Belmont's Curse.
Game Guide by Ragib Rawnak on Oct 20, 2026
Castlevania Belmont’s Curse Fast Level Up Guide: Best XP Farming Spots and Mechanics
If you feel like regular monsters hit too hard or take too long to kill, you probably need a few extra levels.
Smashing glowing statues gives you small bits of points, but it is not enough when boss fights start walling your progress.
Here is how XP farming actually works in the game, along with the fastest room-reset loops you can run right now in Castlevania: Belmont's Curse.
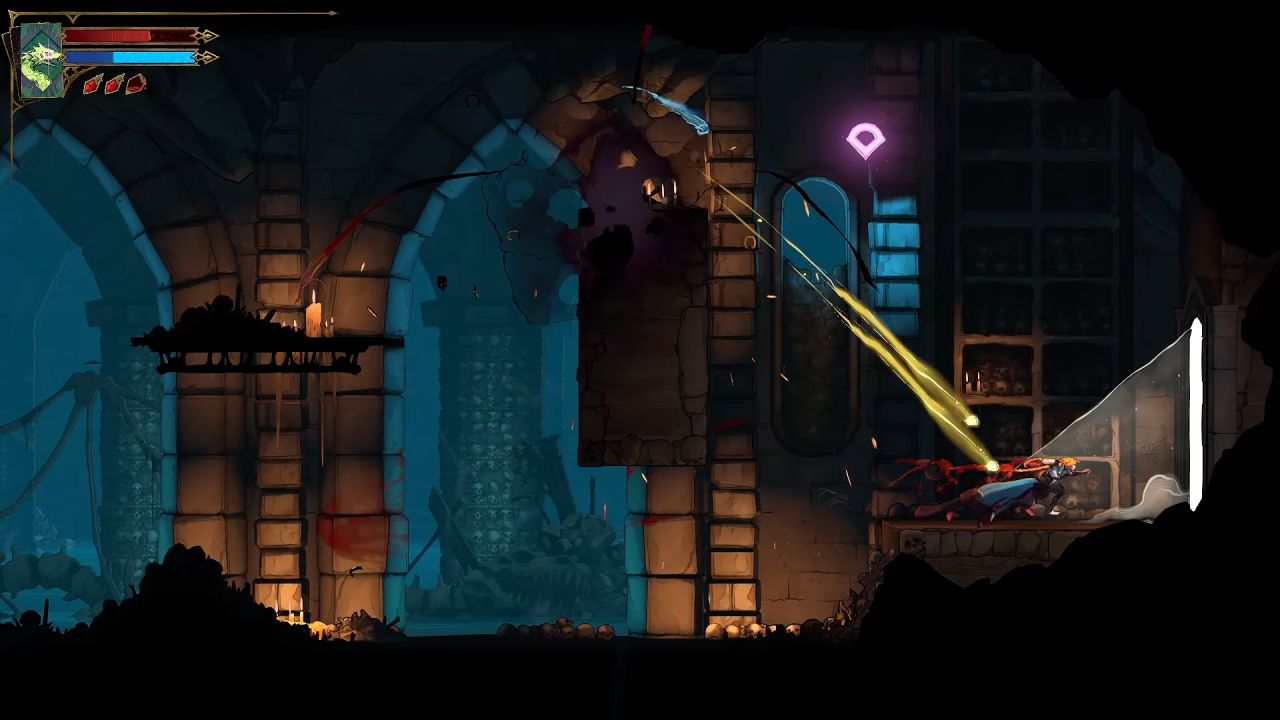
XP Scaling Mechanics
Standard corridor monsters give less XP as your level climbs. For example, a basic Skeleton in the lower catacombs gives 15 XP at level 5, but drops down to just 3 XP once you reach level 10.
Elite targets, like heavy armored knights, do not suffer from this harsh drop-off right away. They continue to hand out a flat, high payout (often around 120 XP) until you out-level them by 15 levels.
Here is the thing about exploration: wandering through large zones only gets you about 400 XP per minute because of platforming hazards and dead running time.
If you set up a simple two-screen transition loop right next to a save room, you can push that number past 1,400 XP every minute.
Walking through a doorway resets enemy spawns, so running back and forth between two rooms is the quickest way to stack points in Castlevania: Belmont's Curse.
Holy Innocents’ Cemetery Farming Spot
When you leave the Prison Tower and reach the Holy Innocents’ Cemetery, head to the western edge of the map. You will find the Ossuary of the Innocents directly to the left of the Fountain of the Lost, with Pauper’s Grave right next door.
These rooms feature flying skulls, stony gargoyles, Merman spawns, and projectile-throwing skeletons. Pick off these packs to grab your first few levels quickly. Do not stay here too long, though. Once you stop struggling with basic hits, move forward to higher-yield zones.
Castle Courtyard Farming Spot
This is the most reliable early farm in the game. Head to the Castle Courtyard save point and step into the room on your right. You will see two elite knights right by the entrance.
Walk into the room and hit both knights at once using a wide whip swing or throw your Cross boomerang in Castlevania: Belmont's Curse.
If you throw the Cross right as the screen shifts, the attack hitbox stays active and hits the knights the instant they appear. Take them down, walk back left into the save room to reset them, and step out to repeat the loop.
A standard whip takes around 4.5 seconds to drop these knights, while a level 2 Cross clears them in under 2 seconds. Running this loop right next to the checkpoint nets over 1,400 XP per minute while keeping your banked points completely safe.
Catacombs of Paris Farming Spot
Once you enter the Catacombs of Paris, look for the Crossroads of the Dead in the middle of the region. This room is packed with bouncing flea men that can knock you around in Castlevania: Belmont's Curse.
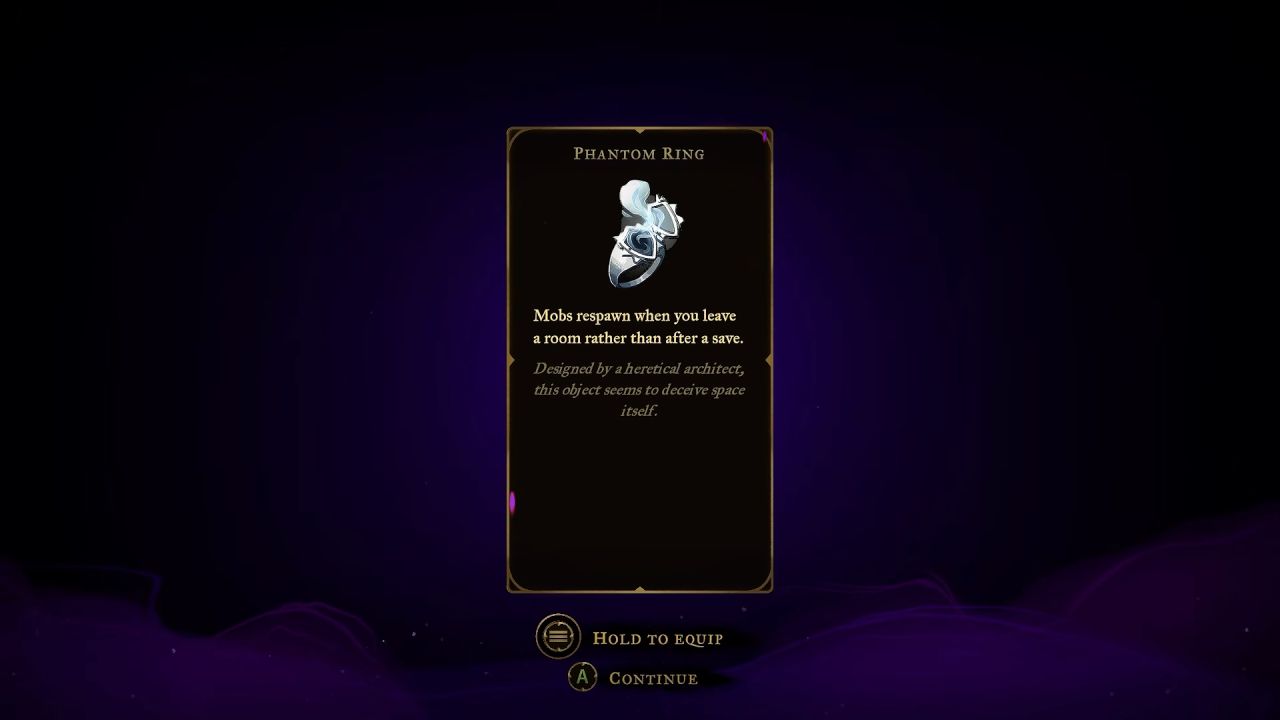
Wait until you unlock every staircase and reach the boss gate before you farm here. Lowering the stairs gives you room to jump and fight without getting pinned.
Near the top of the room sits a mirror room. Save your game there, clear your way down the room, climb back up, save, and do it again.
Main Hall Farming Spot
The difficulty spikes when you enter the Grand Hall inside the Main Hall of the castle. The room contains bats and heavy knights equipped with axes and lances.
These knights absorb a lot of damage, but they hand out large XP drops. Keep your distance using long-range whip strikes or spears in Castlevania: Belmont's Curse.
If you prefer fighting up close, use Rose's uppercut whip attack with gauntlets. Knocking the knights into the air prevents them from swinging back while you finish them off.
The Library Farming Spot
The Trophy Room and the Curiosity Cabinet sit right next to each other on the eastern side of the Library, past the planetarium and exhibition room.
These rooms contain archer skeletons, floating skulls, and Forniuses. Compared to the heavy knights in the main hall, these packs are much easier to blow up quickly. This route is great for practicing jump attacks and whipping mid-air targets while collecting steady points.
Essential Relics for Faster XP Gains
Stacking the right relics cuts your grinding time down significantly in Castlevania: Belmont's Curse.
The Scholar’s Sigil increases all base XP gains by a flat 15%. Keep this equipped whenever you run a farming loop.
In Act 2, grab the Bloodstone Chalice. This relic converts 5% of your overkill damage into bonus XP.
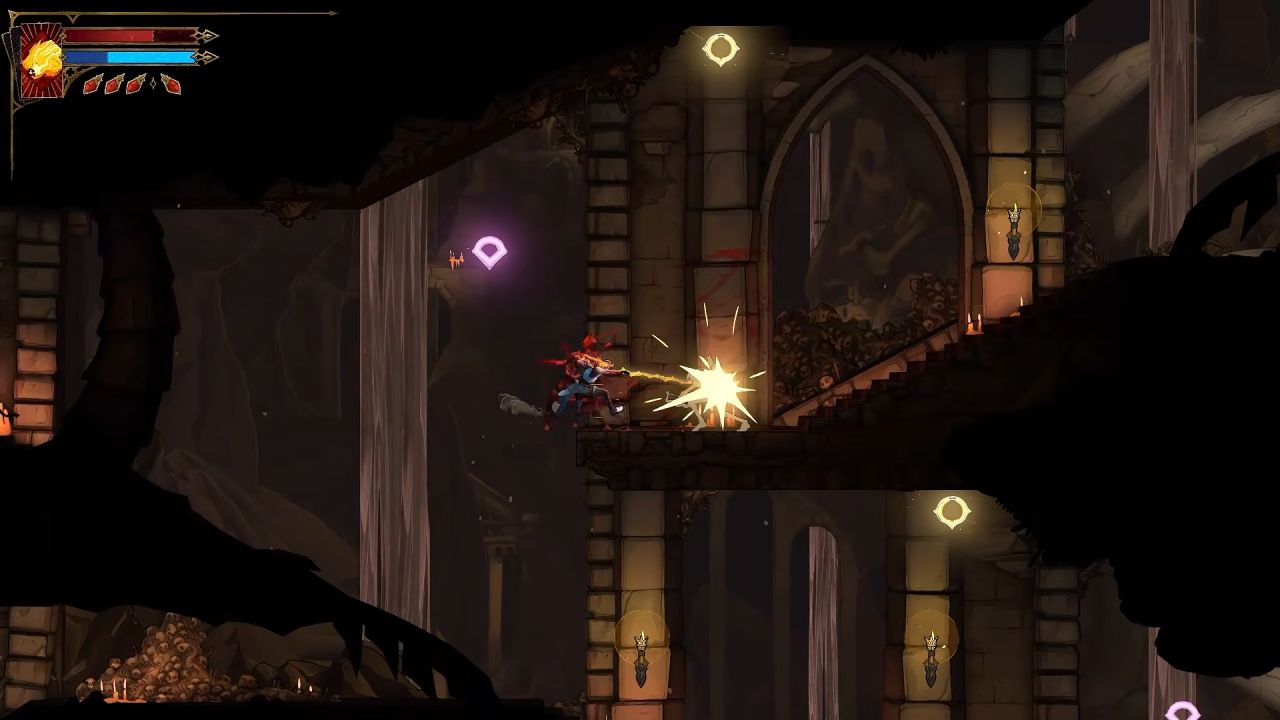
The Phantom Ring is the best farming relic in the game. To get it, head to the Western Ascent inside the Clock Tower.
Beat The Builder, break the marked platforms, turn the room cogs to clear the path, and open the chest. Wearing the Phantom Ring forces enemies to respawn the moment you exit a room, allowing you to turn any high-density screen into a private farm in Castlevania: Belmont's Curse.
FAQ
Q. When should I stop farming an enemy pack?
A. Move to a new zone once your level is 15 levels higher than the enemies you are fighting. At that point, elite enemies hit their scaling cap and standard enemies will only drop single-digit XP.
Q. Why won't enemies respawn in my farming room?
A. If you run through a door back and forth too fast, the spawn memory can stall. Head into a save room, interact with the statue to save, return to the main title screen, and reload your game.
Q. What is the fastest sub-weapon for clearing farming loops?
A. The Cross boomerang and Holy Water are the best options. Throwing a Cross just as the screen fades in hits targets immediately, clearing elite enemies in less than two seconds.
Also, check our Castlevania: Belmont's Curse Review and other guides below:
- Castlevania: Belmont's Curse Guide | How to Fast Travel
- Castlevania: Belmont's Curse Guide | How to Beat Skeleton Mini-Boss
- Castlevania: Belmont's Curse Guide | How to Beat Isaac
- Castlevania: Belmont's Curse Guide | How to Beat Succubus
- Castlevania: Belmont's Curse Guide | How to Beat Arthur
- Castlevania: Belmont's Curse Guide | How to Beat Dracula
- Castlevania: Belmont's Curse Guide | How to Beat Talos
- Castlevania: Belmont's Curse Guide | How to Beat Death
- Castlevania: Belmont's Curse Guide | How to Find the Artist
- Castlevania: Belmont's Curse Guide | How to Beat Carmilla
- Castlevania: Belmont's Curse Guide | How to Get Alucard Sword & Shield
- Castlevania: Belmont's Curse Guide | How to Solve Clock Tower Puzzle
- Castlevania: Belmont's Curse Guide | How to Solve Library Planetarium Puzzle
- Castlevania: Belmont's Curse Guide | How to Get Vampire Killer
- Castlevania: Belmont's Curse Guide | How to Get Durandal Sword
- Castlevania: Belmont's Curse Guide | How to Beat Joan
- Castlevania: Belmont's Curse Guide | How to Get Best Early Items
- Castlevania: Belmont's Curse Guide | How to Solve Secret Organ Melody Puzzle
- Castlevania: Belmont's Curse Guide | How to Get Normal Ending
- Castlevania: Belmont's Curse Guide | How to Get Bad Ending
- Castlevania: Belmont's Curse Guide | How to Get True Ending
- Castlevania: Belmont's Curse Guide | How to Get the Best Weapons
- Castlevania: Belmont's Curse Guide | How to Unlock All Outfits
- Castlevania: Belmont's Curse Guide | How to Get Whip
- Castlevania: Belmont's Curse Guide | How to Find the Prophetess Tarot Clue
- Castlevania: Belmont's Curse Guide | How to Beat Mammon
- Castlevania: Belmont's Curse Guide | How to Beat The Fallen
- Castlevania: Belmont's Curse Guide | How to Beat Medusa
- Castlevania: Belmont's Curse Beginner’s Guide | Gameplay Tips & Tricks
Senior Editor, NoobFeed
Latest Articles
No Data.