
Castlevania: Belmont's Curse Guide | How to Beat Talos
Here’s a guide on how to beat Talos in Castlevania: Belmont's Curse.
Game Guide by Ragib Rawnak on Oct 19, 2026
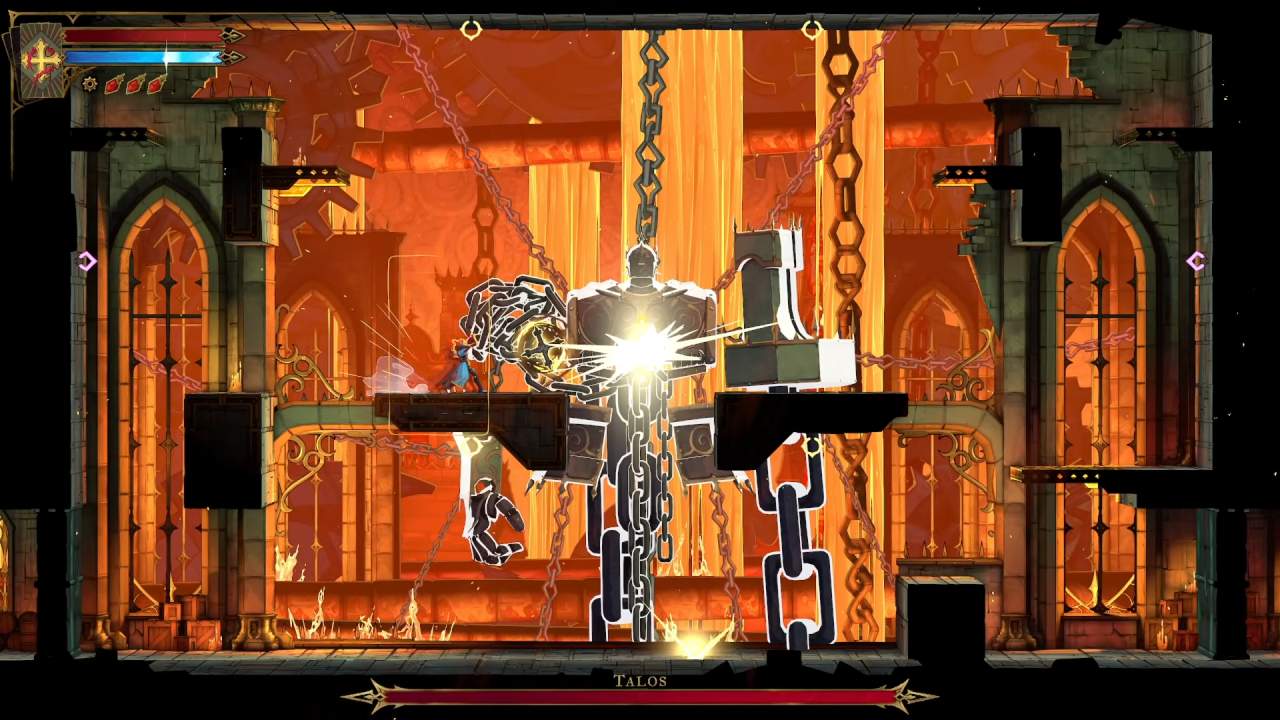
Fighting Talos in Castlevania: Belmont's Curse comes down to arena awareness and vertical movement. Hanging in the center of a massive chamber surrounded by chains and ledges, this mechanical colossus controls vast sections of the room with wide-sweeping moves.
Trying to dodge at the last second from the floor rarely works. You need to read which tier of the arena is about to become lethal, use your Arcane Whip on the glowing anchors to change elevation quickly, and punish his mechanics cleanly in Castlevania: Belmont's Curse.
Phase Structure and Gauntlets
The battle against Talos splits into three distinct phases, transitioning each time you deplete approximately one-third of his total health bar.
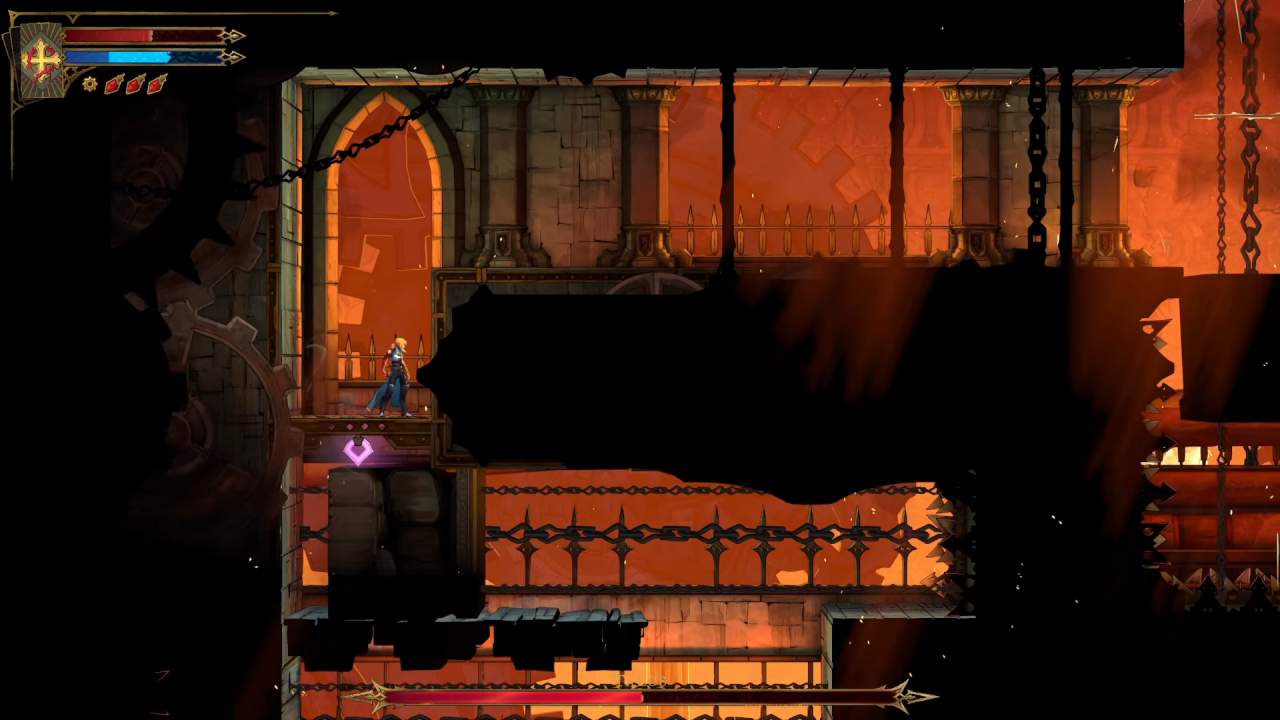
When a phase ends, Talos moves up to a different level of the tower. You have to pursue him through an obstacle gauntlet filled with hazards and narrow walkways before the battle resumes.
Do not rush through these obstacle courses. Watch the timing patterns of each trap, move past them deliberately, and conserve your health pool for the arena combat.
Once you reach the next floor, Talos does not gain completely new abilities. Instead, he does his moves with shorter windups and longer attack durations.
Your reaction windows will shrink, meaning you need to spot his telegraphs and reach safe elevation tiers earlier than before in Castlevania: Belmont's Curse.
Arena Traversal & Staggering Talos
Surviving this fight requires using the platforms and glowing whip points to target his weak spots and create damage opportunities.
Use your Arcane Whip on the glowing anchor points around the arena to propel yourself into the air. This lets you close the distance fast and strike directly at the glowing core on Talos's chassis.
Periodically, Talos tosses glowing blue batteries onto the platforms. Make these your highest priority. Immediately turn your attention to these batteries and destroy every single one in Castlevania: Belmont's Curse.
If you destroy all of the active batteries, Talos will stagger for a short time. In this window unleash your most powerful attacks and burst combos on his exposed core.
As soon as Talos recovers from the stagger, he immediately unleashes a heavy retaliation punch. Do not get greedy. Land your burst damage, then immediately grapple or drop away before he finishes standing up.
How to Dodge Every Talos Attack
Every attack in this fight relies on area denial. Recognizing the startup animations allows you to reposition behind solid cover before the danger zones become active.
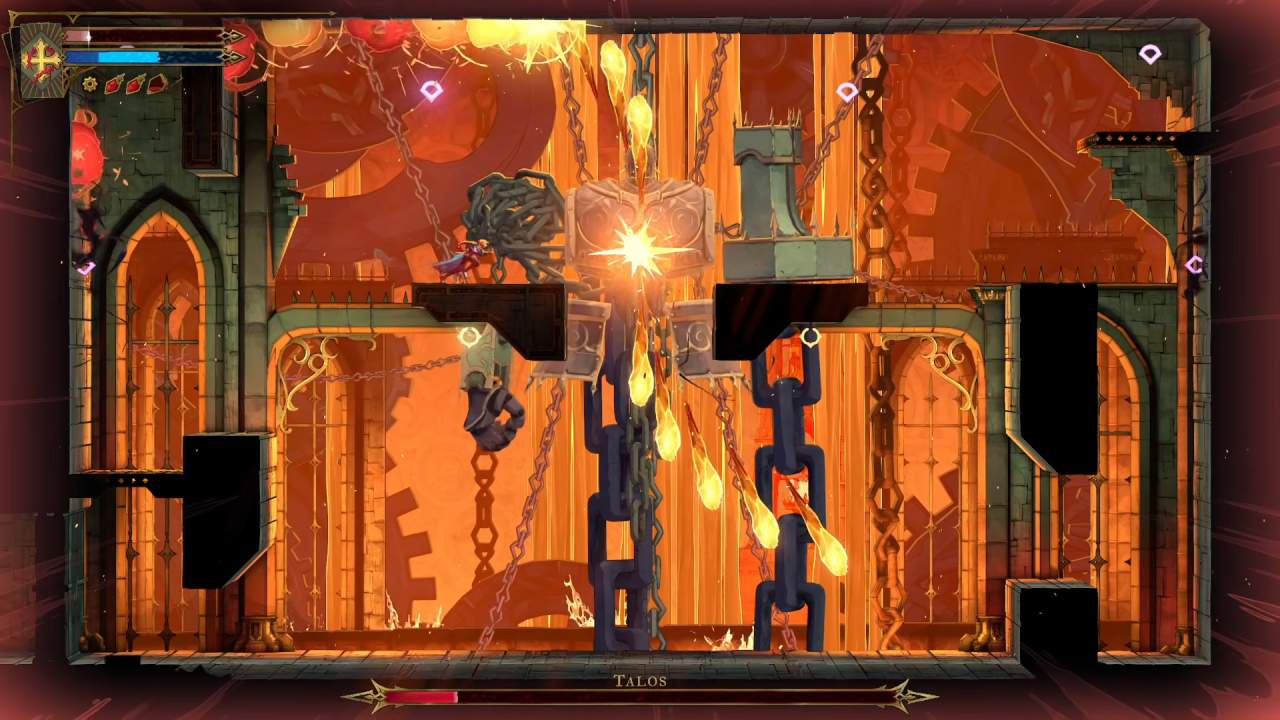
Spiraling Fire Volleys
Talos launches burning projectiles that sweep outwards around the arena in a clockwise or counterclockwise spiral. Trying to dash or jump through the projectiles on open ground is unreliable in Castlevania: Belmont's Curse.
Instead, watch the rotation direction as the volley starts, identify which side the projectiles are coming from, and drop behind a solid platform. The platform structure blocks the projectiles entirely. Stay crouched behind cover until the volley clears before grappling back in.
Heavy Punches
Whenever you fight Talos at close range, he uses his massive mechanical arms to crush you. Avoid committing to long, stationary combos. Stick to quick hit-and-run slashes so you do not lock yourself into recovery animations.
When you see his arm wind up for a swing, immediately disengage and use an anchor point or side platform to pull yourself out of his reach. Wait for the arm to hit empty air before closing back in.
The Falling Fire Curtain
For this attack, Talos blankets nearly the entire upper area in a rain of fire. Do not try to sprint through open sections of the floor in Castlevania: Belmont's Curse.
Quickly find shelter underneath one of the solid platforms and wait there. The platform will shield you from the falling debris above. Remain stationary beneath cover until the fire curtain disappears completely before jumping out to resume attacks.
Floating Mine Clusters
Talos periodically deploys clusters of yellow explosive mines that float in the air and detonate after a short countdown.
Each mine projects a thin, visible circle outlining its blast radius. When the mines appear, stop chasing Talos and look at the ground markings.
Maneuver into an open patch of ground outside of every red-line boundary and wait for the blast wave to finish before re-engaging in Castlevania: Belmont's Curse.
FAQ
Q. What is the most effective way to damage Talos?
A. Focus on taking out the glowing blue batteries the moment they spawn. Smashing all the batteries staggers Talos, dropping his defenses and allowing you to safely unload your highest damage combos onto his central core.
Q. How do you survive the arena transitions between phases?
A. Take your time crossing the narrow paths and platforming sections. The obstacle gauntlets test timing rather than speed. Rushing leads to unnecessary trap damage that leaves you vulnerable for the faster attack speeds in the next combat arena.
Also, check our Castlevania: Belmont's Curse Review and other guides below:
- Castlevania: Belmont's Curse Guide | How to Fast Travel
- Castlevania: Belmont's Curse Guide | How to Beat Carmilla
- Castlevania: Belmont's Curse Guide | How to Beat Death
- Castlevania: Belmont's Curse Guide | How to Find the Artist
- Castlevania: Belmont's Curse Guide | How to Get Alucard Sword & Shield
- Castlevania: Belmont's Curse Guide | How to Solve Clock Tower Puzzle
- Castlevania: Belmont's Curse Guide | How to Solve Library Planetarium Puzzle
- Castlevania: Belmont's Curse Guide | How to Get Vampire Killer
- Castlevania: Belmont's Curse Guide | How to Get Durandal Sword
- Castlevania: Belmont's Curse Guide | How to Beat Joan
- Castlevania: Belmont's Curse Guide | How to Get Best Early Items
- Castlevania: Belmont's Curse Guide | How to Solve Secret Organ Melody Puzzle
- Castlevania: Belmont's Curse Guide | How to Get Normal Ending
- Castlevania: Belmont's Curse Guide | How to Get Bad Ending
- Castlevania: Belmont's Curse Guide | How to Get True Ending
- Castlevania: Belmont's Curse Guide | How to Get the Best Weapons
- Castlevania: Belmont's Curse Guide | How to Unlock All Outfits
- Castlevania: Belmont's Curse Guide | How to Get Whip
- Castlevania: Belmont's Curse Guide | How to Find the Prophetess Tarot Clue
- Castlevania: Belmont's Curse Guide | How to Beat Mammon
- Castlevania: Belmont's Curse Guide | How to Beat The Fallen
- Castlevania: Belmont's Curse Guide | How to Beat Medusa
- Castlevania: Belmont's Curse Beginner’s Guide | Gameplay Tips & Tricks
Senior Editor, NoobFeed
Latest Articles
No Data.