
Castlevania: Belmont's Curse Guide | How to Beat Carmilla
Here’s a guide on how to beat Carmilla in Castlevania: Belmont's Curse.
Game Guide by Ragib Rawnak on Oct 19, 2026
Carmilla attacks saturate the arena with erupting hazards that leave only slivers of ground intact, while massive surges of fluid constantly threaten to knock you off balance.
Dodging erratically across the room will quickly get you killed. You need to identify clear terrain before you jump, strip away her defensive wards, and strike in measured bursts in Castlevania: Belmont's Curse.
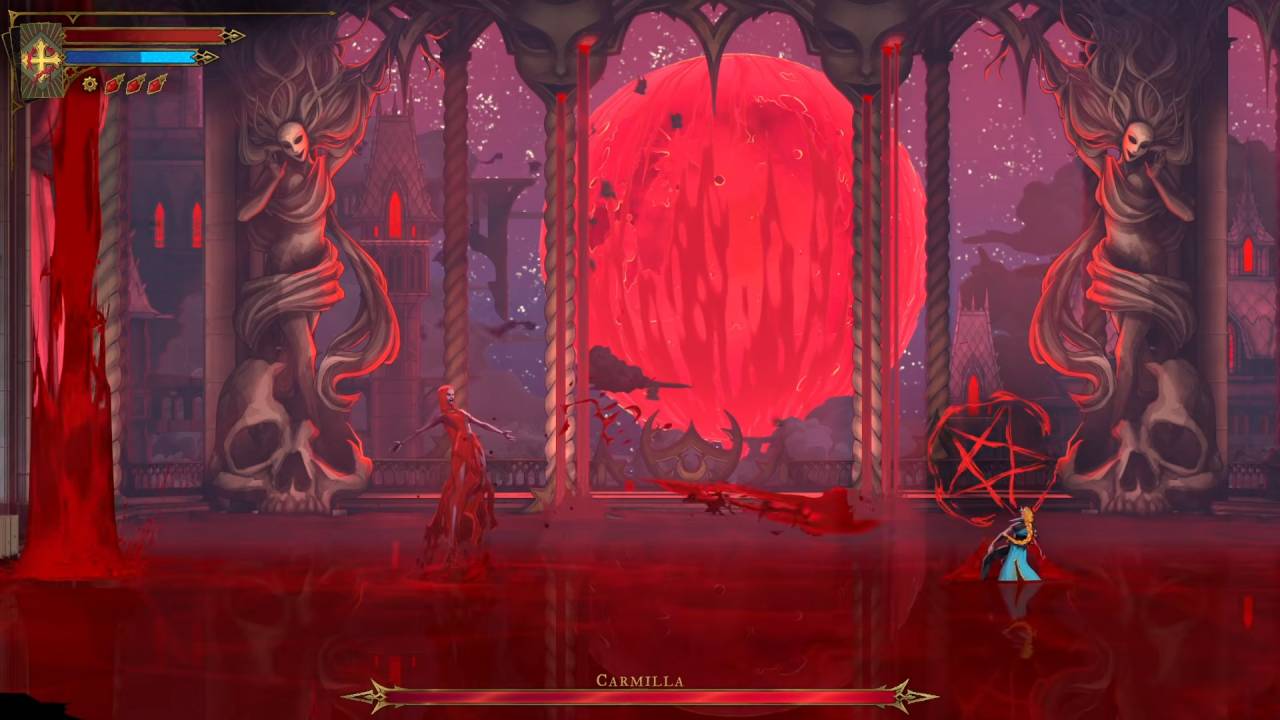
Breaking Carmilla's Skull Defenses
You cannot inflict damage directly to Carmilla at the start of the engagement. Two floating skulls guard her presence and shield her from harm.
Wait out an incoming assault until you find a quiet pocket in the arena. During the brief lull right after her hazards clear, rush toward the skulls and strike them with rapid melee strikes or cast ranged spells from a distance.
Stop attacking the second the floor begins shifting for the next assault, reposition to clear ground, and repeat the process. Once you shatter both skulls, Carmilla's barrier breaks and she becomes fully vulnerable to standard attacks.
Dodging Blood Spikes & Ground Eruptions
Throughout the entire battle, Carmilla forces sharp spikes to erupt vertically from the floorboards in Castlevania: Belmont's Curse.
Keep your eyes glued to the stone beneath your feet even while executing offensive moves. As soon as the surface texture ripples or churns, identify a stable gap and jump directly into the safe space.
Because the clear gaps are extremely narrow, wild dodging across the arena almost always lands you straight on top of another emerging spike. Pick your target landing zone first, adjust your jump arc cleanly, and land with precision.
Never overcommit to long offensive chains. Hitting her with three or four solid slashes before backing off guarantees you have enough time to spot erupting ground beneath your feet.
Neutralizing Blood Waves
Carmilla frequently floods the room with high blood waves that approach from several distinct angles in Castlevania: Belmont's Curse.
Some originate directly from her body and travel outward to the left or right, while others churn in from the blood streams lining the outer perimeters of the room and roll inward toward the center.
Always leap toward the source of an incoming wave rather than trying to outrun it. If she launches the surge herself, jump toward her and clear the crest of the wave in the air. If the flood originates from the arena wall, jump directly toward that wall.
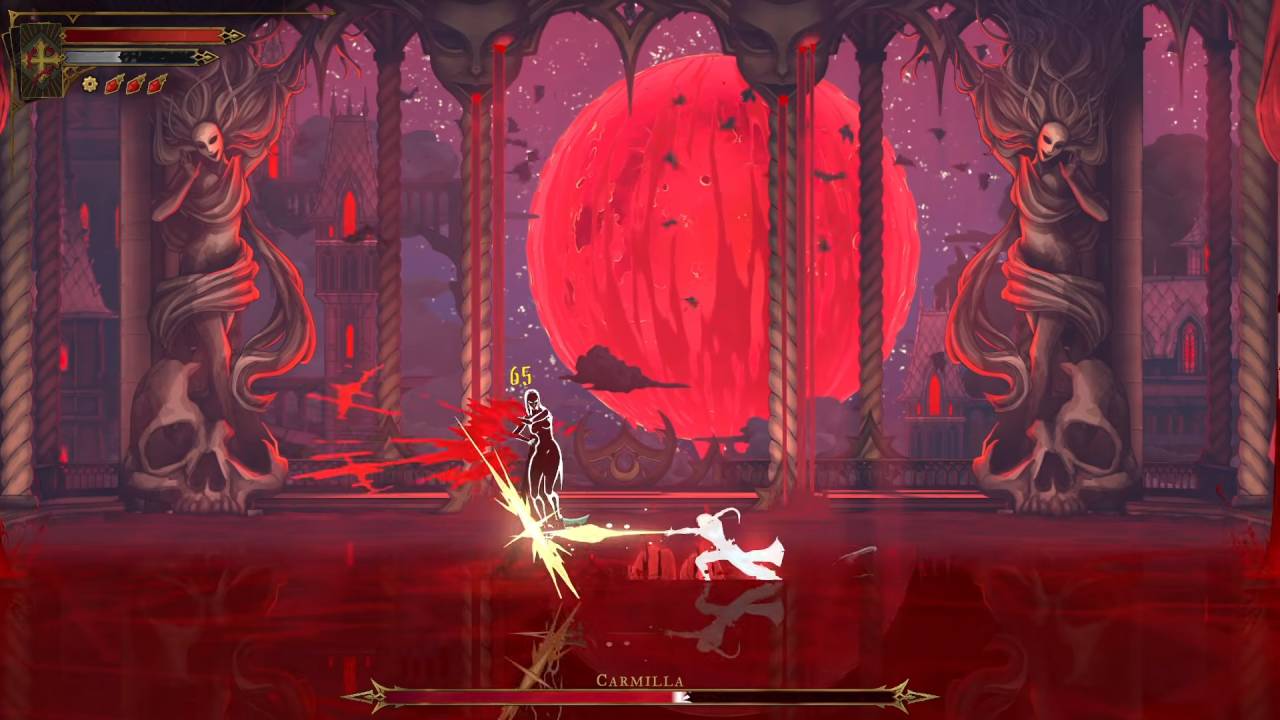
Leaping over waves in the opposite direction of their travel prevents you from traveling with the hitbox and getting clipped upon landing. Before you jump, check the ground where you plan to land to ensure a bed of spikes is not forming beneath your descent.
Countering Emergence Attacks
Periodically, Carmilla sinks beneath the liquid floor and disappears from sight entirely in Castlevania: Belmont's Curse.
Do not run around the room trying to guess her path. Instead, stand still and scan the floor for bubbling animations or swirling fluid. That movement marks the exact point where she is about to resurface.
Walk away from the bubbling patch immediately. As she emerges, she unleashes a burst attack that punishes anyone standing nearby. Let that emergence attack complete fully, step back into range, and punish her recovery frames with quick slashes.
Surviving Arena-Wide Desperation Phase
When Carmilla drops to roughly ten percent remaining health, she unleashes an arena-wide desperation assault that mixes rapid floor spikes and overlapping waves.
Preserving a healthy life bar up to this stage is vital because dodging errors here are extremely punishing. If a wave sweeps in from the right, work your way toward the left while tracking its momentum.
If waves crash inward from both sides at once, position yourself near the center of the room and time your vertical jump precisely for the moment the two waves collide in Castlevania: Belmont's Curse.
When spikes and waves appear simultaneously, locate your safe landing patch on the floor first, then time your vault over the moving wave so your boots land safely in that clear pocket.
Punishing Final Stun Window
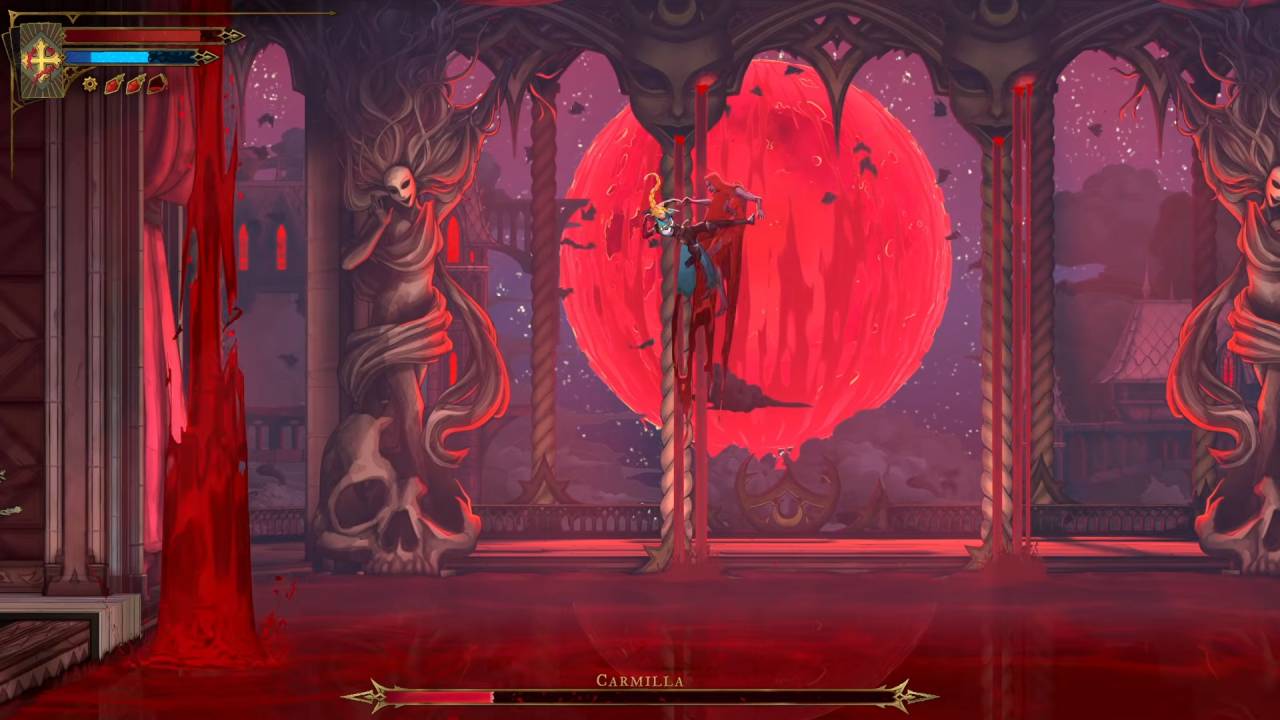
Once the arena-wide desperation assault winds down, Carmilla initiates a grab sequence in Castlevania: Belmont's Curse.
Break free from her grasp immediately. Breaking the hold causes Carmilla to collapse onto the floor, completely helpless and stunned.
Run up to her prone body immediately and unload your strongest melee combinations, weapon arts, and damage spells. With her health already depleted to critical levels, this final opening lets you close out the encounter in seconds.
FAQ
Q. Why won't Carmilla take damage at the start of the battle?
A. Carmilla is completely immune to direct damage while her two protective skulls hover in the arena. You must target and shatter both skulls during pauses between her attacks before your weapon strikes will deplete her main health bar.
Q. How do you avoid taking damage from Carmilla's blood waves?
A. Jump toward the direction the wave originated from rather than running away from it. Jumping over the wave against its path of momentum allows you to clear the hitbox quickly, provided you aim your landing into a spot free of floor spikes.
Q. What should you do when Carmilla vanishes into the floor?
A. Stop chasing her and watch the ground for bubbling and shifting fluid. That visual tell shows where she plans to burst out with an emergence strike. Back away from the disturbed pool, wait for her attack to resolve, and counterattack while she recovers.
Also, check our Castlevania: Belmont's Curse Review and other guides below:
- Castlevania: Belmont's Curse Guide | How to Fast Travel
- Castlevania: Belmont's Curse Guide | How to Beat Talos
- Castlevania: Belmont's Curse Guide | How to Beat Death
- Castlevania: Belmont's Curse Guide | How to Find the Artist
- Castlevania: Belmont's Curse Guide | How to Get Alucard Sword & Shield
- Castlevania: Belmont's Curse Guide | How to Solve Clock Tower Puzzle
- Castlevania: Belmont's Curse Guide | How to Solve Library Planetarium Puzzle
- Castlevania: Belmont's Curse Guide | How to Get Vampire Killer
- Castlevania: Belmont's Curse Guide | How to Get Durandal Sword
- Castlevania: Belmont's Curse Guide | How to Beat Joan
- Castlevania: Belmont's Curse Guide | How to Get Best Early Items
- Castlevania: Belmont's Curse Guide | How to Solve Secret Organ Melody Puzzle
- Castlevania: Belmont's Curse Guide | How to Get Normal Ending
- Castlevania: Belmont's Curse Guide | How to Get Bad Ending
- Castlevania: Belmont's Curse Guide | How to Get True Ending
- Castlevania: Belmont's Curse Guide | How to Get the Best Weapons
- Castlevania: Belmont's Curse Guide | How to Unlock All Outfits
- Castlevania: Belmont's Curse Guide | How to Get Whip
- Castlevania: Belmont's Curse Guide | How to Find the Prophetess Tarot Clue
- Castlevania: Belmont's Curse Guide | How to Beat Mammon
- Castlevania: Belmont's Curse Guide | How to Beat The Fallen
- Castlevania: Belmont's Curse Guide | How to Beat Medusa
- Castlevania: Belmont's Curse Beginner’s Guide | Gameplay Tips & Tricks
Senior Editor, NoobFeed
Latest Articles
No Data.